
Find out how to index the reconditioning costs of used vehicles based on age and mileage.
Prerequisite: Administrator rights are required to define the age and mileage criteria that will be taken into account when calculating refurbishment costs.
The amount spent on reconditioning trade-in vehicles can be varied depending on age and/or mileage criteria to ensure they are valued as accurately as possible.
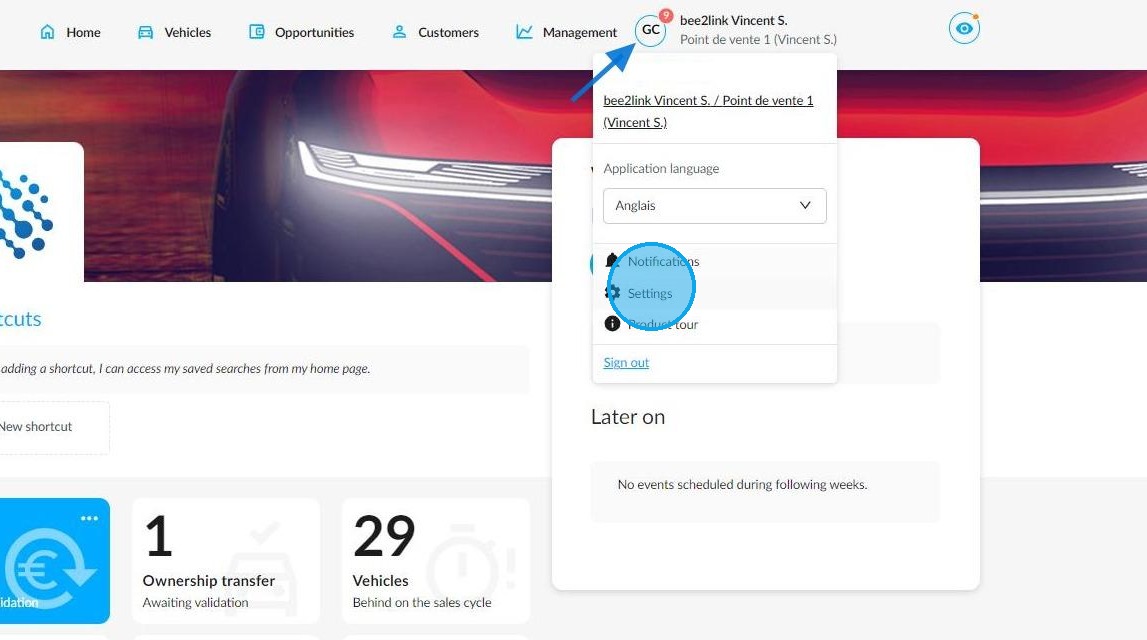
Start by clicking on your initials, followed by Settings.
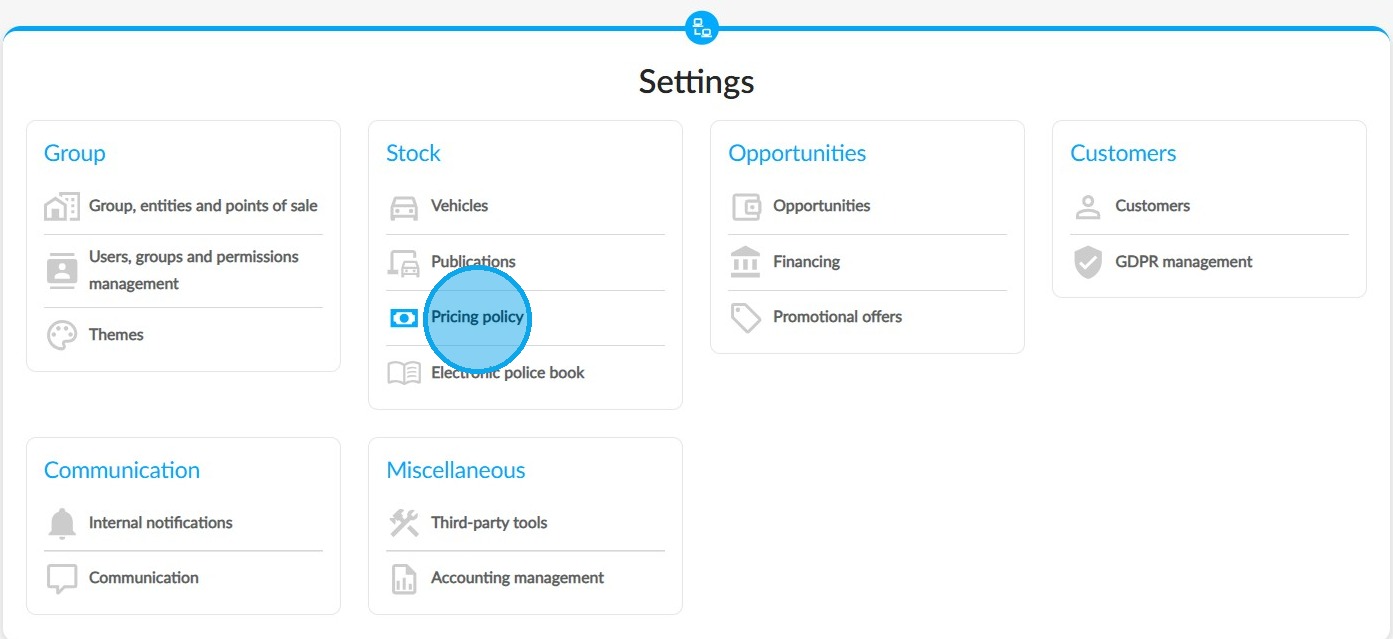
Click on 'Pricing Policy' in the section dedicated to stock management.
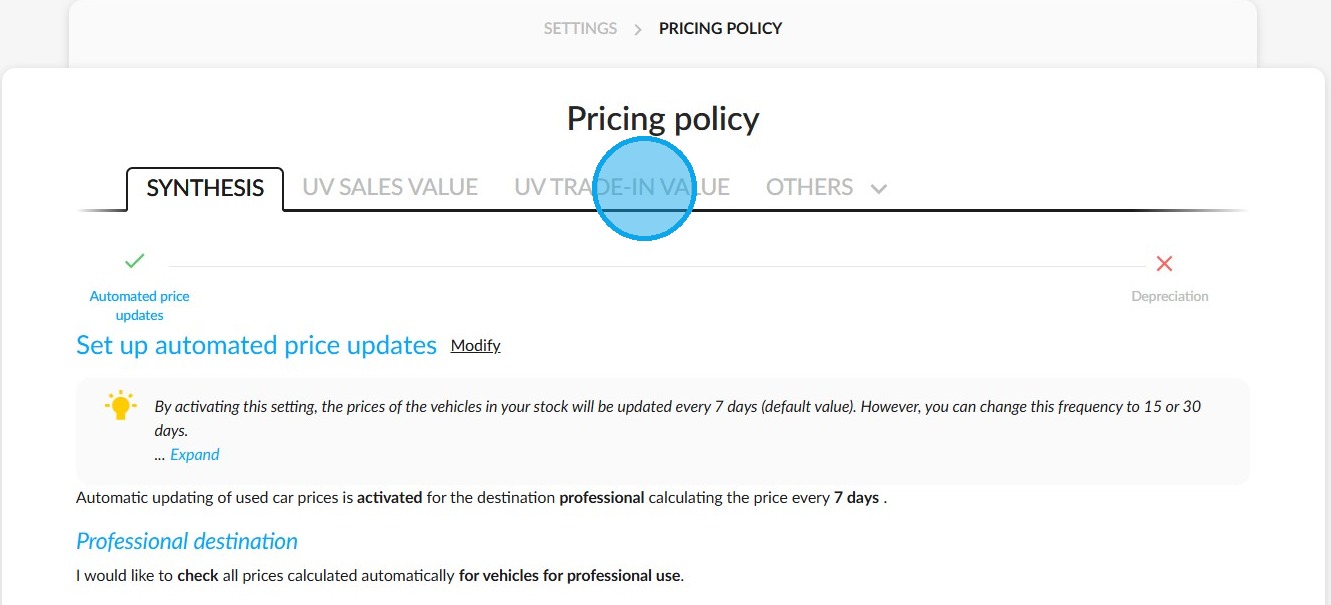
Select the 'UV trade-in value' tab.
Go to the 'UV repair costs' section.
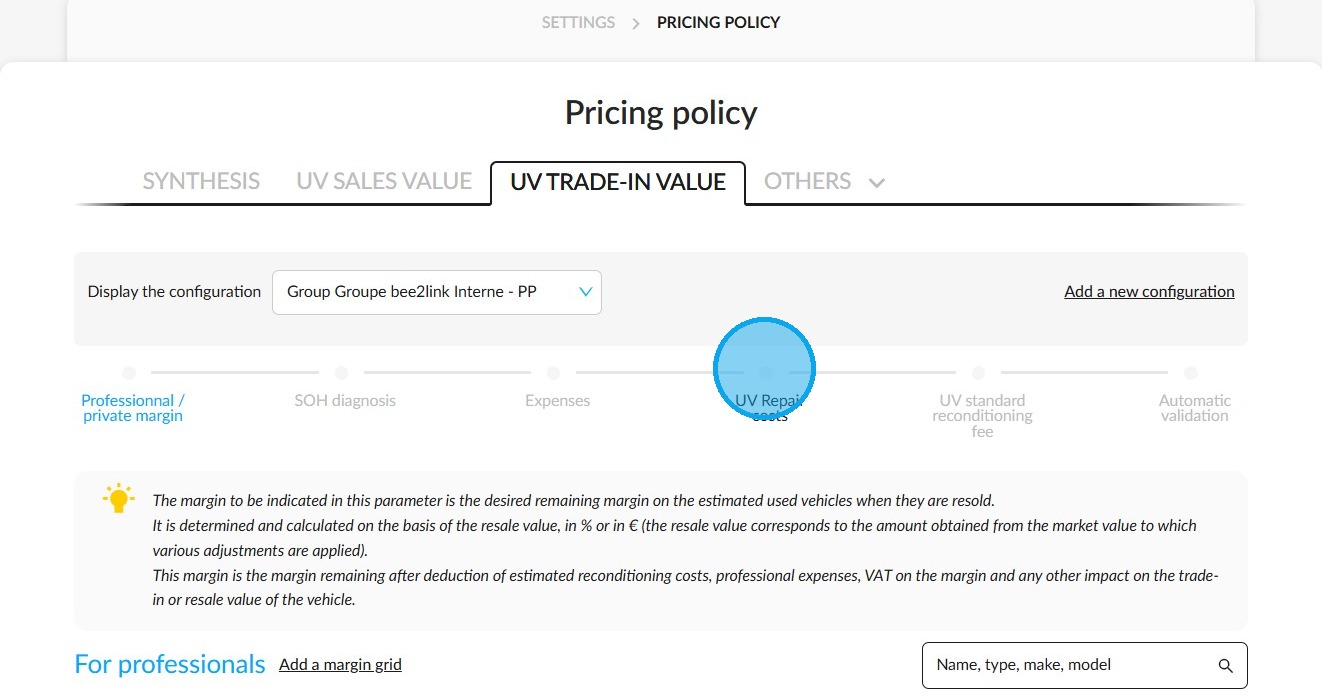
The criteria can be set up in various places when entering the applicable refurbishment costs.
- on the exploded view of the vehicle;
- by adding a defect to the list;
- by modifying an existing defect.
These criteria can be cumulative, combining both age and mileage, or separate, applying to either age or mileage.
The criteria can be added or modified from any of these places.
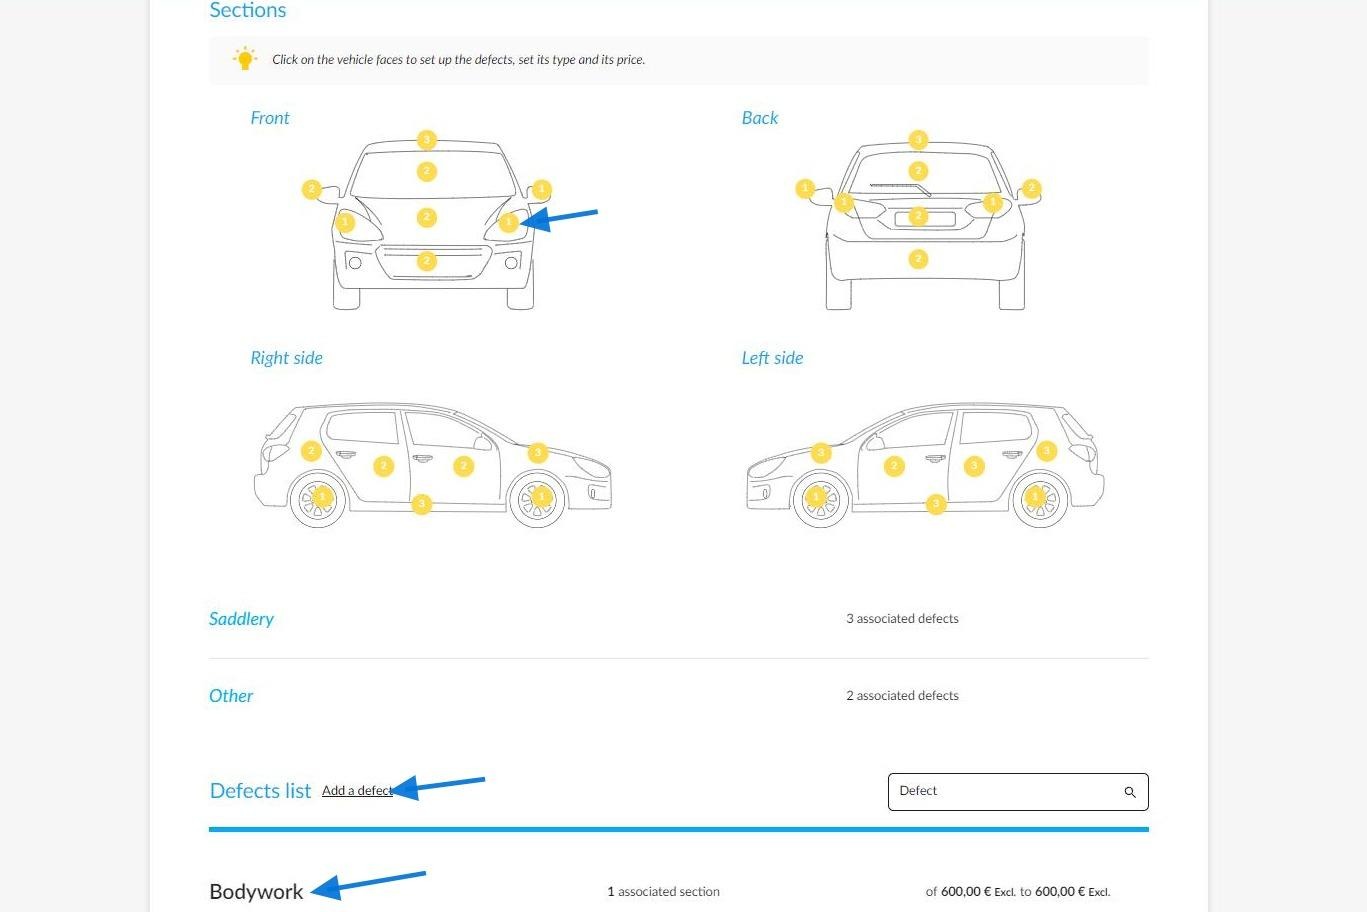
Adding a defect from the vehicle exploded view.
As soon as you click on a bodywork element of a vehicle indicated by a yellow circle, a window displaying the listed defects will open.
From here, you can use the 'Modify' button (1) to edit an already-listed defect. You can also Add a defect (2). When needed, you can delete a defect by clicking on the trash icon (3).
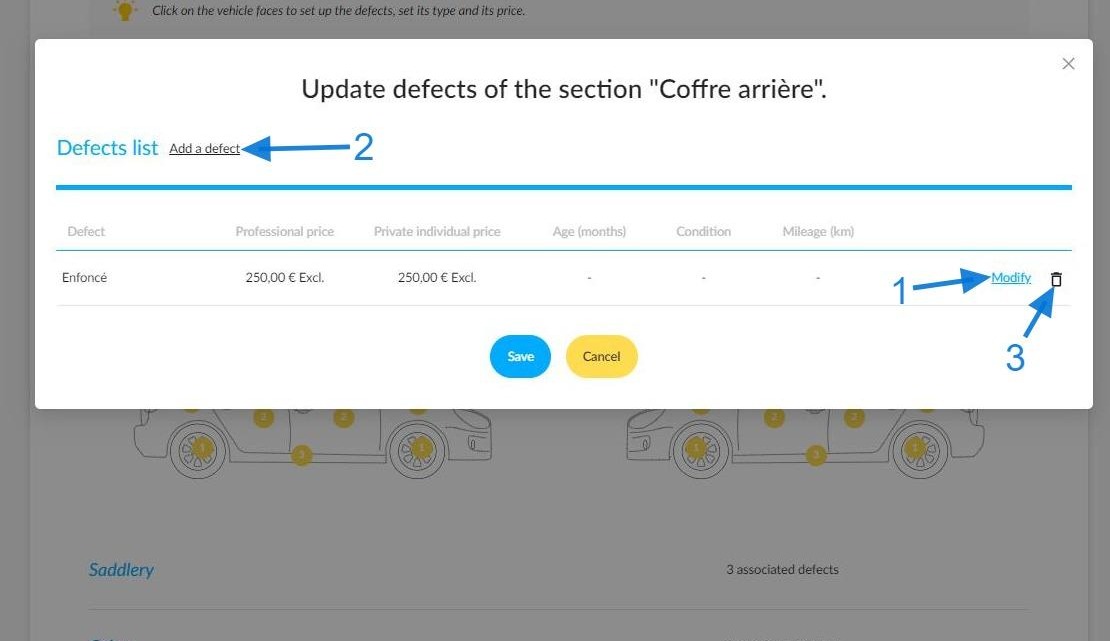
You will need to enter prices for both professionals and individuals. You can then specify the age and mileage brackets to which these prices apply.
Once you have filled in these fields, you will need to specify whether you want to combine or separate the two criteria. Select the 'AND' or 'OR' condition from the drop-down menu to do this.
To update the criteria that you have added to a defect, click on 'Save' to the right of the relevant defect.
Once you have made your changes, click on the 'Save' button again to update all sections.

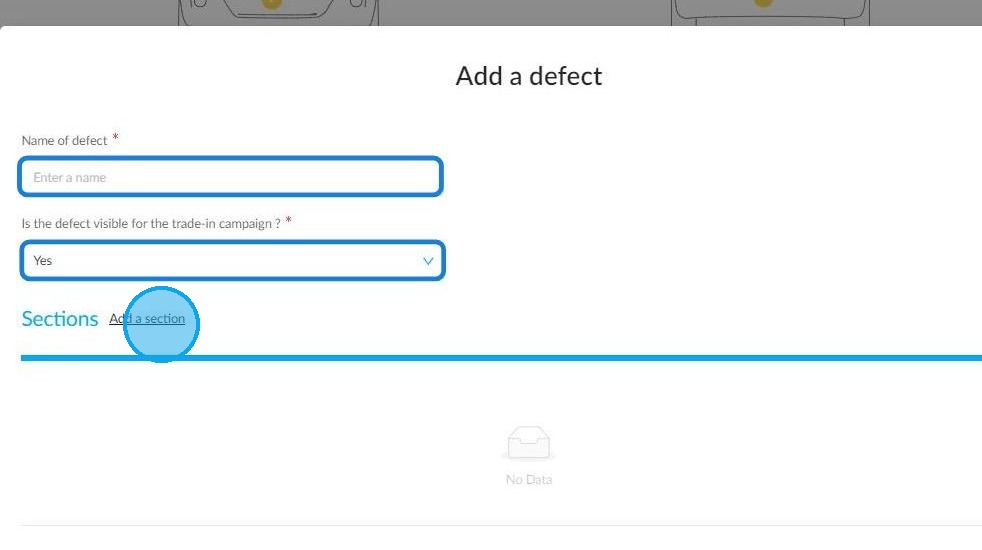
Adding a defect from the list.
When you click on 'Add a defect', you will be required to fill in a form containing compulsory fields. These fields, such as the name of the defect, are identified by an asterisk.
You will also be asked to indicate whether the defect will be visible during trade-in campaigns.
Next, link it to a section, as shown in the previous example. To do this, click on 'Add a section'.
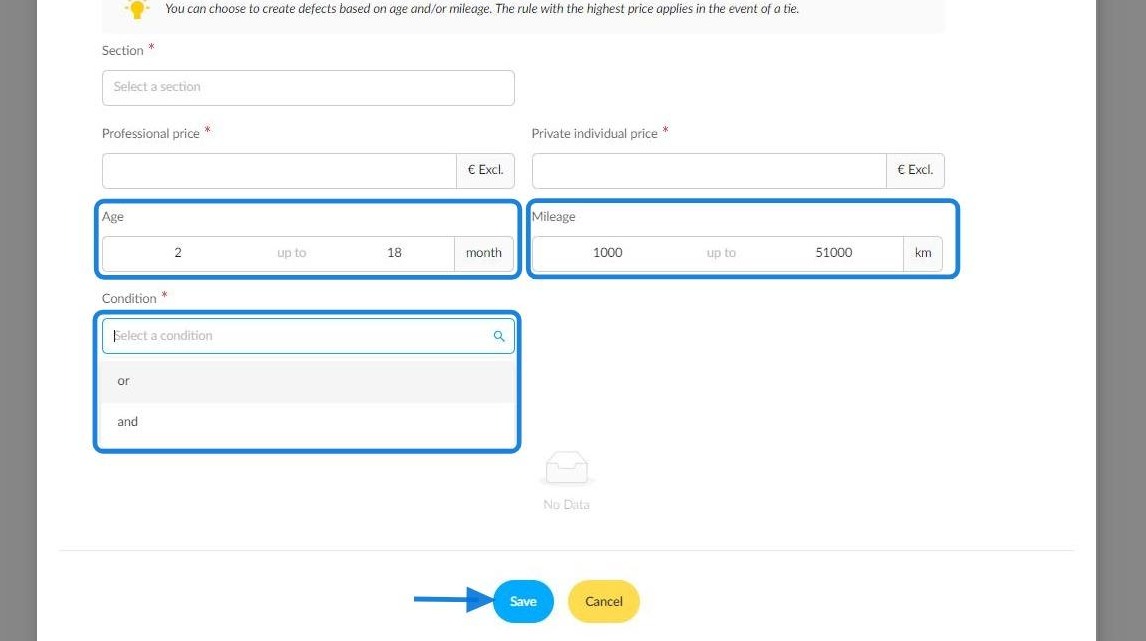
Additional fields will then be displayed. You will be asked to fill in the relevant section (corresponding to the affected part of the vehicle) and enter the prices for professionals and individuals.
Enter the age group and mileage criteria for which these rates will apply. The mandatory AND/OR condition will then appear as a drop-down menu.
Click 'Save' to save all your settings.
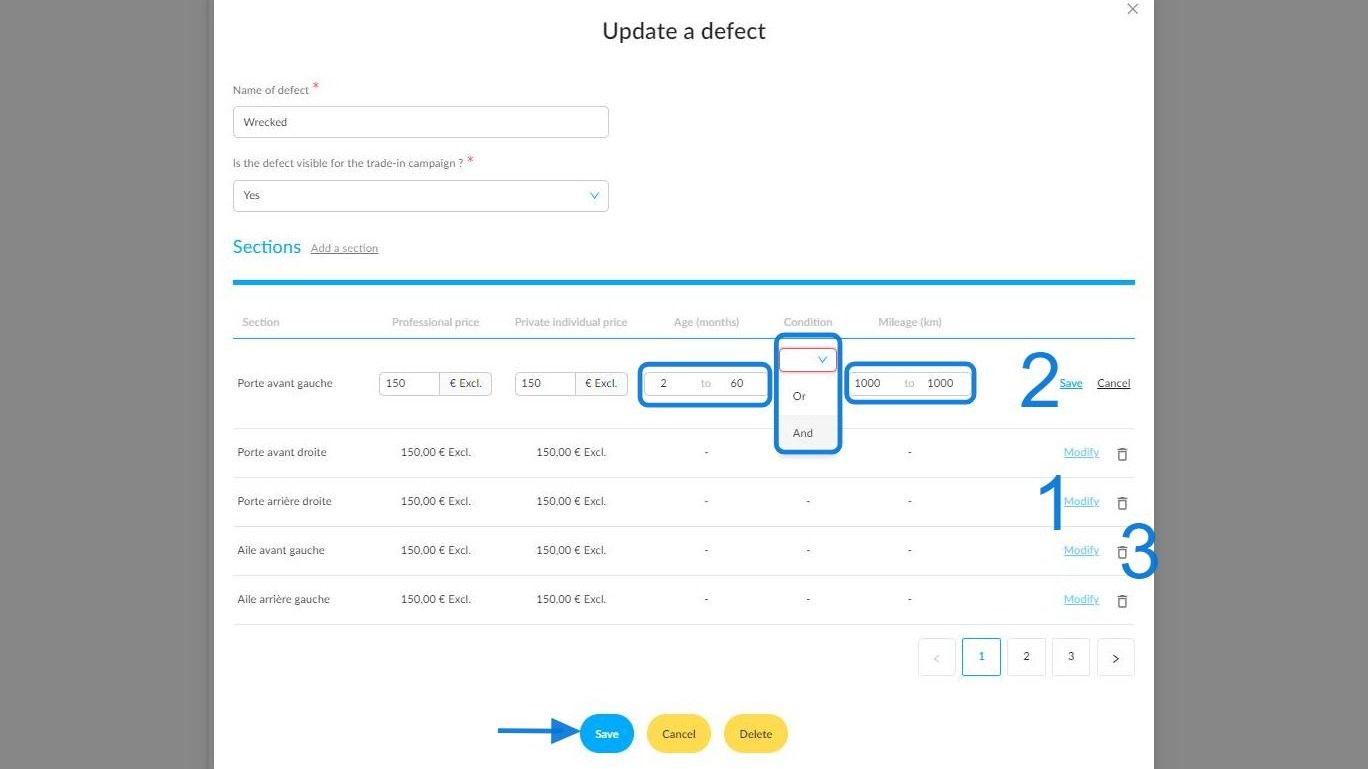
Modifying an existing defect.
When you select an existing defect in the list at the bottom of the page, a window showing all the sections to which it is linked opens.
As shown in the previous example, you can click on 'Modify' (1) to edit the prices, as well as the age and mileage criteria.
As shown in the previous examples, the drop-down menu containing the AND/OR condition will appear once the criteria have been filled in.
Once you have updated the settings for the defect in question, click Save (2) on the right of the defect box, followed by Save at the bottom of the page, to save the changes to the entire section.
You can also delete a defect associated with a section by clicking on the trash icon to the right of the 'Modify' button (3).
Pressing the 'Delete' button at the bottom of the page will erase the defect from all the sections to which it is linked.
Comments
0 comments
Article is closed for comments.