
Prerequisites:
The following permissions are required:
Platform administrator.
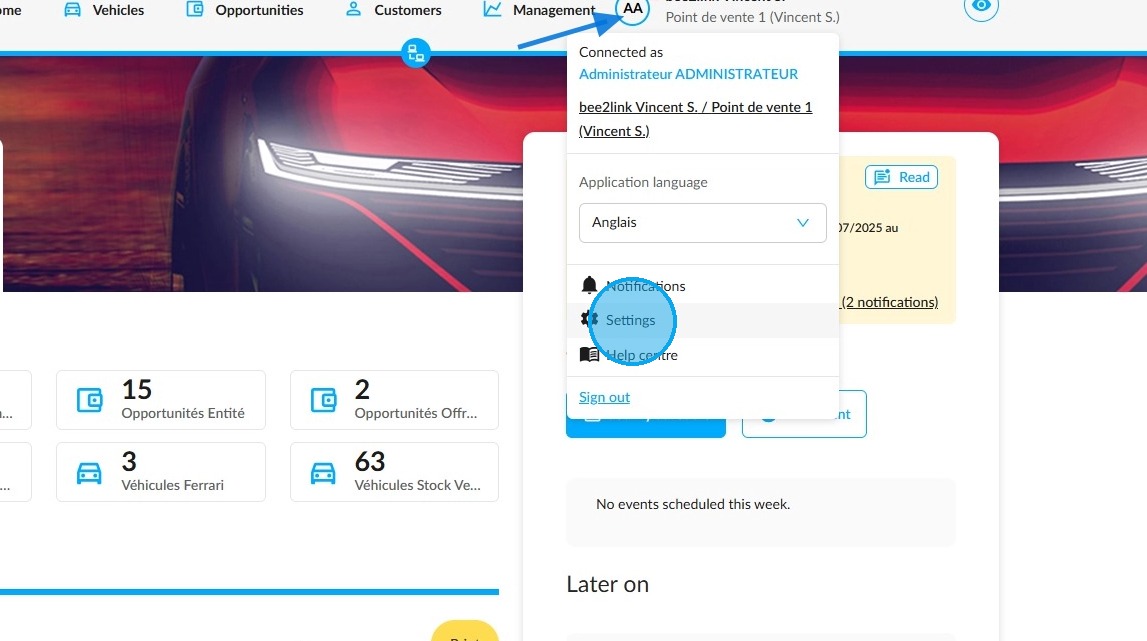
To access the platform settings, click on your initials at the top right of the OpenFlex home page.
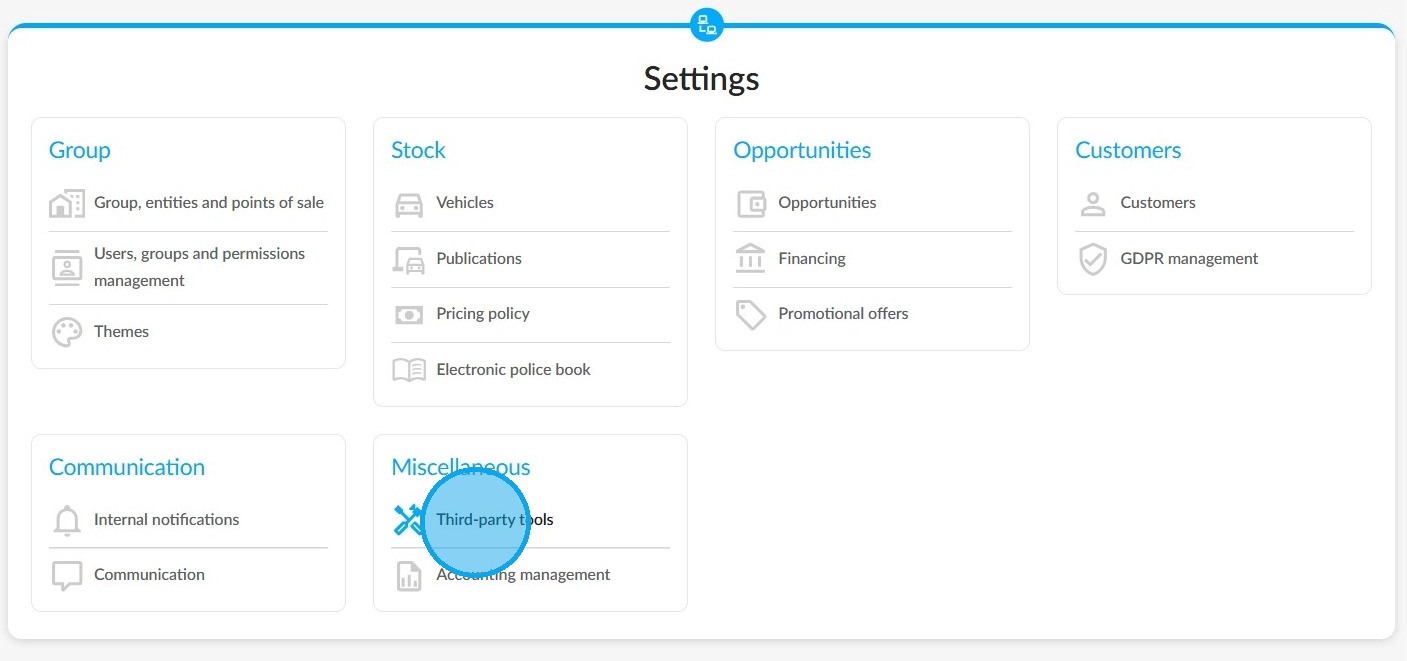
Then enter the "Third-party tools" settings under the "Miscellaneous" heading.
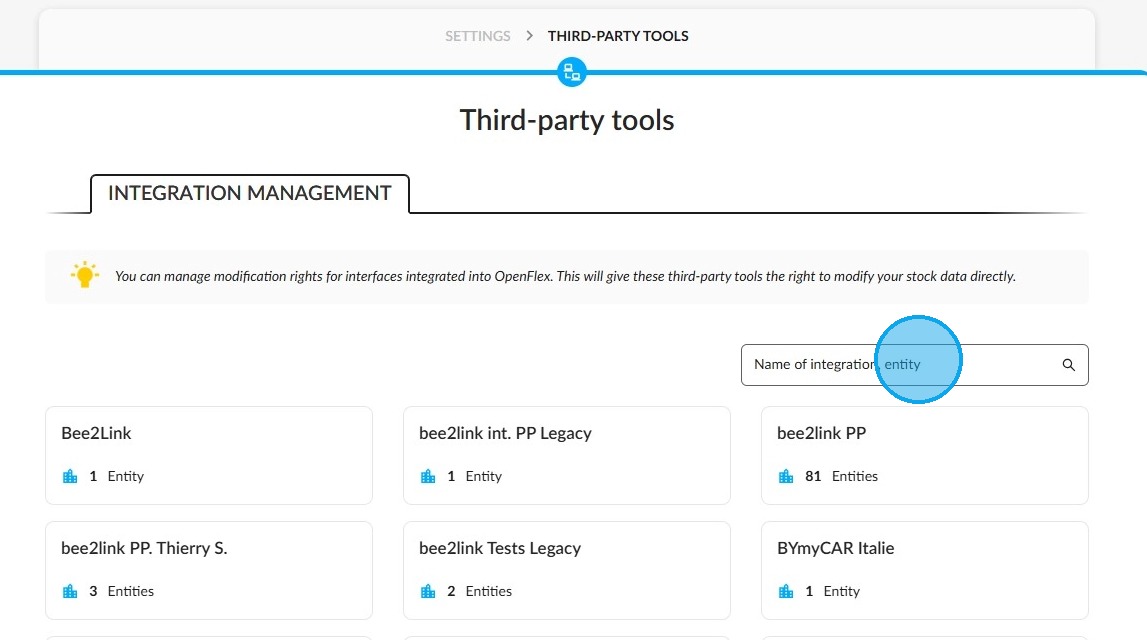
Next, search for the interface for which you want to configure permissions.
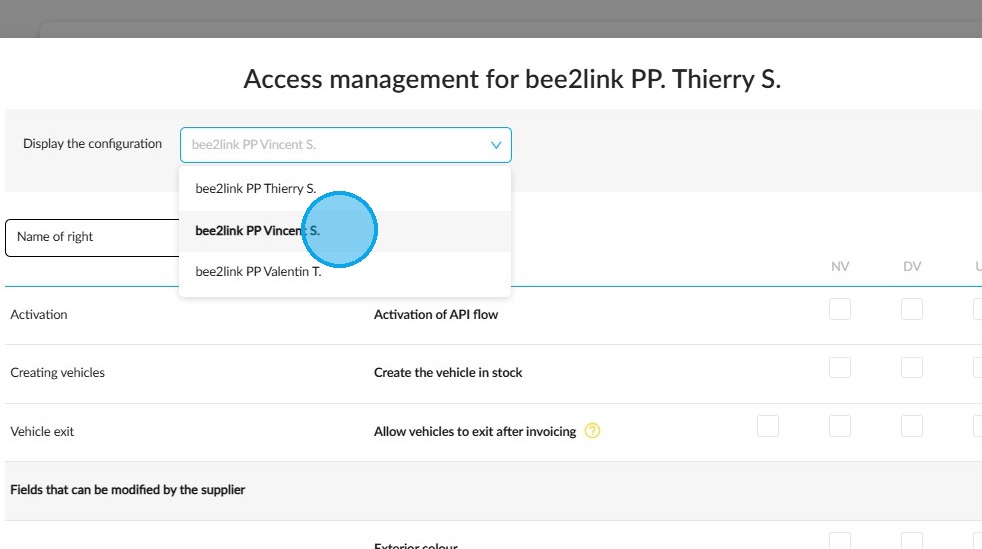
Depending on your group-level access, you can view this interface's configuration by entity by opening the drop-down menu at the top of the screen.
There is a search field below where you can search for a permission by entering its wording.
Permissions can be configured according to vehicle type. Therefore, they may vary.
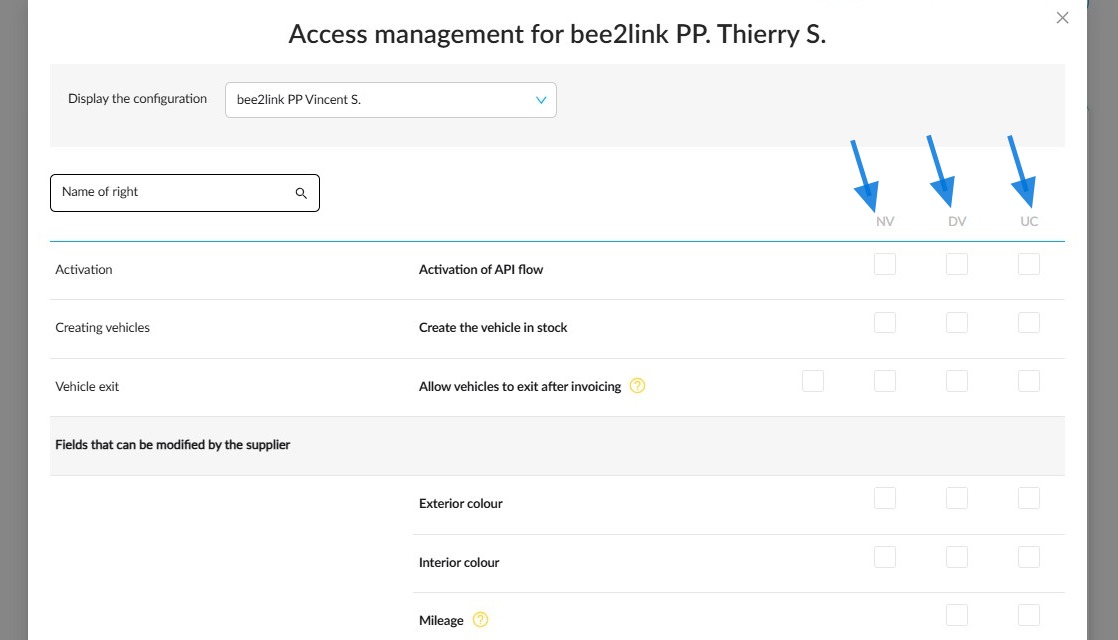
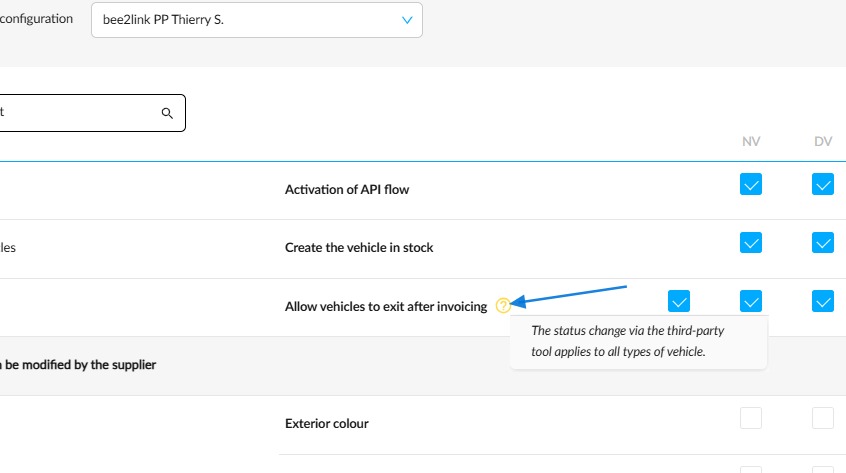
- If the interface needs to be able to create NVs, DVs or UVs in stock, tick the "Activation of API flow" box for each type of vehicle individually.
- However, if this tool is used to handle stock exits after invoicing, it will manage them for all vehicle types without exception.
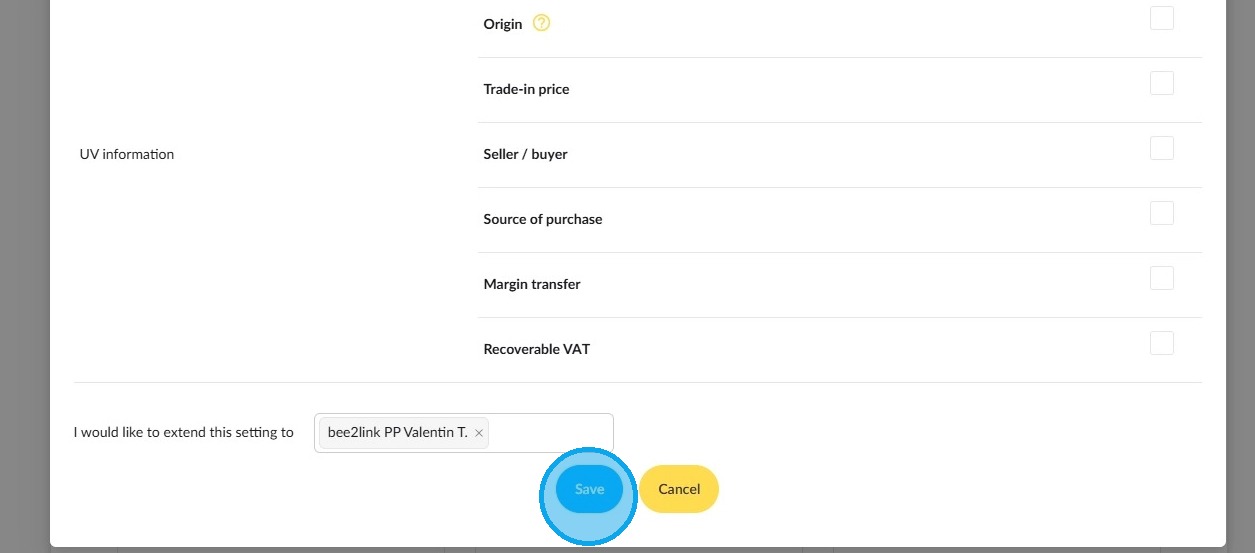
Then, different fields corresponding to the data that can be entered or edited by this external tool will be divided into the following sections: ‘Characteristics’, ‘Identification’, ‘Dates’, “Status”, ‘UV information’.
Indicate which elements can be modified for each type of vehicle by ticking the boxes to the right of each heading.
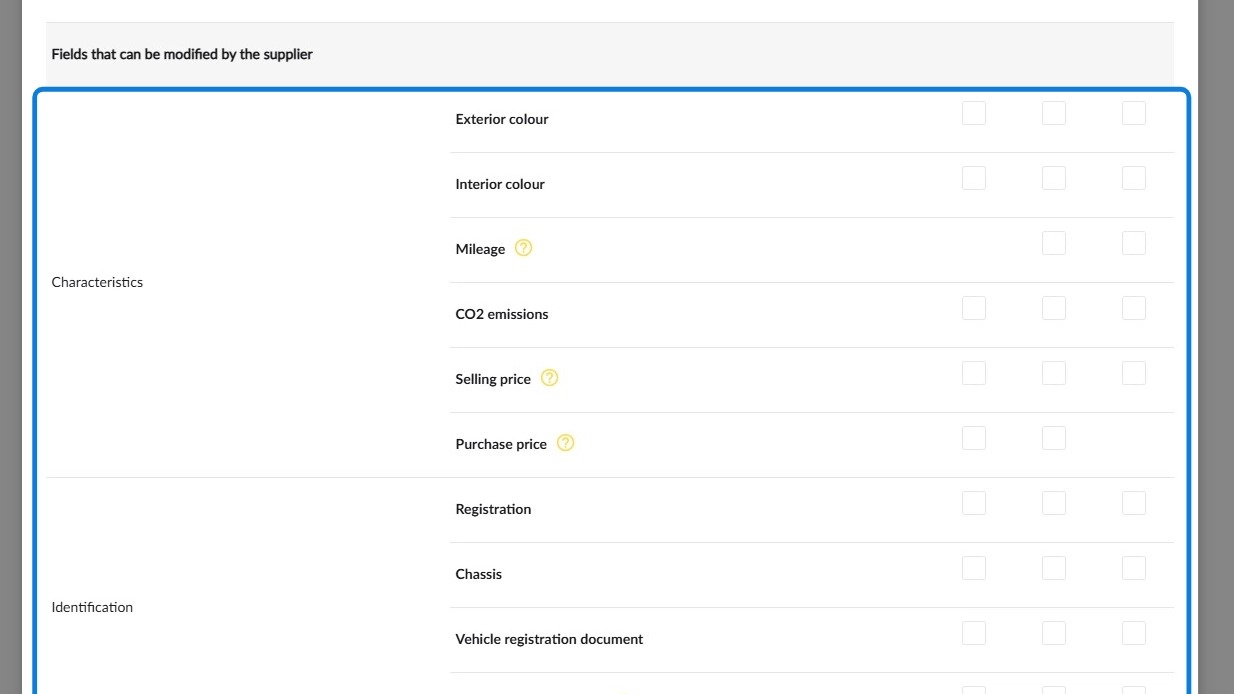
Please note that some data not detailed in the labels of certain fields can be modified when you tick them:
-Mileage: allows to change the mileage, the guaranteed mileage, the forecast mileage and the date on which the mileage was entered. (DV/UV only).
-Selling price: authorises changes to bonus, penalty, selling price, professional selling price, employee selling price and list price.
-Purchase price: authorises changes to the manufacturer's invoice price, manufacturer's bonuses and premiums, charges and services. (NV/DV only).
-Origin: the origin can be freely mofified by the API (interface) without checking the value.
Once you have made your selection, the drop-down menu entitled ‘I would like to extend this setting to’ will allow you to apply these rules to other entities if you decide to.
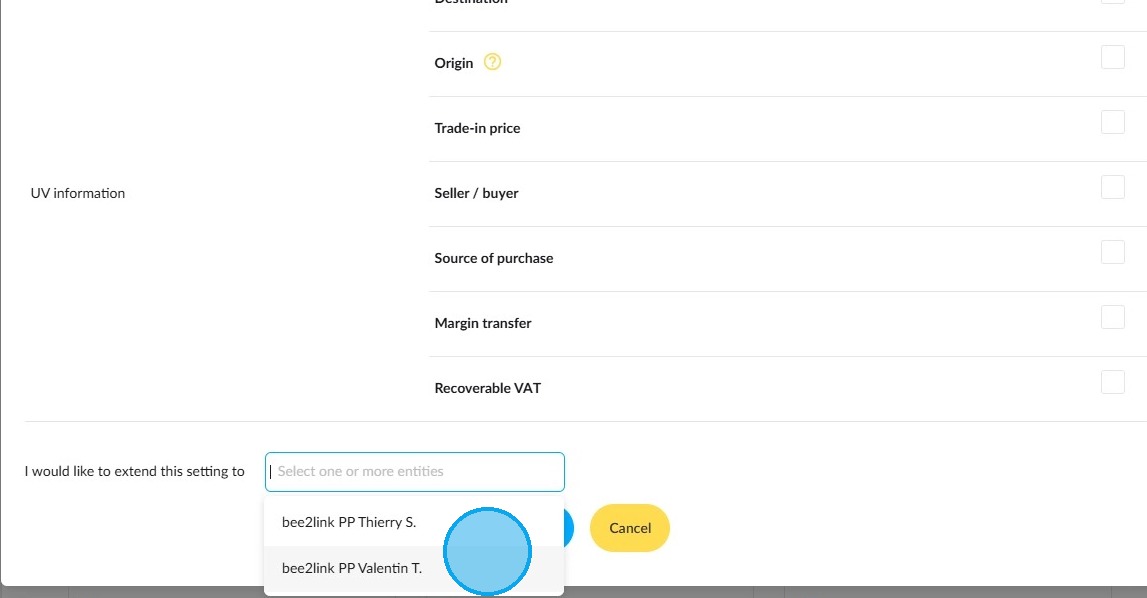
Finally, save your changes by clicking on the "Save" button at the bottom of the window.
Comments
0 comments
Article is closed for comments.