
This document explains how to create a user group on the OpenFlex platform. It also explains how to grant employees permissions based on their job titles, as well as the various actions you can perform to manage groups.
Prerequisite: Hold platform administrator permissions.
Path to create a new user group:
1. The first step in creating a user account is to create a group that the user can belong to. The OpenFlex manager will then decide which rights to assign to this user group.
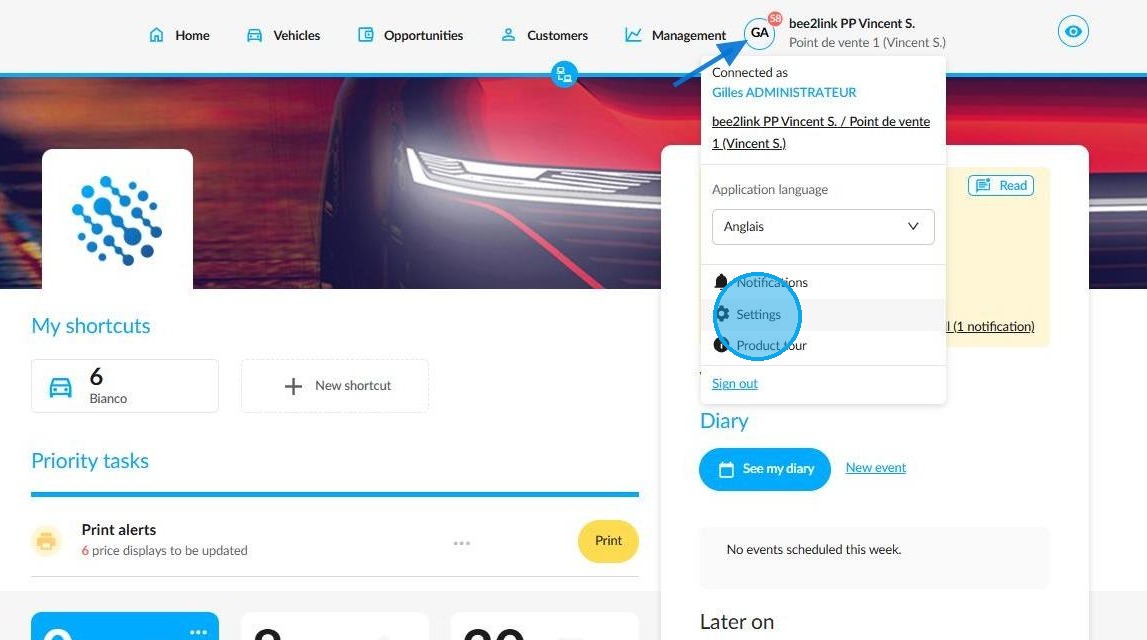
To create a group of specific users and define their areas of responsibility, go to the Settings section of the platform by clicking on your initials on the homepage.
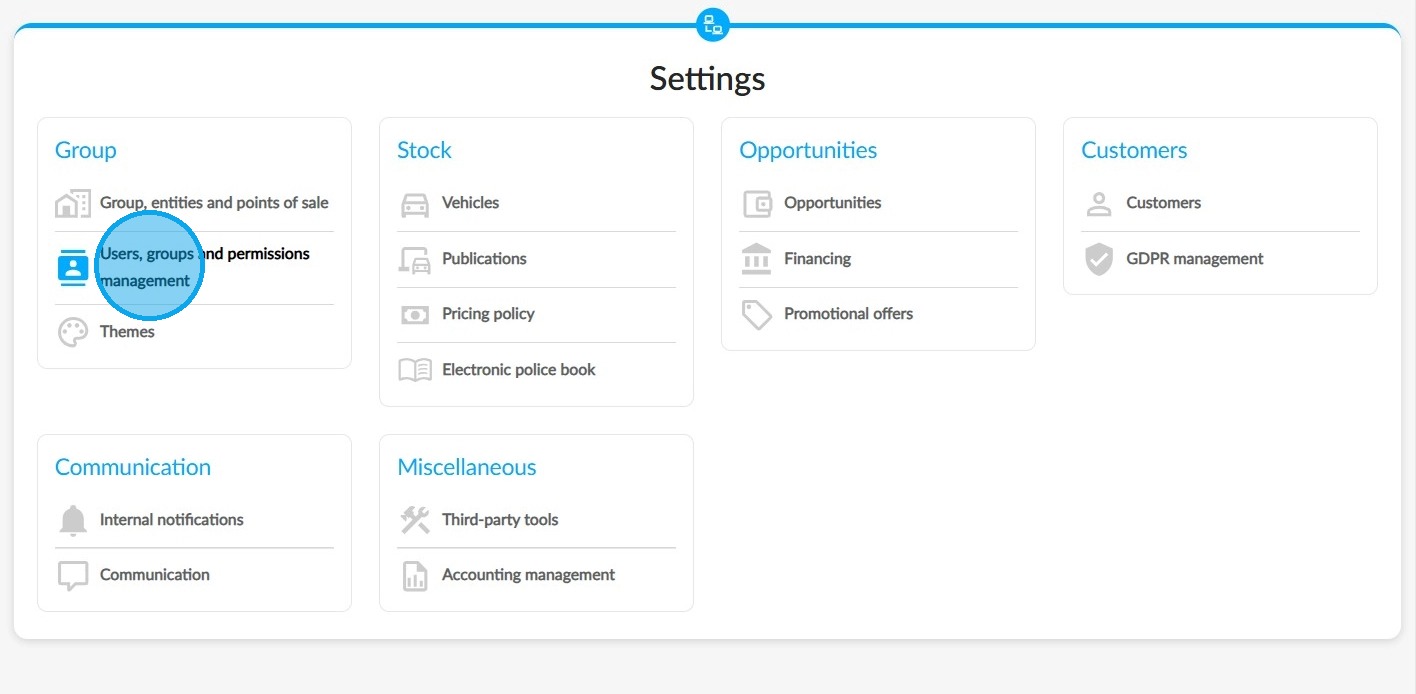
2. Next, navigate to the 'Users, groups and permissions management' settings in the 'Group' area.
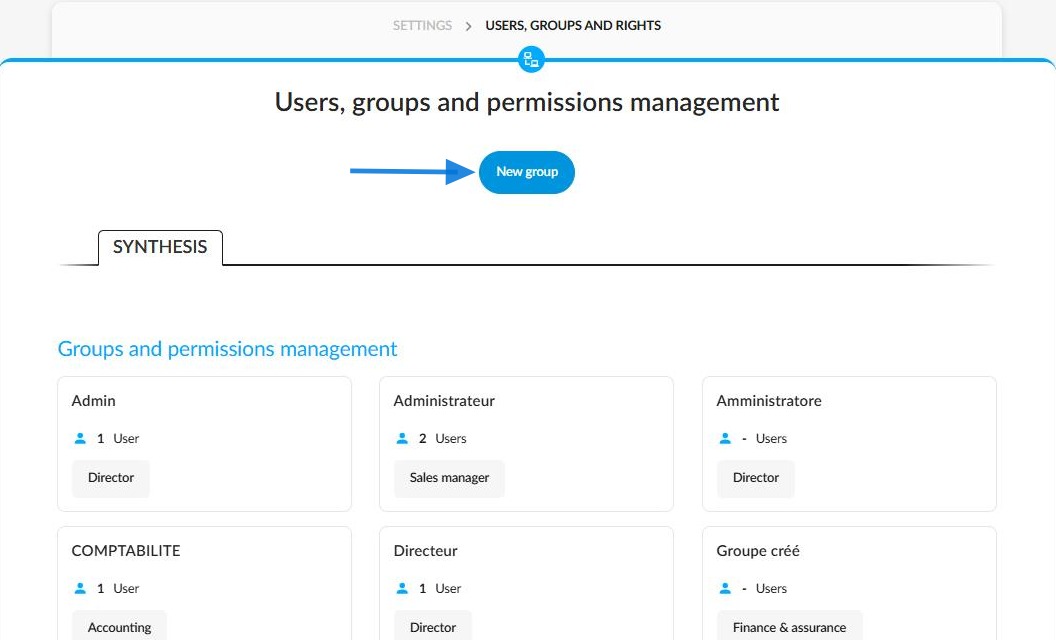
3. Click on 'New group'.
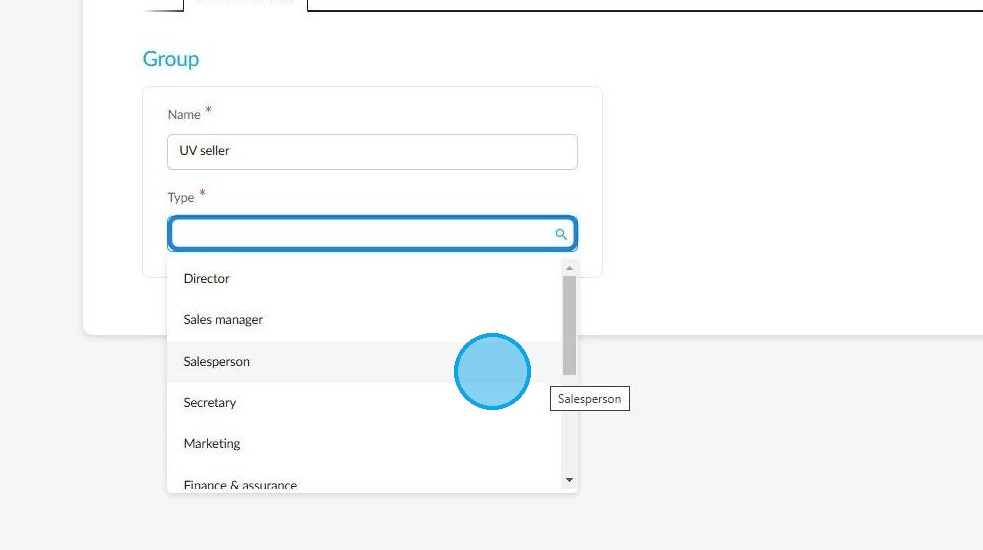
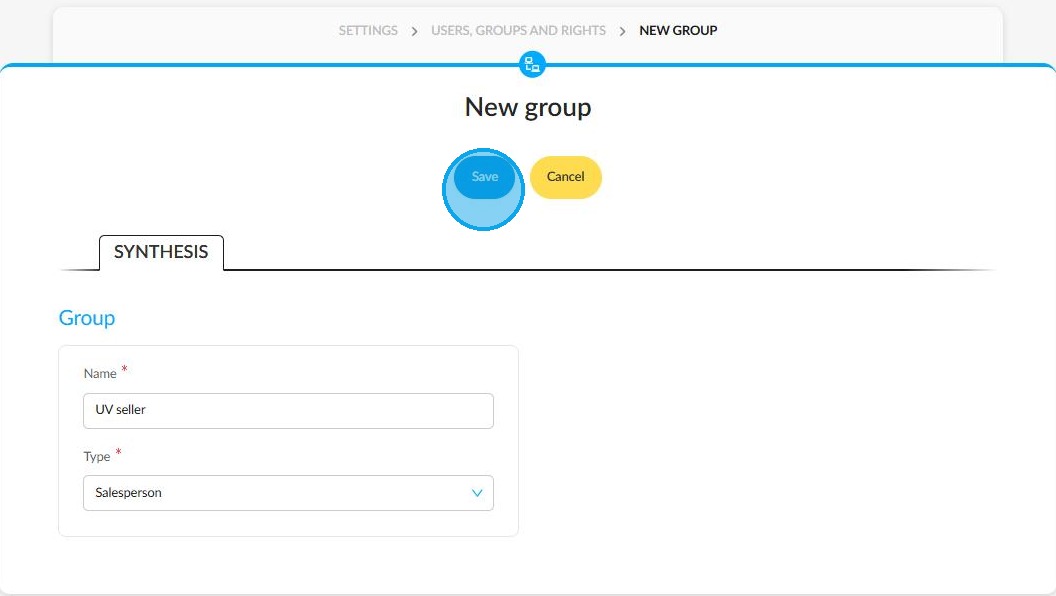
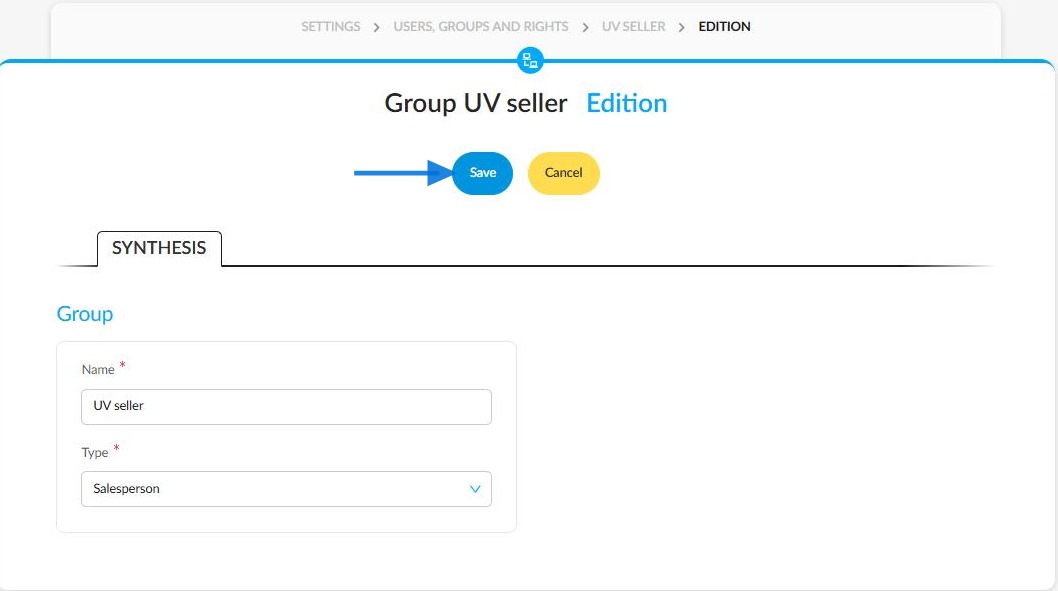
4. Next, enter the name of the group you are creating and specify its department in the 'Name' and 'Type' fields.

5. The second field contains a drop-down menu that allows you to select the relevant group type (Marketing, After-sales, Secretary, Finance/Insurance or Sales Administration).
6. Once you have completed this form, click the button at the top of the page to 'Save' the new group.
Granting permissions to the group:
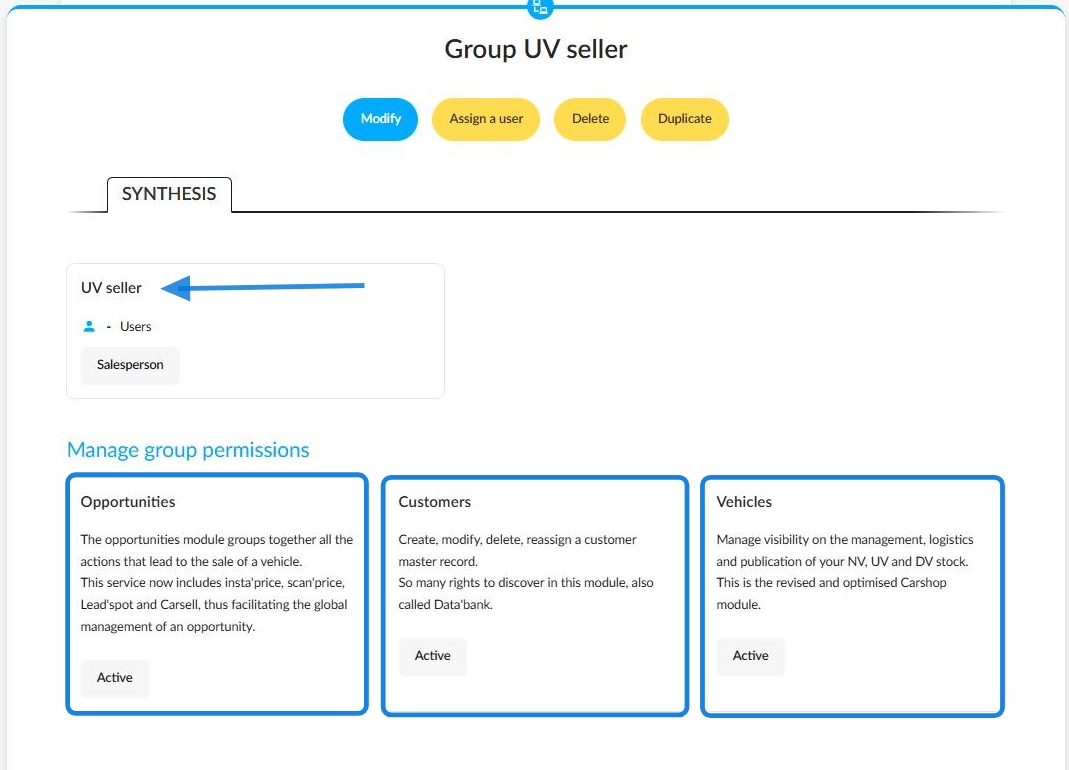
7. The synthesis page for the new group will then appear.
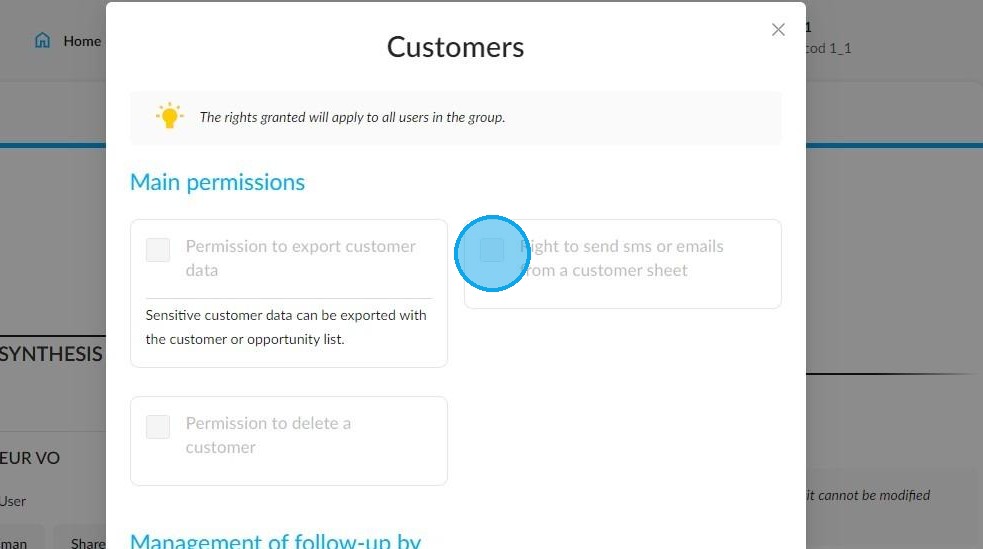
In the 'Manage group permissions' section, you can grant certain rights to users who will be assigned to the group. This must be done for each module (Opportunities, Customers and Vehicles) by ticking the permissions that you wish to give after selecting each box.
Settings / Users, groups and permissions management / Group XXX
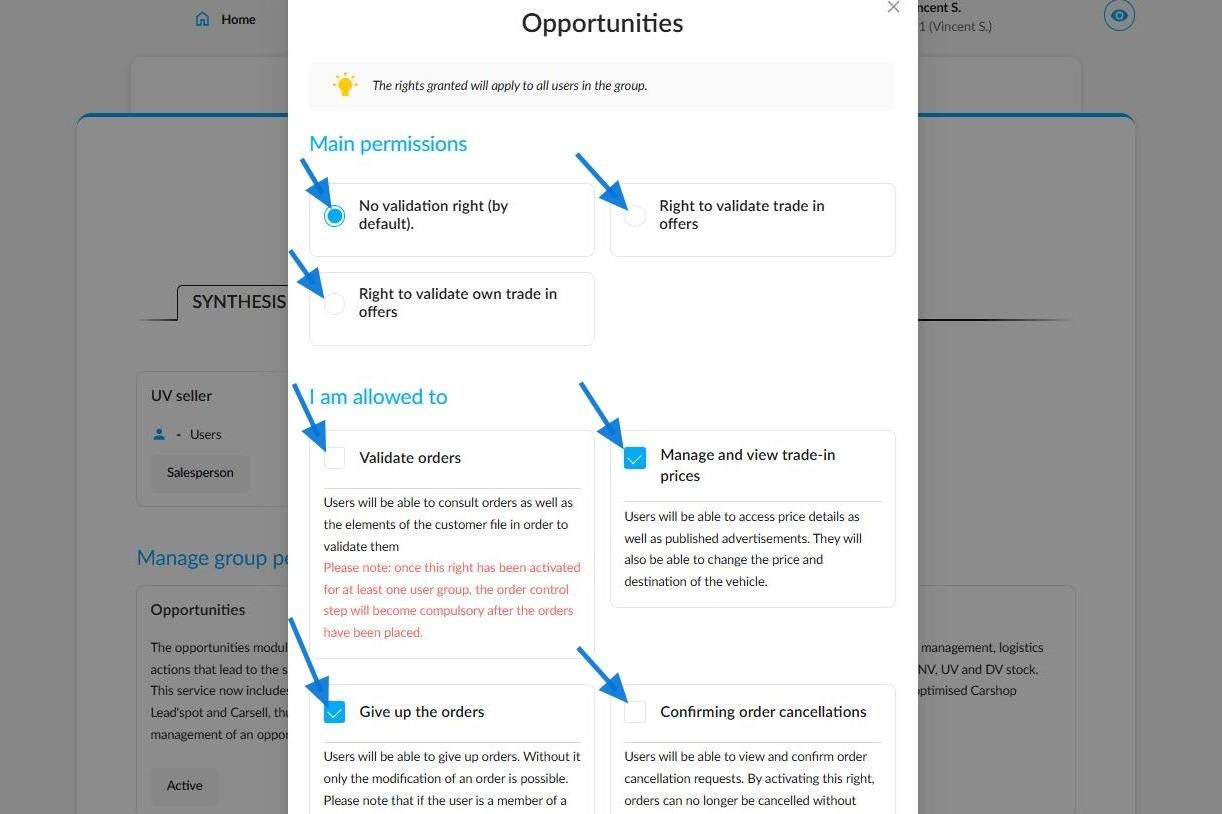
8. Here is an example of a rights management window for opportunities:
Save the rights using the button at the bottom of the window.
Editing the group:
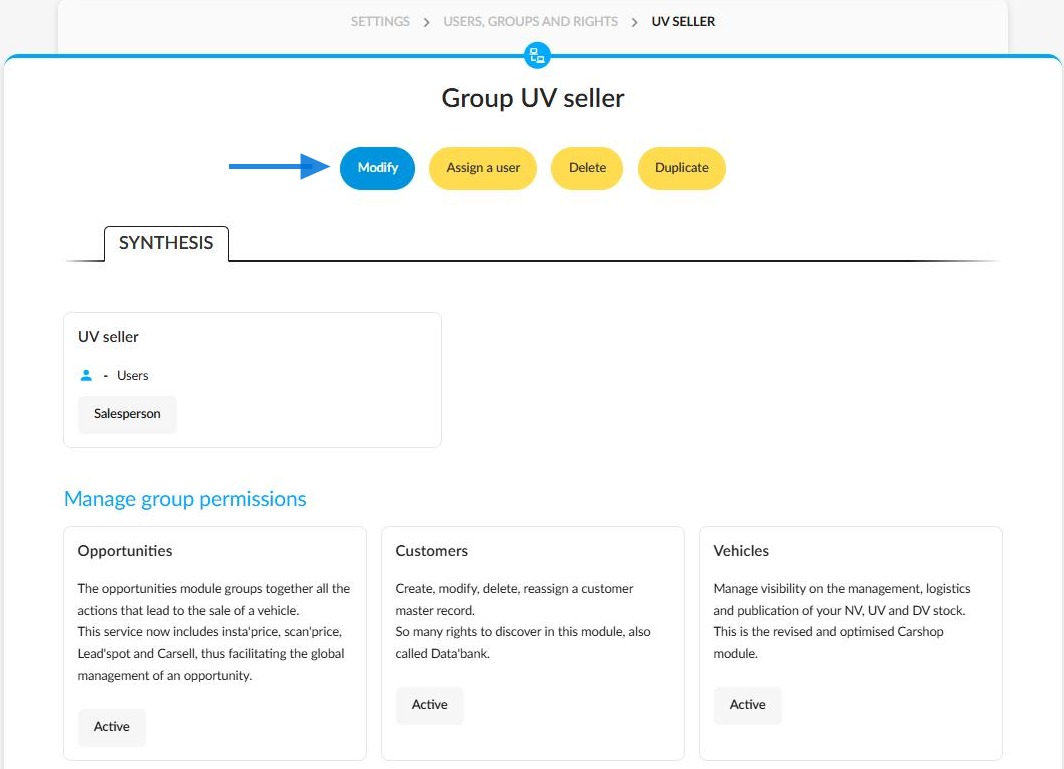
9. You can edit the group at any time. Simply go to its details page and click the 'Modify' button at the top of the page.
Settings / Users, groups and permissions management / Group XXX
10. You will now return to the screen you saw at stages 4 and 5, where you can enter the group's name and type. When you have finished, click Save to confirm your changes.
Managing a group from a holding:
If you would like to designate an entity as the holding company or head office of your group, please inform our deployment department.
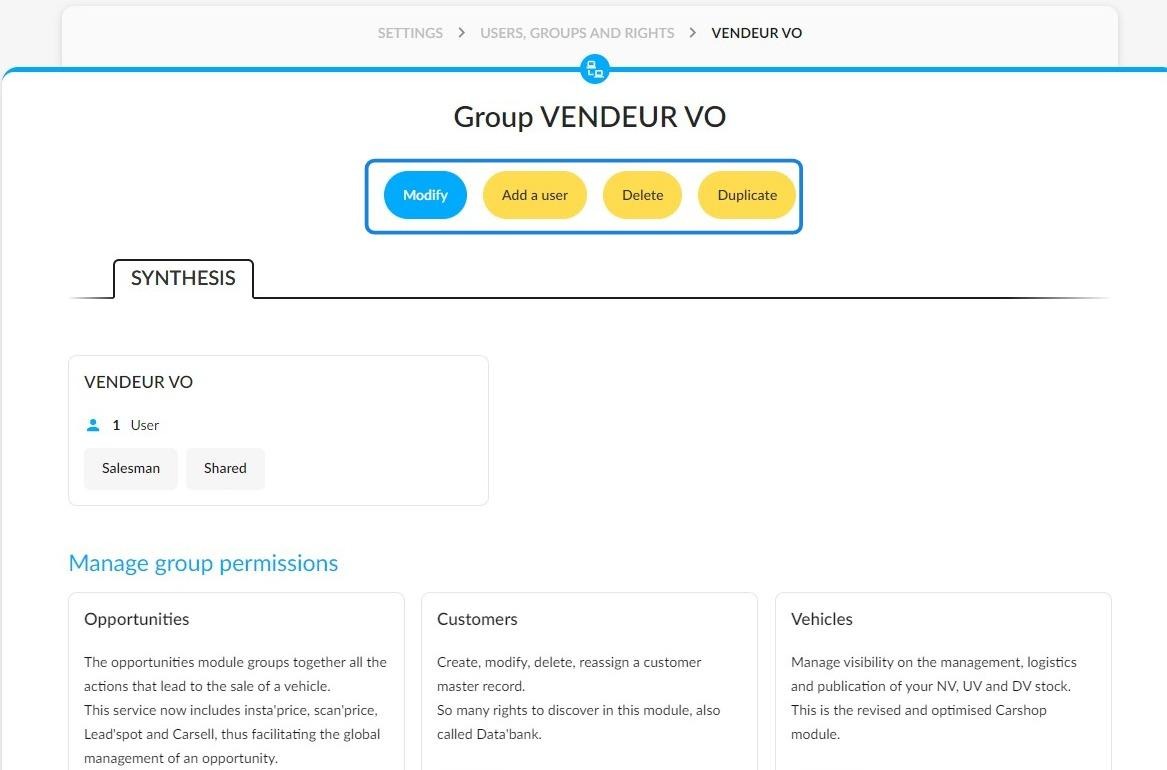
11. At the holding level, the platform administrator can create and share a user group.
This allows them to decide which permissions to grant to members of the group across all the entities that make up the group.
The various buttons to which the group administrator has access are: 'Modify', 'Add a user', 'Delete' and 'Duplicate'.
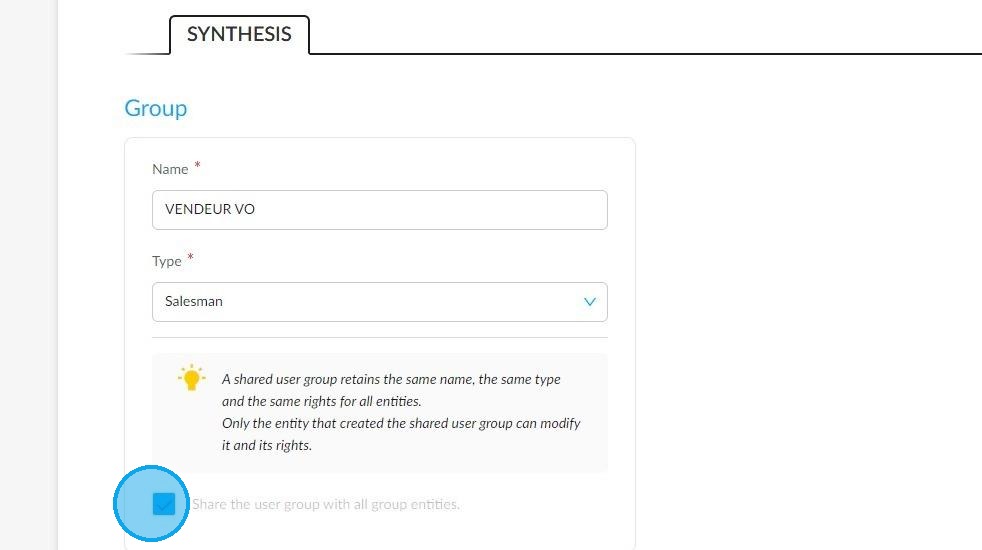
12. Ticking the box below will allow the administrator of a holding company to activate the sharing of this user group between all entities.
This setting will be displayed as a tick box labelled 'Share this user group with all group entities'.
Settings / Users, groups and rights / New group
13. The options available to a simple administrator from an affiliated entity are different:
they will only be able to Add a user and Duplicate the group. Only the holding company can edit the settings.
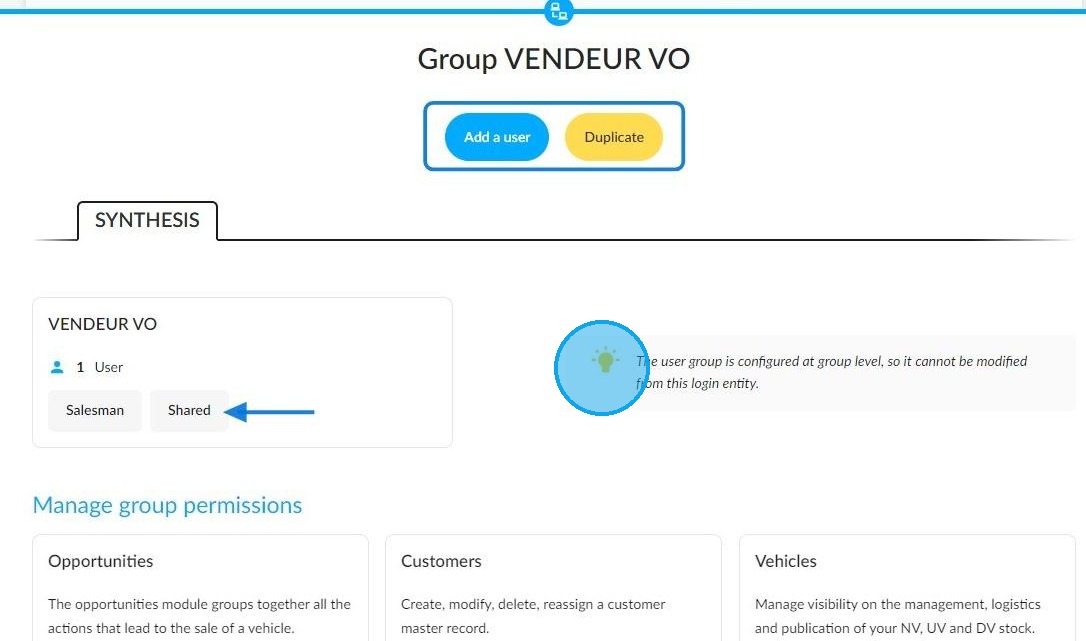
14. The rights of the group’s users are also the prerogative of the holding company.
The administrators of this entity can only consult the rights of the various modules; they are not permitted to modify them:
Comments
0 comments
Article is closed for comments.