
This guide explains the procedure for preparing an offer and then placing an order for a used vehicle in the OpenFlex software. This process takes place in the "Opportunities" module.
Contents
- Creating an opportunity
- Preparing the sales offer
- Adding administrative fees
- Adding accessories and features
- Handling delivery packages
- Adding a trade discount
- Validation and printing of the offer
- Placing an order, finalising the opportunity
Creating an opportunity:
To submit an offer and place an order, open the ‘Opportunities’ module.
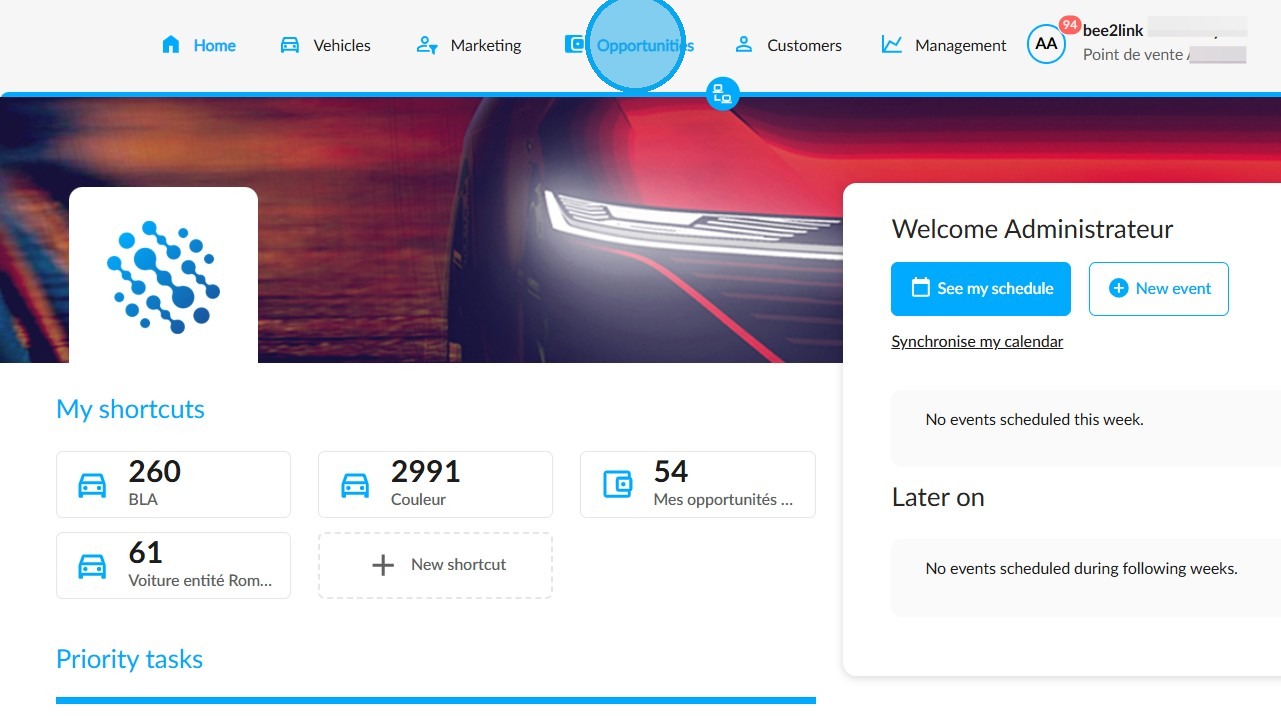
Click on the "Create an opportunity" button:
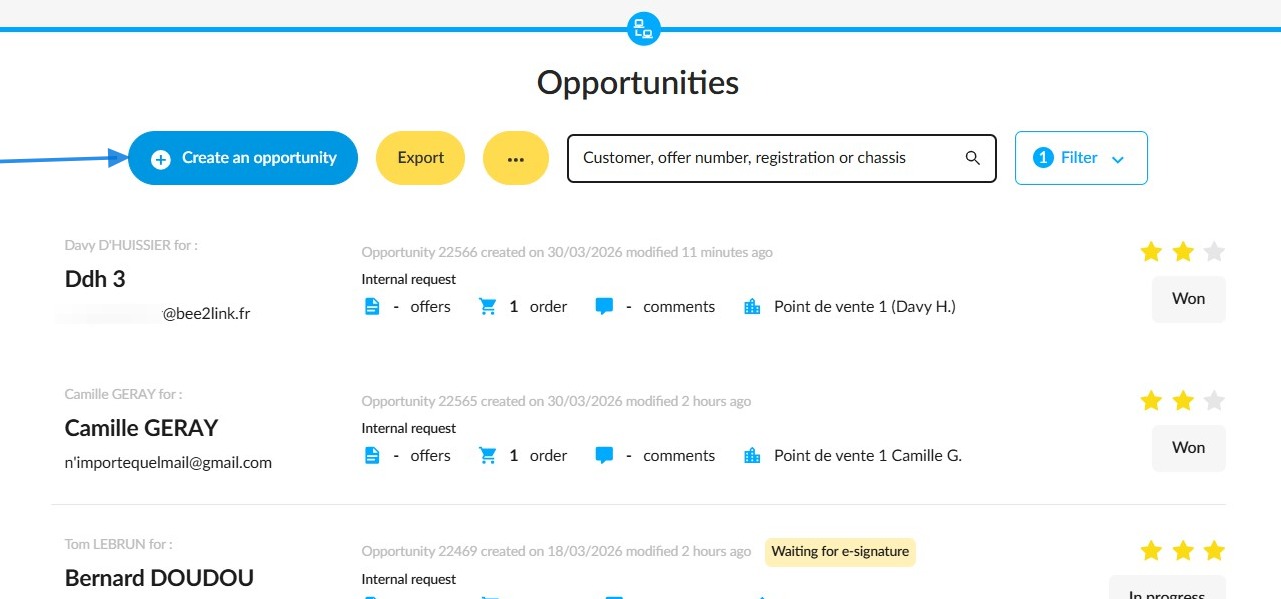
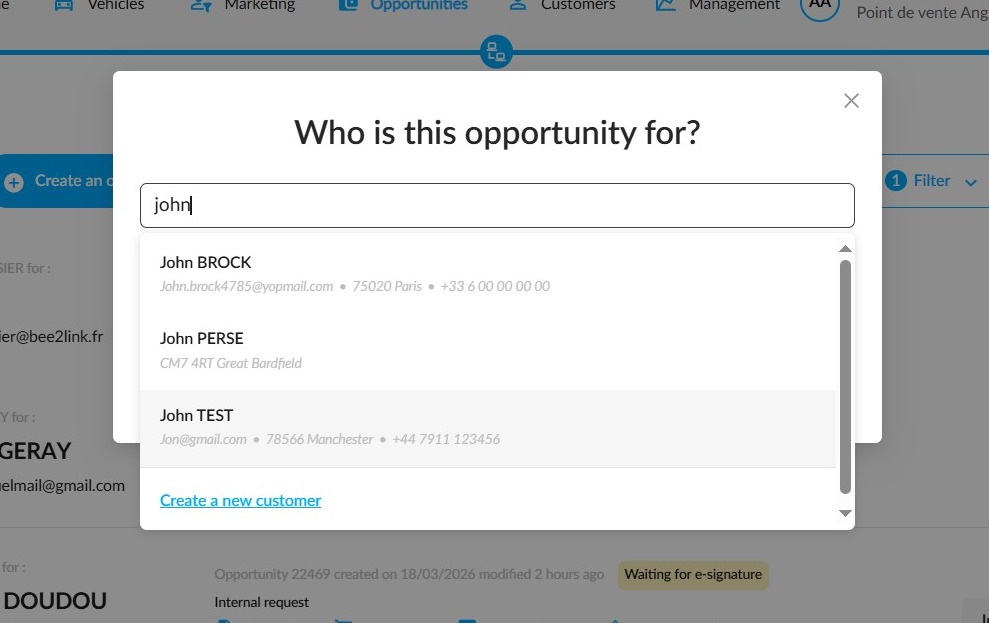
Enter the customer’s name to find them.
If they already have a customer record on the platform, their name will appear.
If they are a new customer, you can create a record for them.
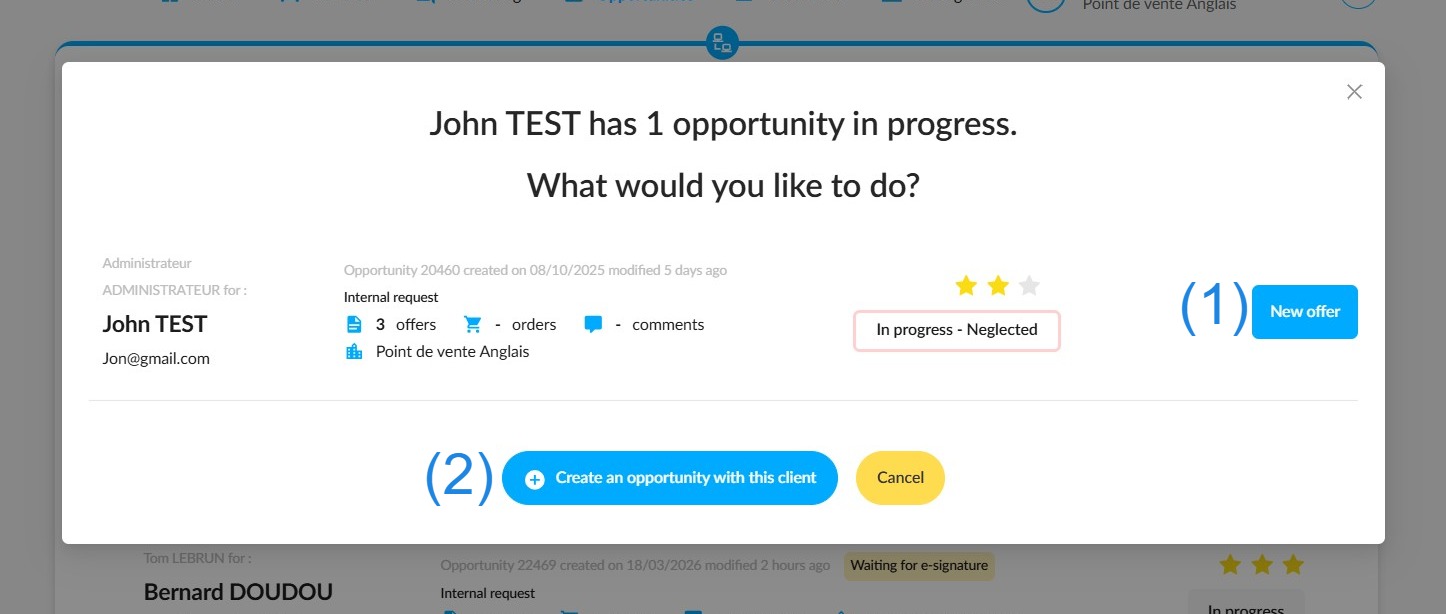
Once you have clicked on the customer’s contact details, a window will pop up to let you know if an opportunity already exists with them.
You will then have two options:
- Create a new offer within the existing opportunity (1);
or - Create a new opportunity with this customer (2).
In our demonstration, we will create a new opportunity with this customer.
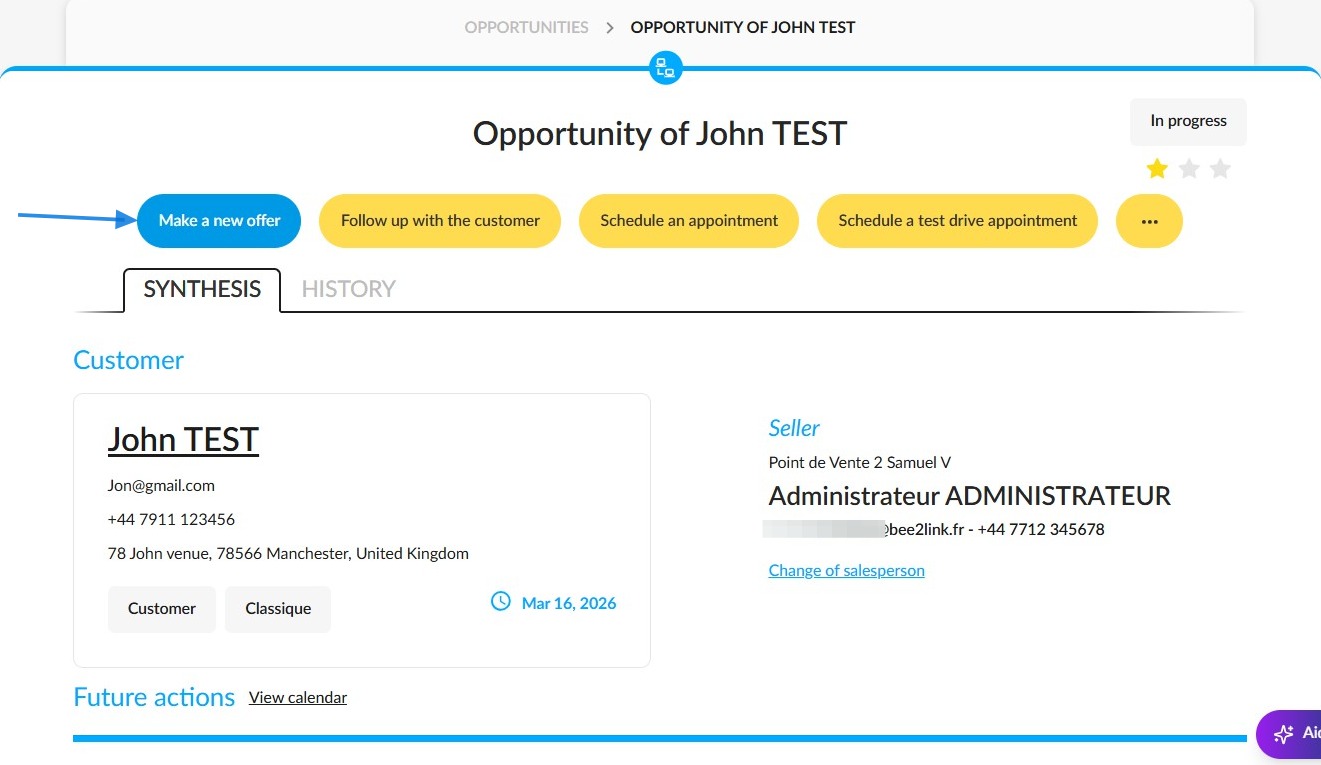
Once you have created the new opportunity, click on the "Make a new offer" button.
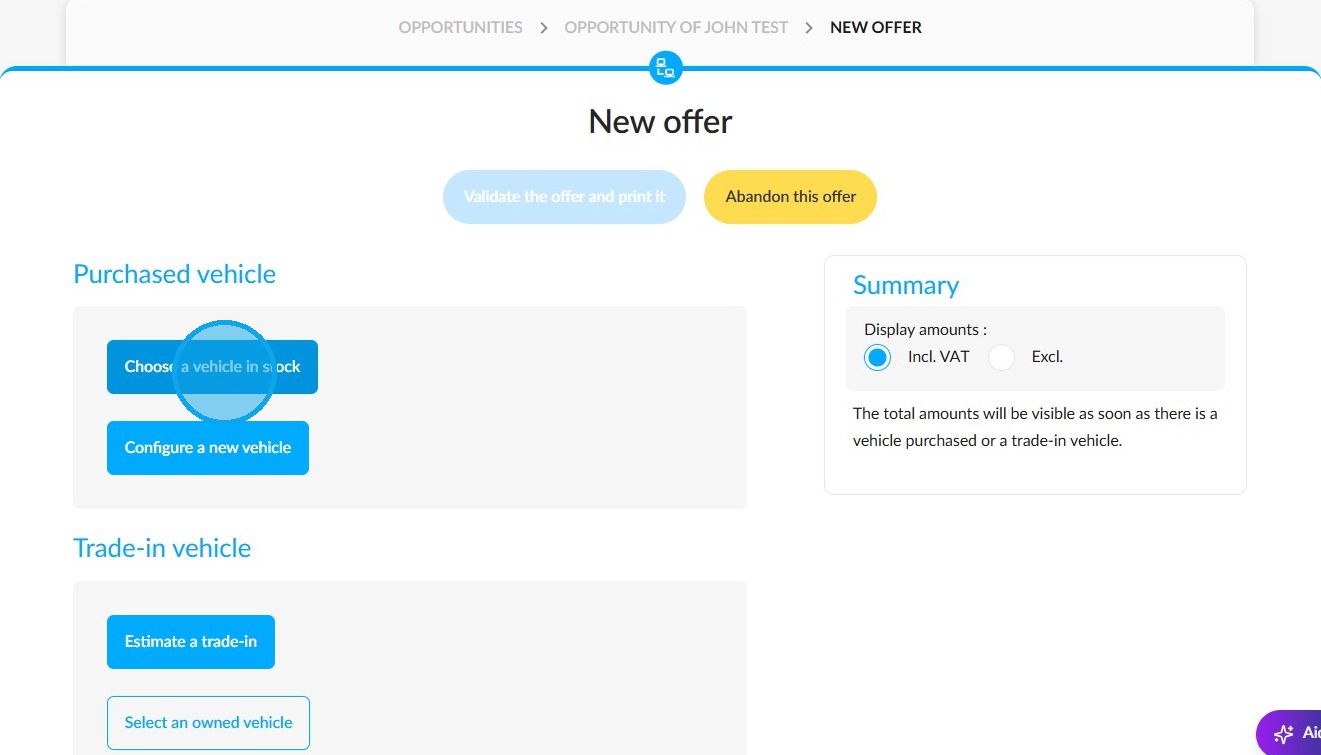
Preparing the sales offer:
Click on the "Choose a vehicle in stock" button to search for the used car to be included in the offer.
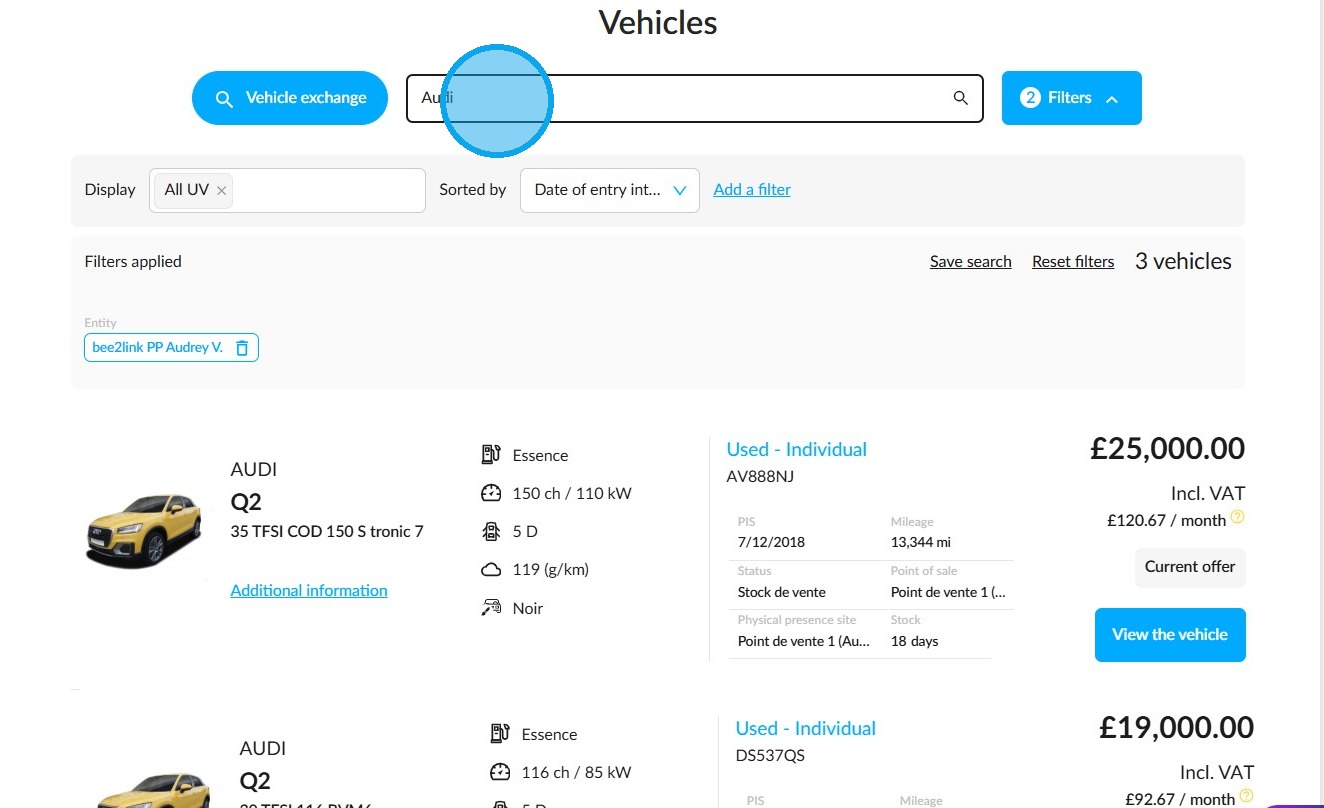
You can search for a used car by: make, model, version, trim level, registration number, internal reference number or chassis number.
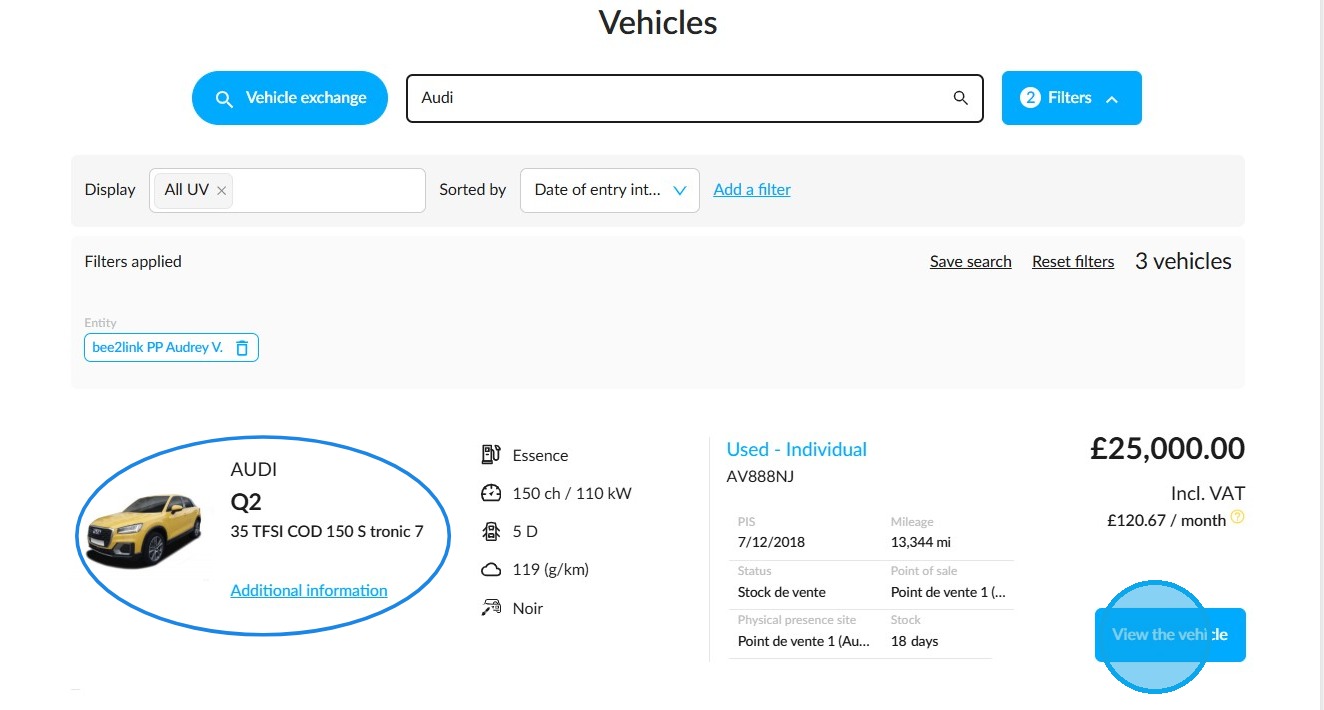
To check the vehicle's specifications and the accessories fitted to it, click on the "View vehicle" button.
Alternatively, click on the model name to add it directly to the offer.
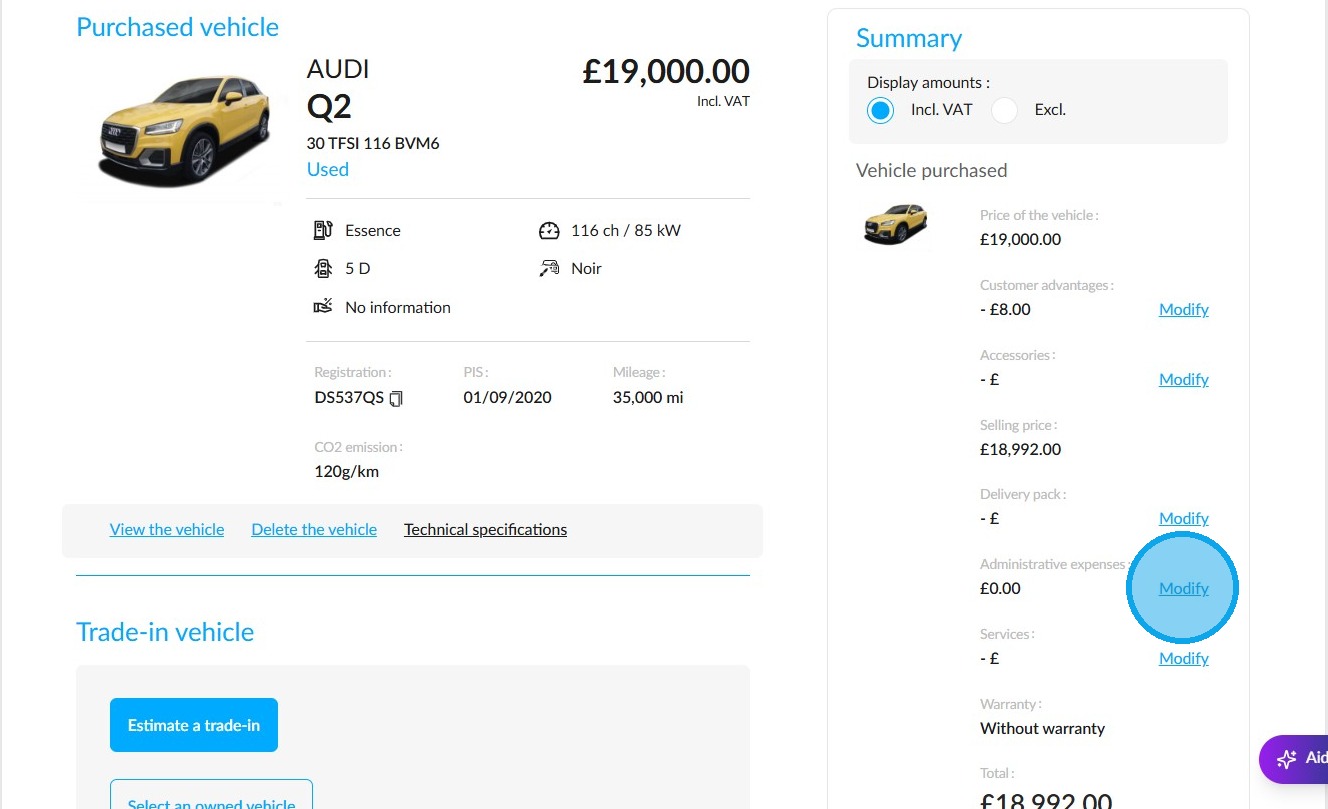
Adding administrative fees:
Next, prepare your sales proposal by including administrative fees, the delivery package, accessories and services.
Start by entering the administrative fees in the offer summary.
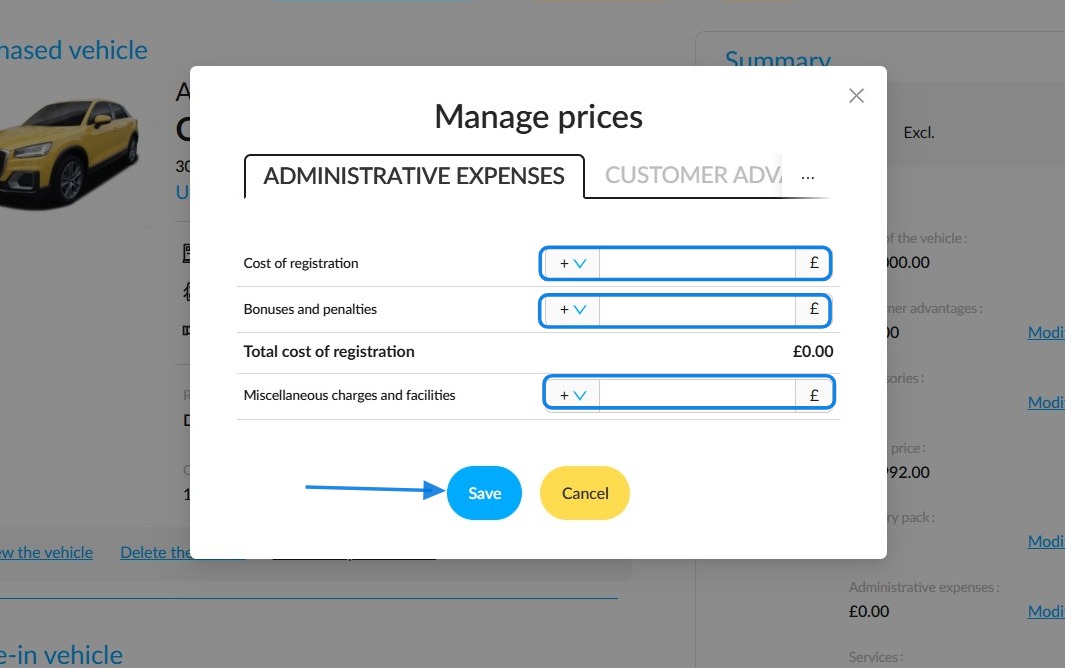
Enter the registration fee, any bonuses or penalties that apply, and any other fees.
Click "Save".
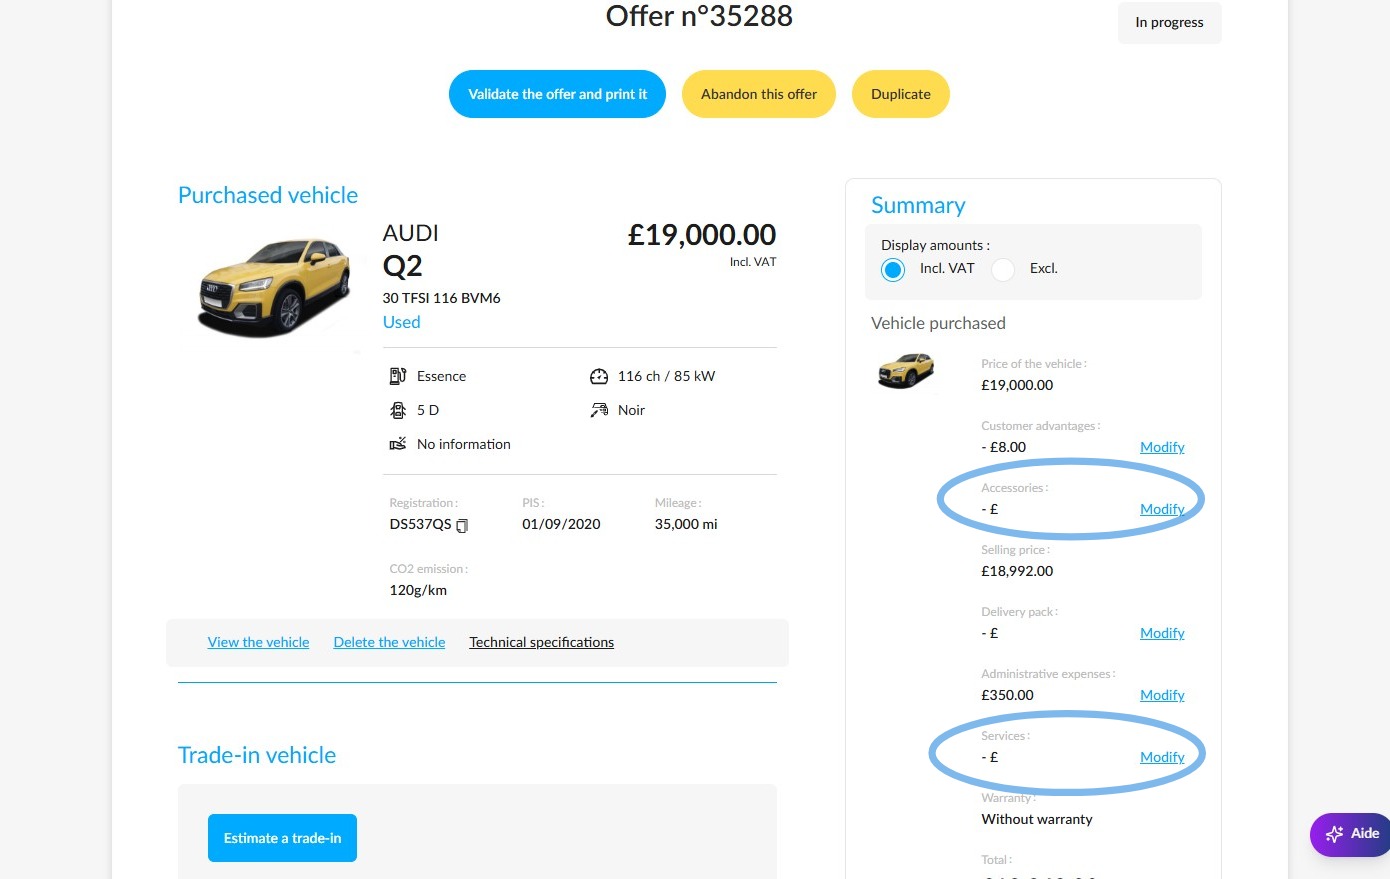
Adding accessories and features:
You can then sell additional items by clicking the "Modify" button next to the accessories/services categories:
How to add an accessory:
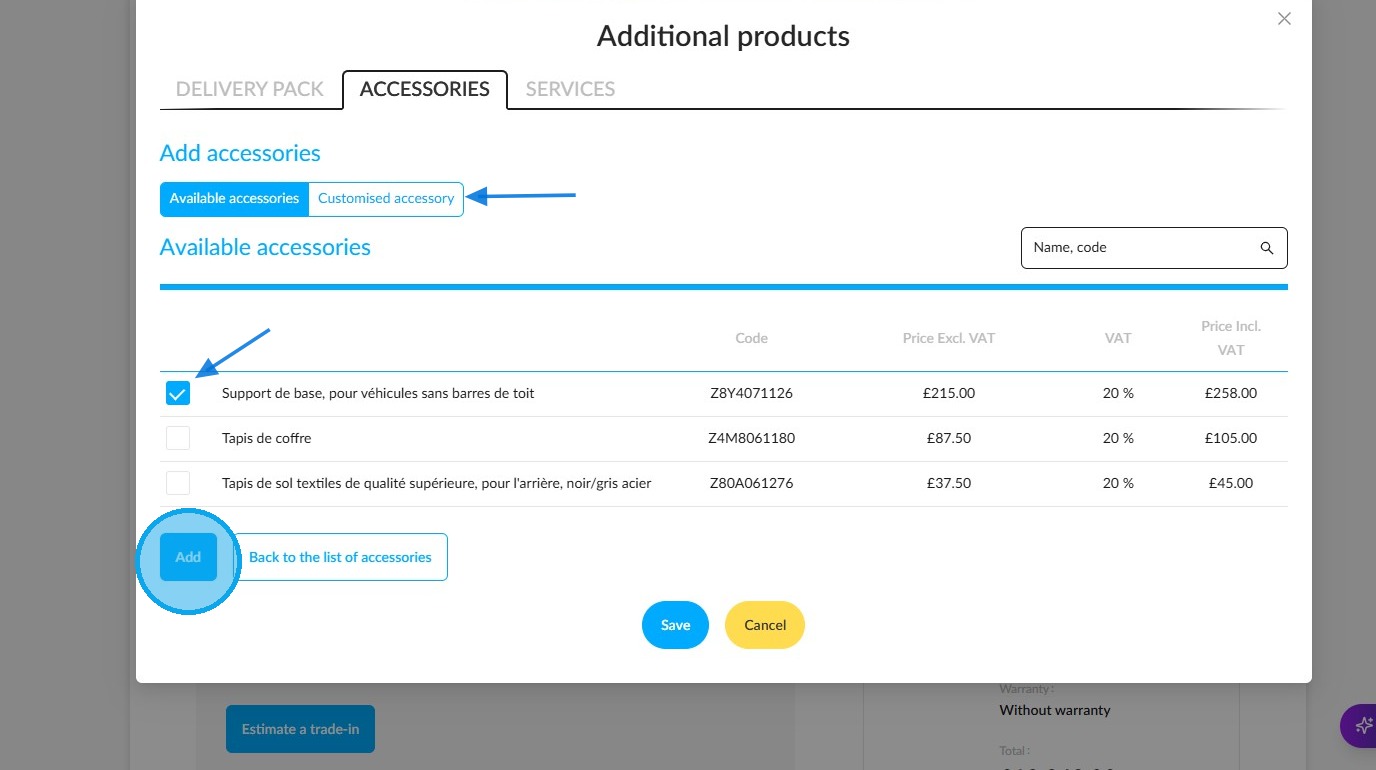
Click on ‘Add accessories’ in the ‘Additional products’ window to display the list of accessories that have been created in advance in the point of sale database (predefined accessories).
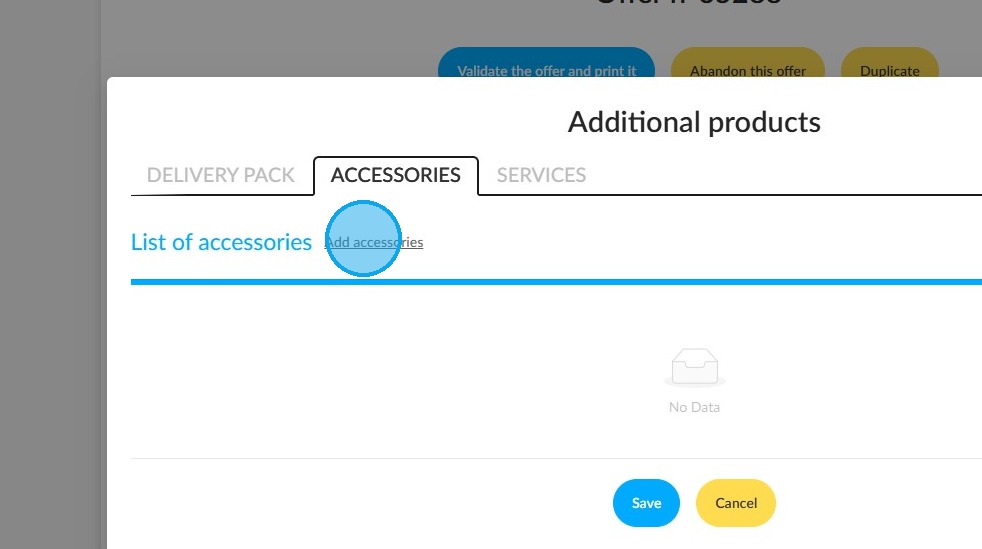
If the accessory you are looking for appears in the predefined list, select it and click "Add" to include its cost in the offer.
If, however, the accessory is not included in the list of pre-configured options, click on "Customised accessory" to create it from scratch.
Click "Save".
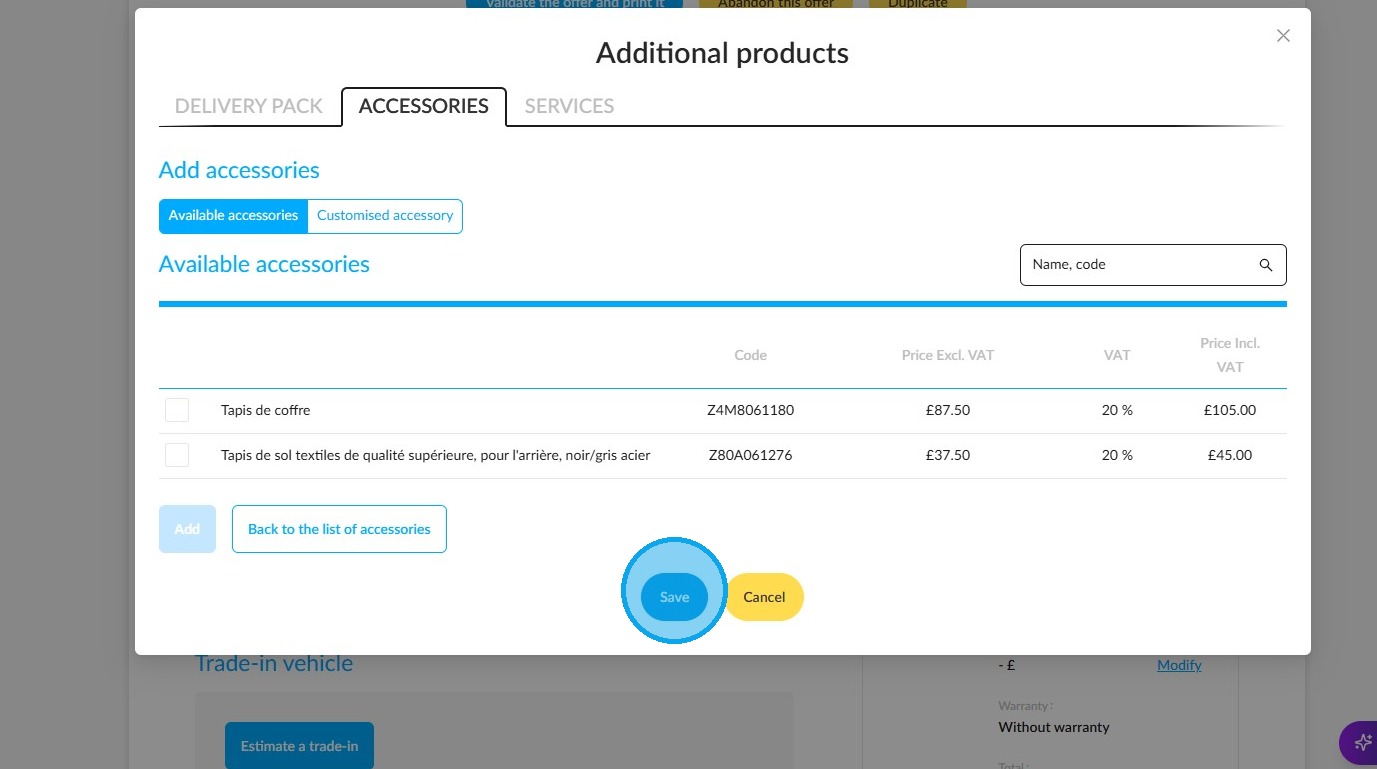
Repeat this procedure for each additional accessory.
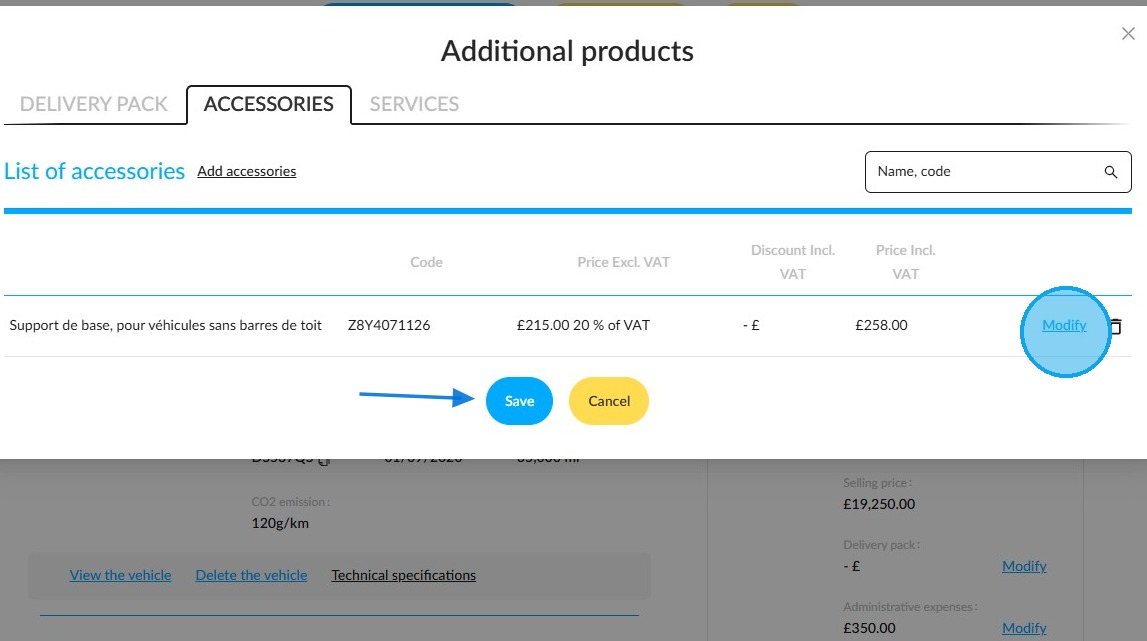
The price of each accessory may be subject to change if necessary.
Once you have finished selecting your items, click the ‘Save’ button to see the total cost of the accessories in the offer.
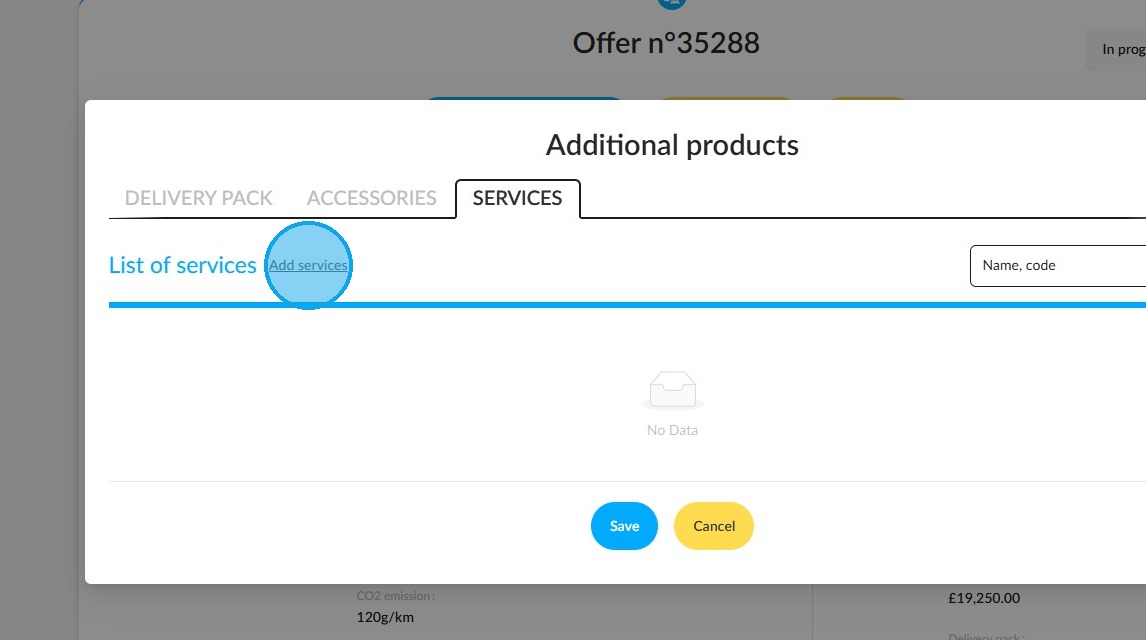
How to add a service:
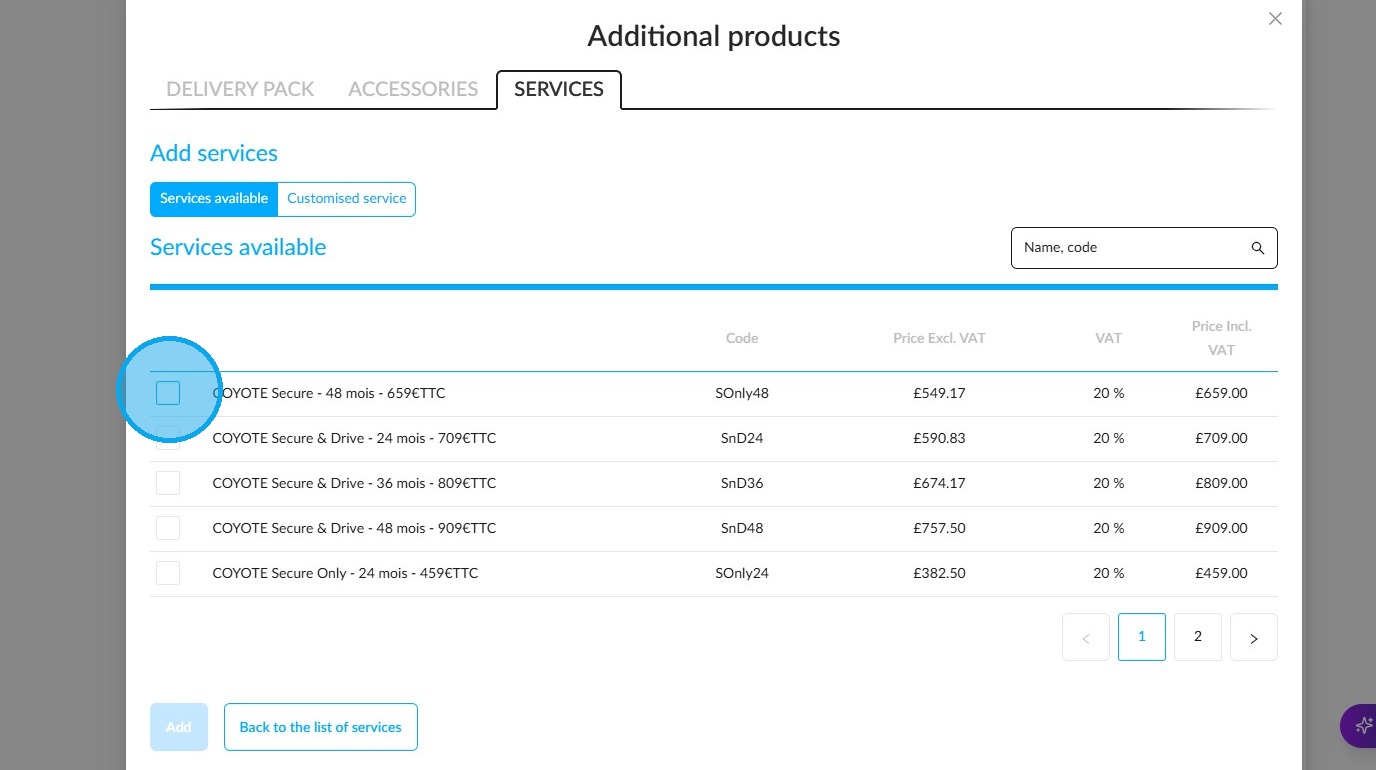
Click on "Add services" in the "Additional products" tab to display the list of services that have been created in advance in the point of sale database (predefined service).
If the service you are looking for appears in the predefined list, select it.
If, however, the service is not included among those already listed, tap the "Customised service" button to set it up from scratch.
Click ‘Add’ to include the cost of the service in your offer.
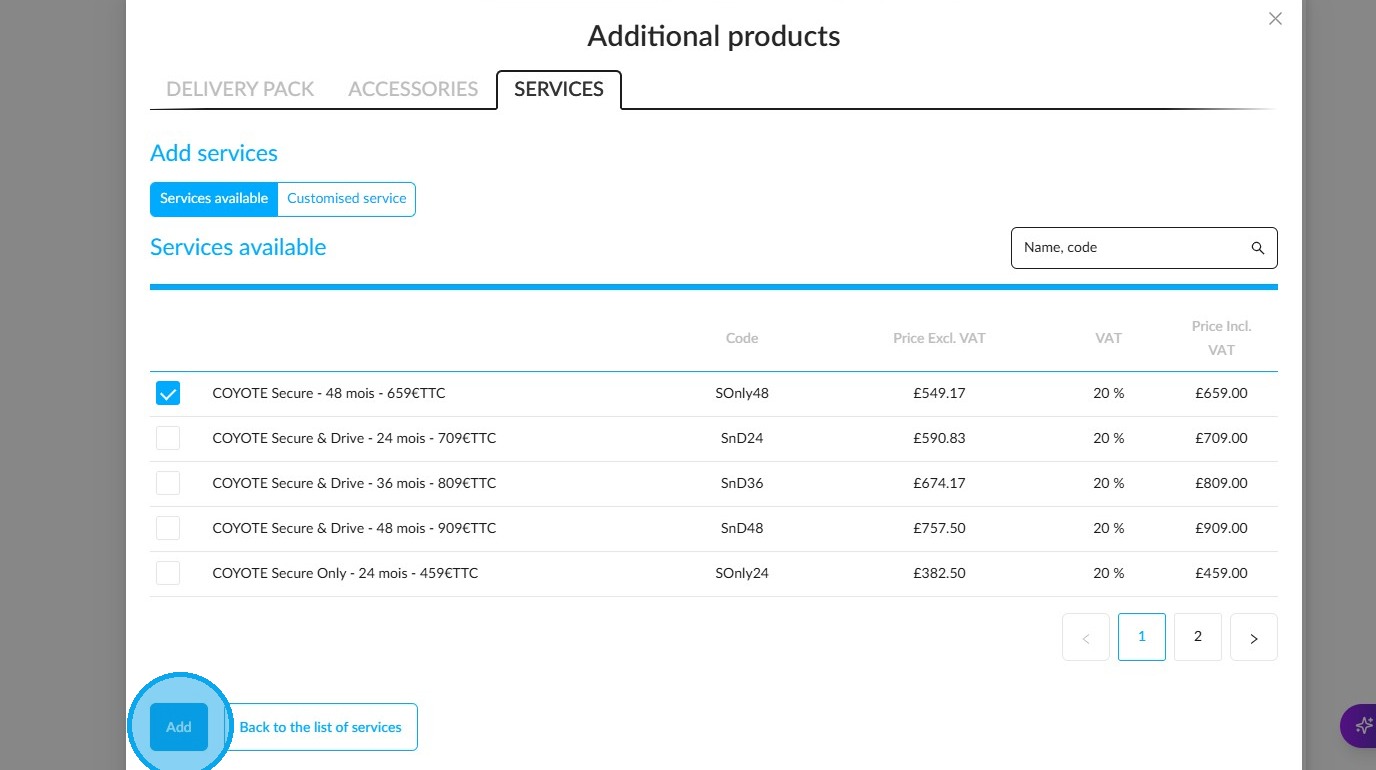
Repeat this procedure for each additional service.
The price of each service may be subject to change if necessary.
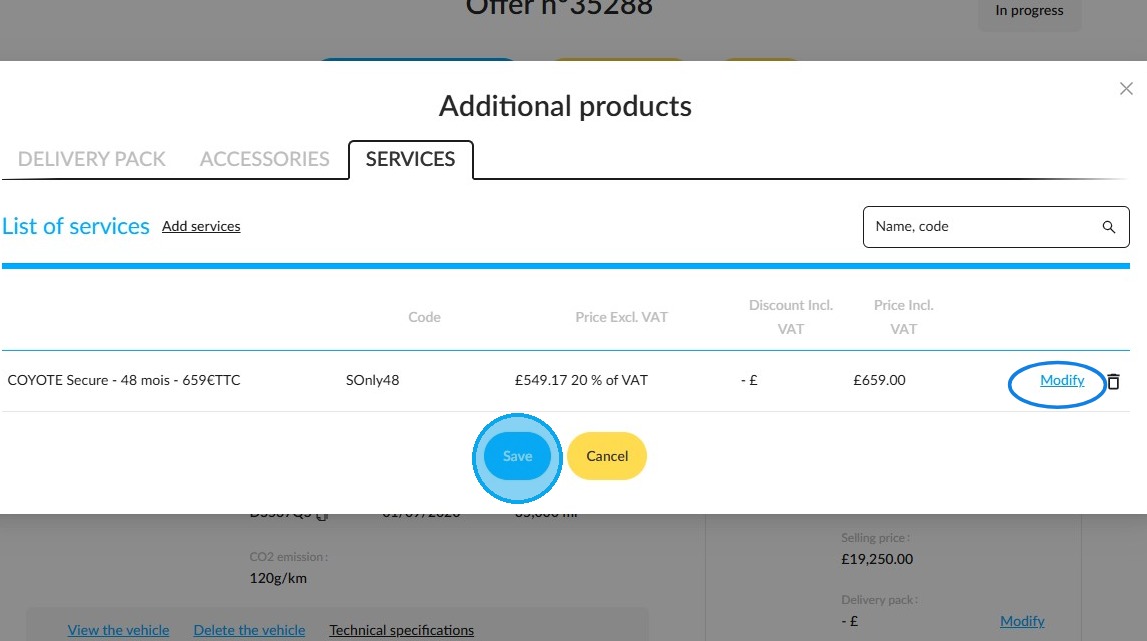
Once you have finished making your selection, click the ‘Save’ button to view the total cost of the services in the offer.
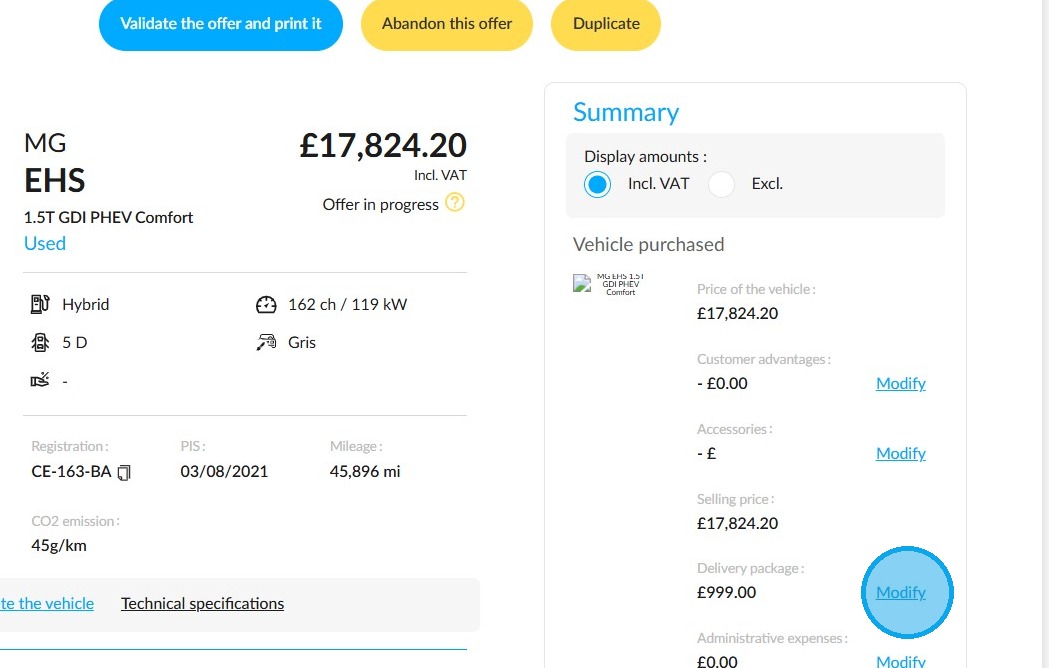
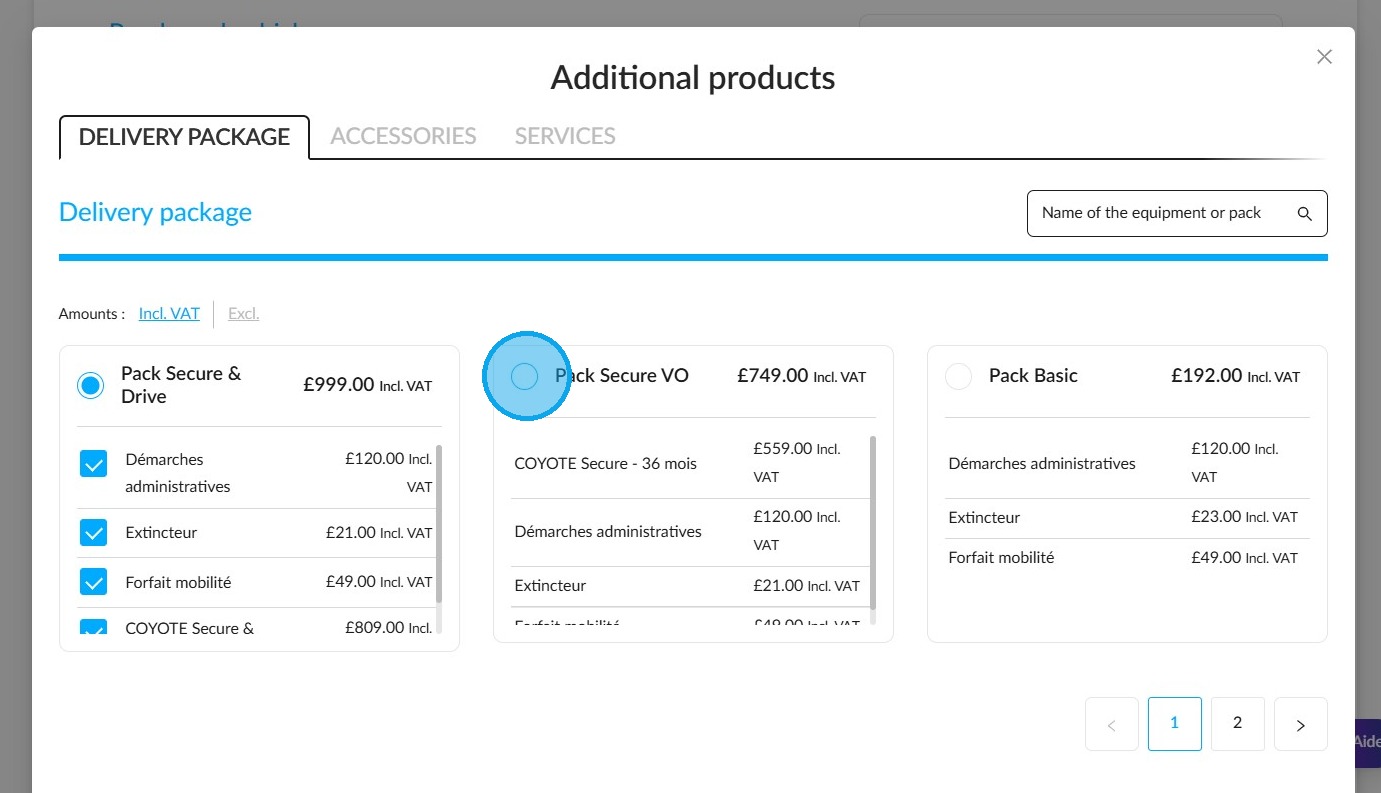
Handling delivery packages:
A delivery package will be automatically added to the offer if it has been configured in advance in the settings.
If several delivery packages are compatible with the vehicle model included in the offer, the most expensive one will be selected by default.
Click the ‘Modify’ button to view the different delivery packages available and their contents.
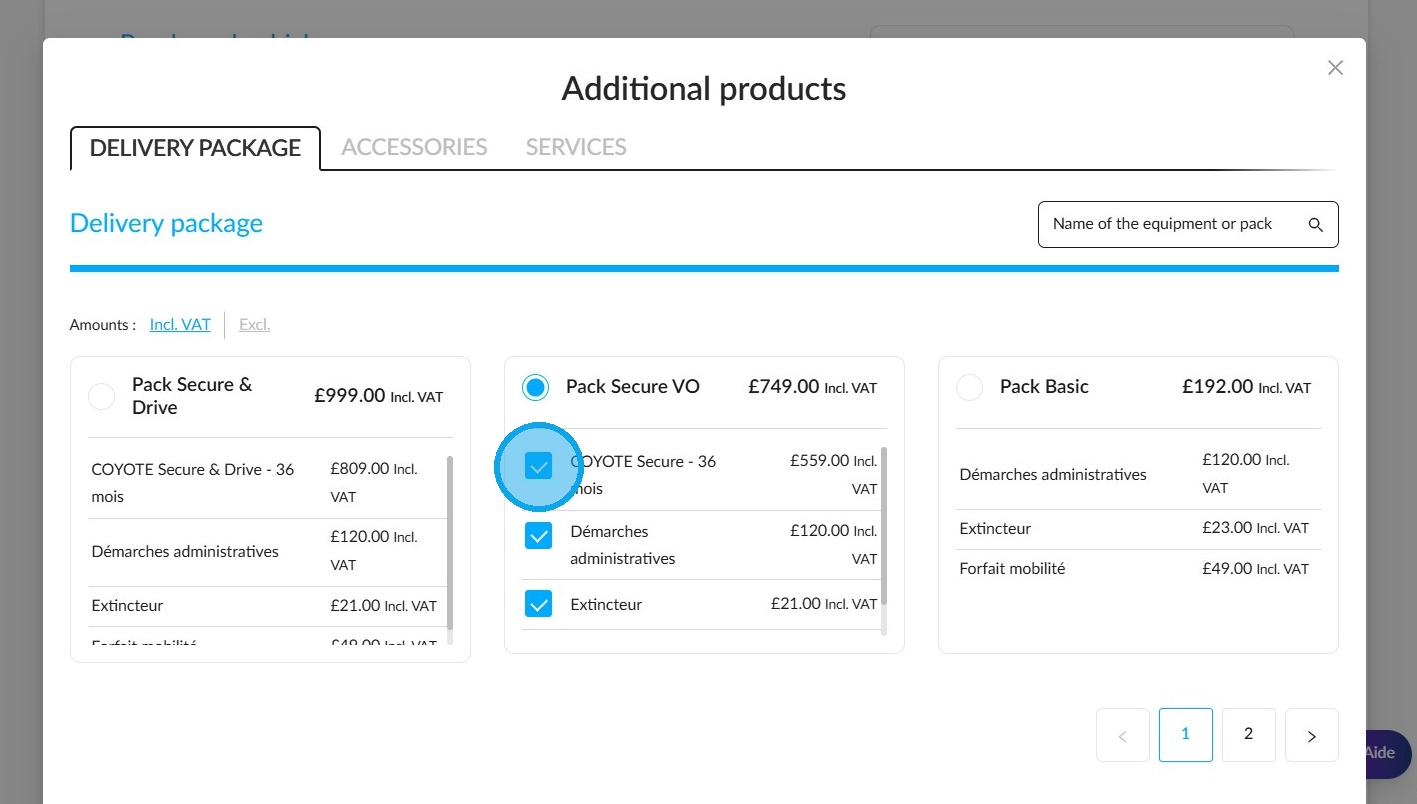
Switch between packages as you wish by clicking on them.
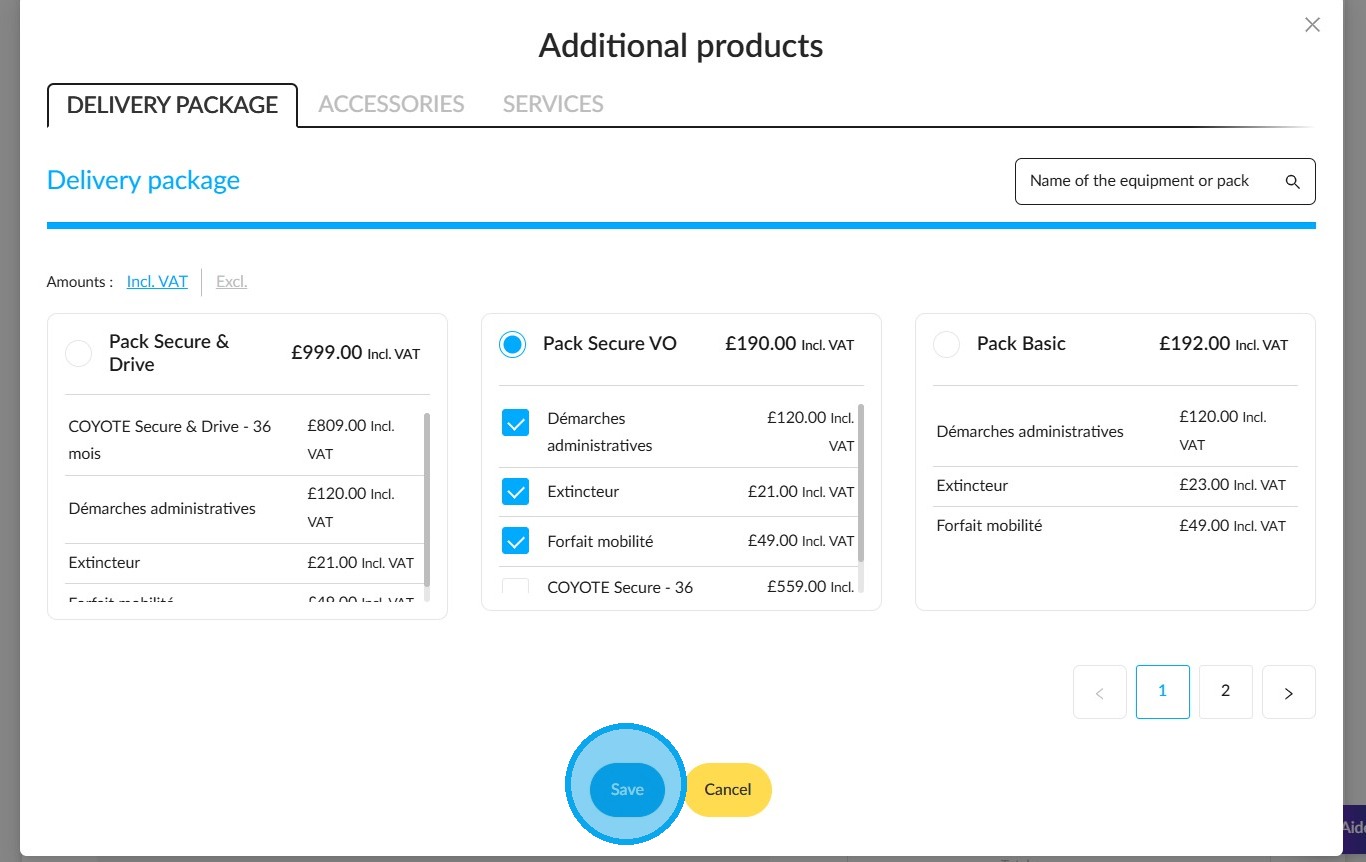
Items included in the package can be removed and deducted from the price by ticking the box next to their name.
Once you have made your selection, click "Save" to update the offer.
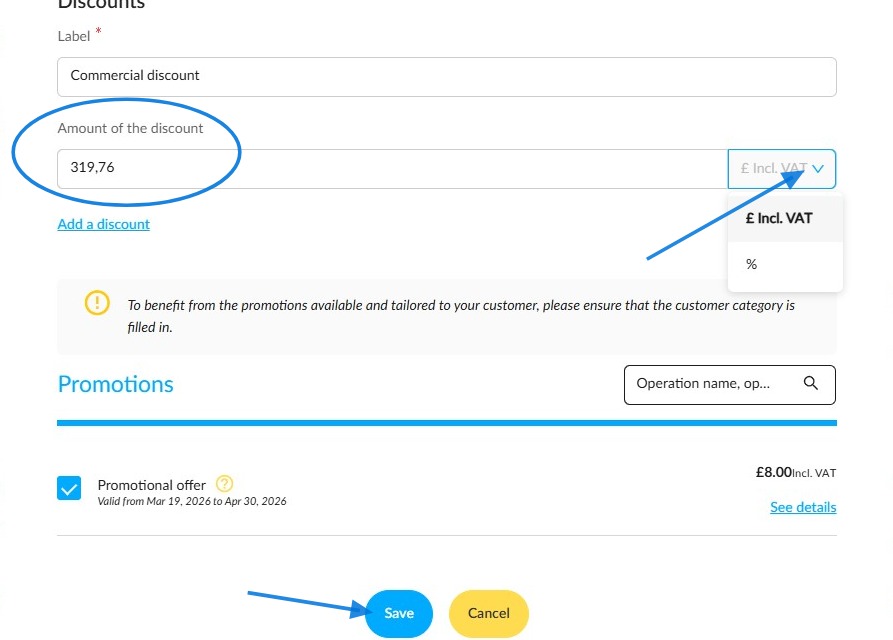
Adding a trade discount:
You can add a discount to the offer by clicking the 'Modify' button in the 'Customer advantages' section, if you wish.
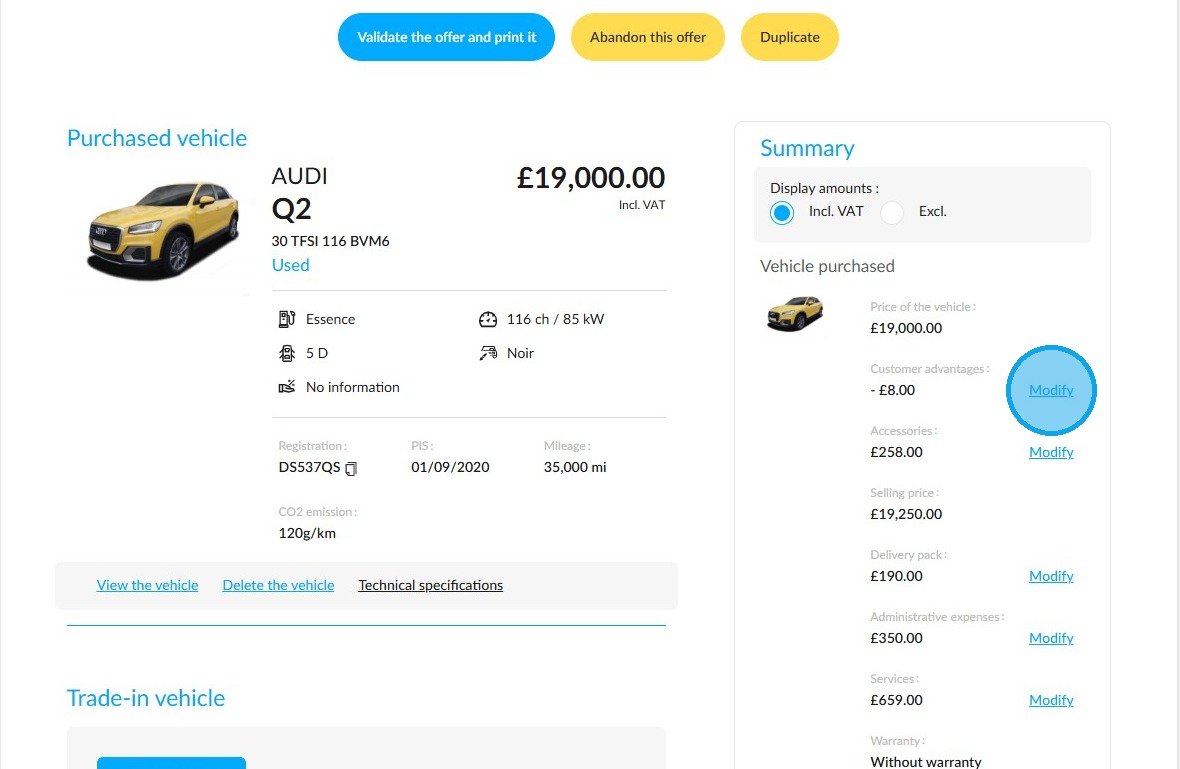
Enter the discount amount, either in euros or as a percentage. Then click "Save" to apply it to the offer.
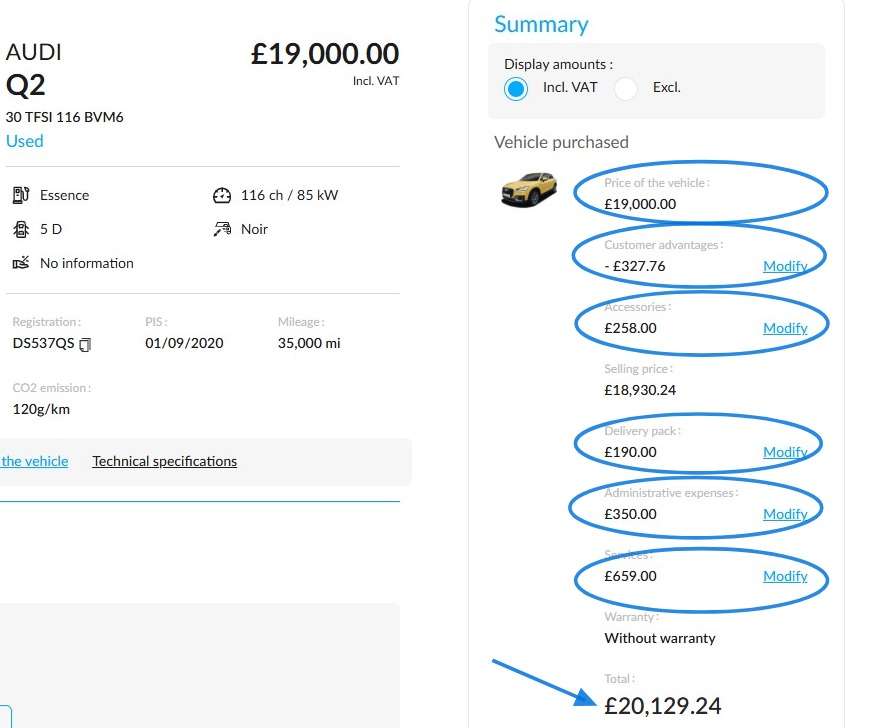
Overview of the offer summary once configured:
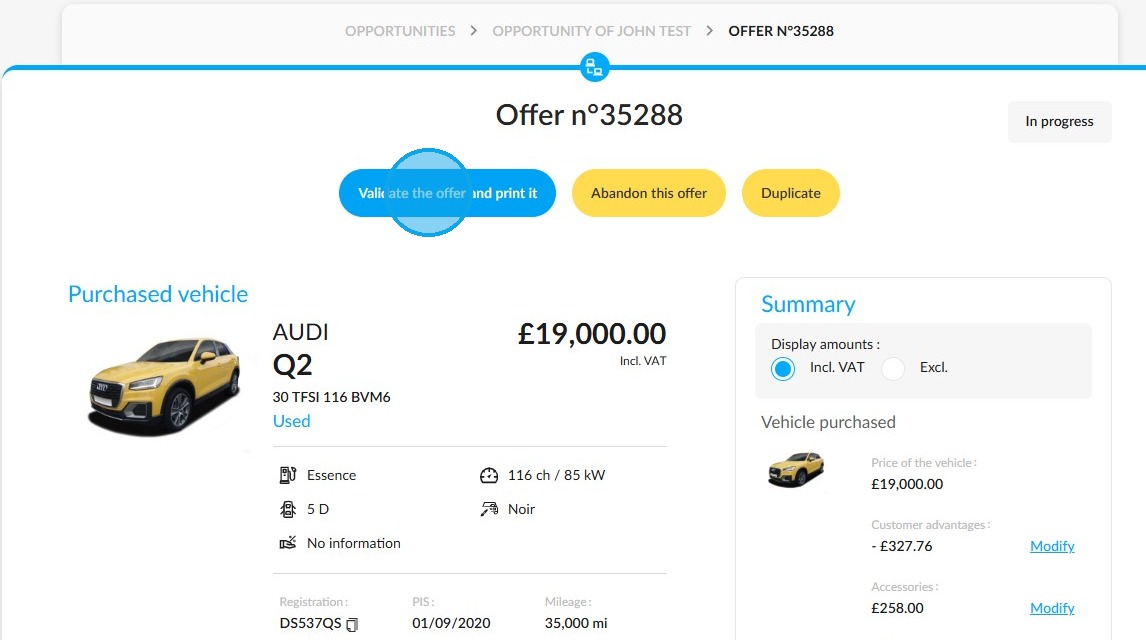
Validation and printing of the offer:
To proceed, please click the button labelled "Validate the offer and print it" to finalise your offer.
Select the list of documents to print, then click ‘Validate and print’ to start printing.
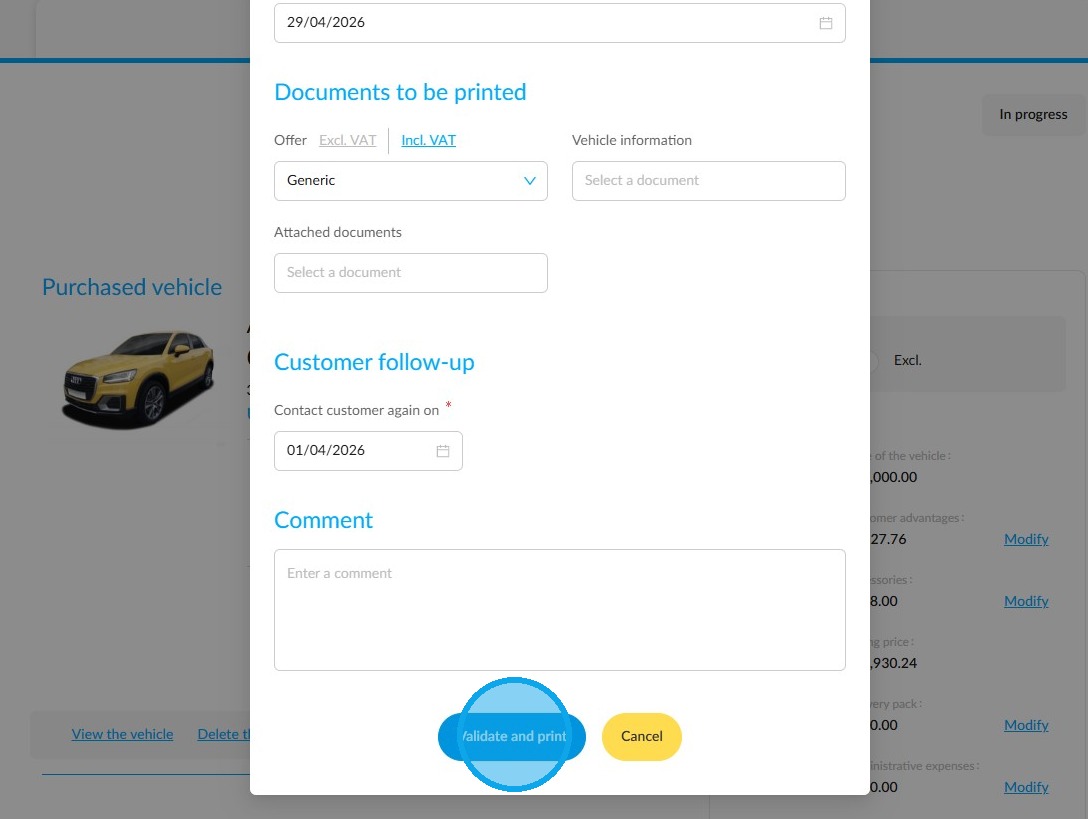
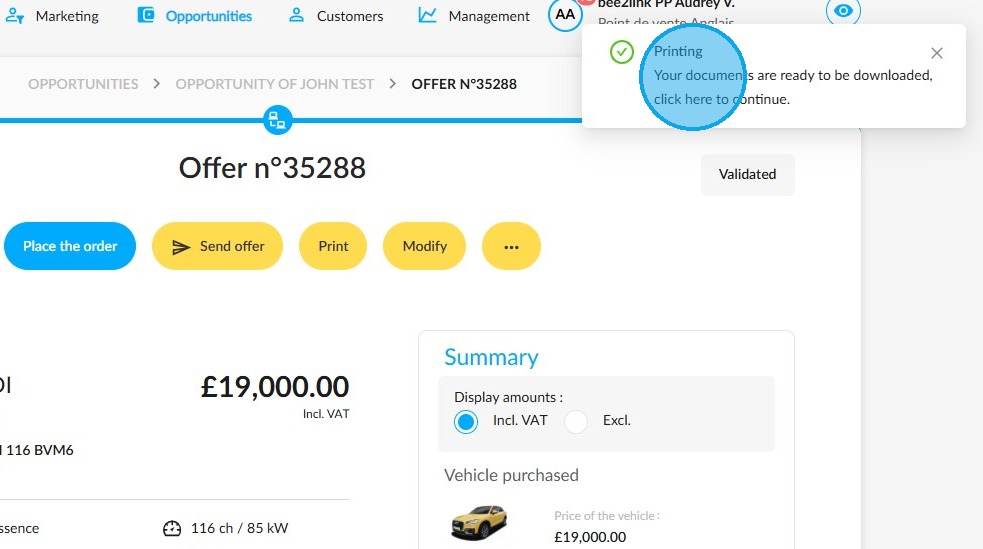
A pop-up window will appear to notify you once the sales documents are ready to download.
Click on it to view them.
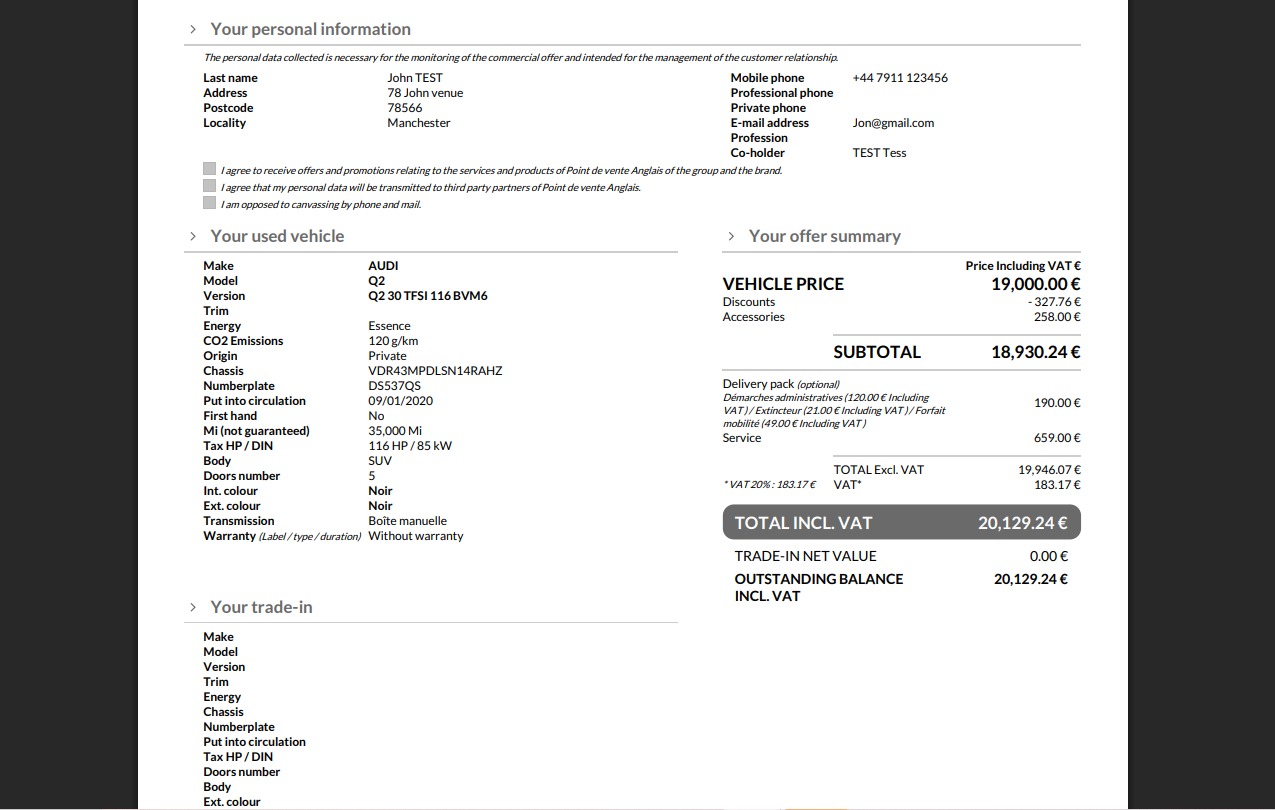
View the offer.
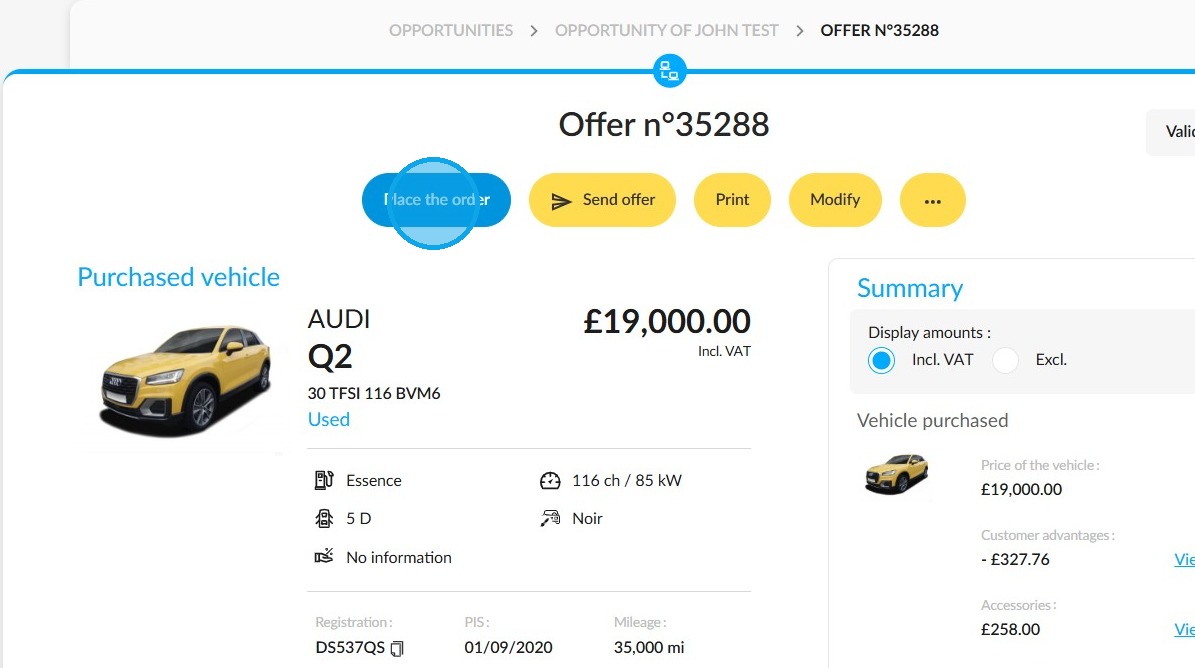
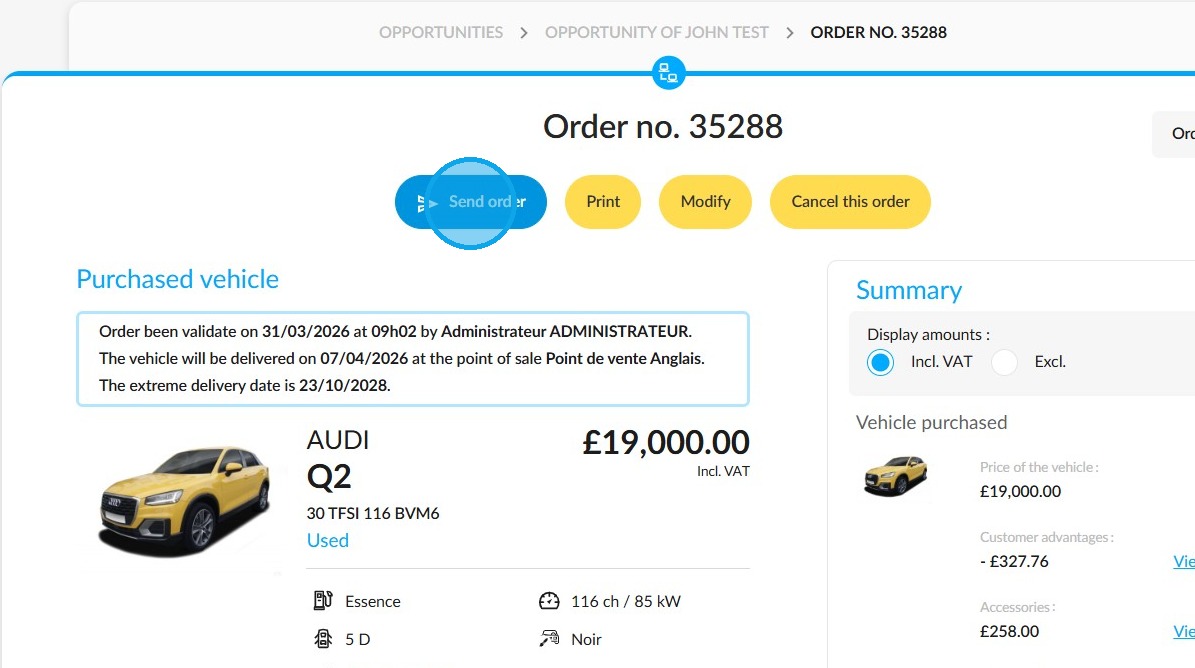
Placing an order, finalising the opportunity:
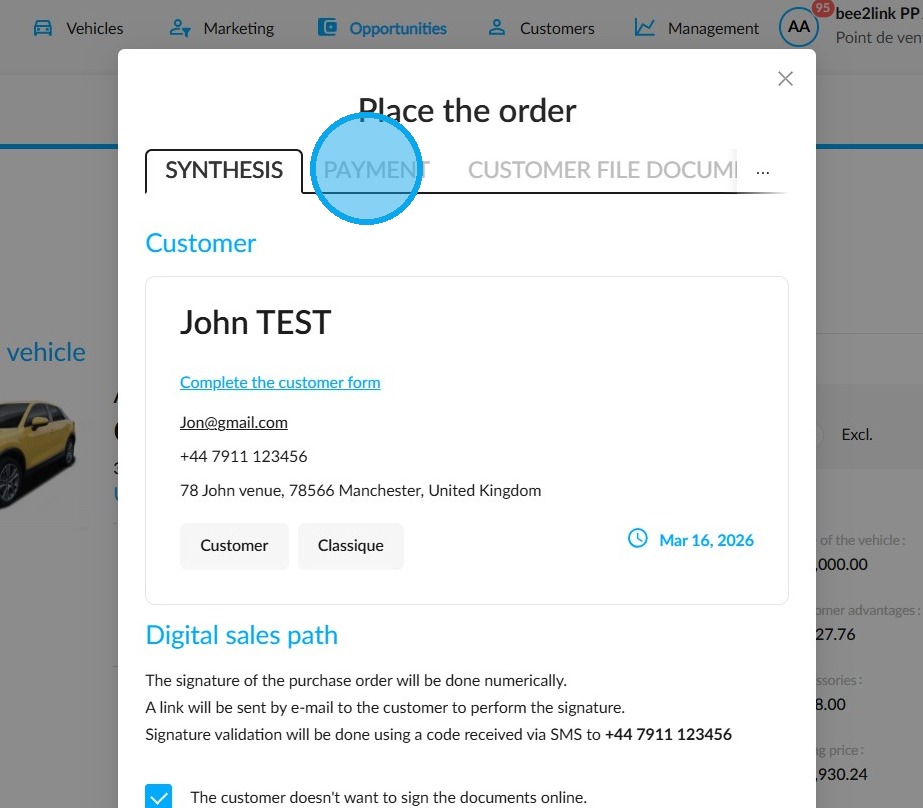
If the customer wishes to confirm the transaction, click the "Place the order" button.
To configure all aspects of the order (delivery date, payment method, document generation), you need to complete three tabs: ‘Synthesis, ‘Payment’ and ‘Customer File Documents’.
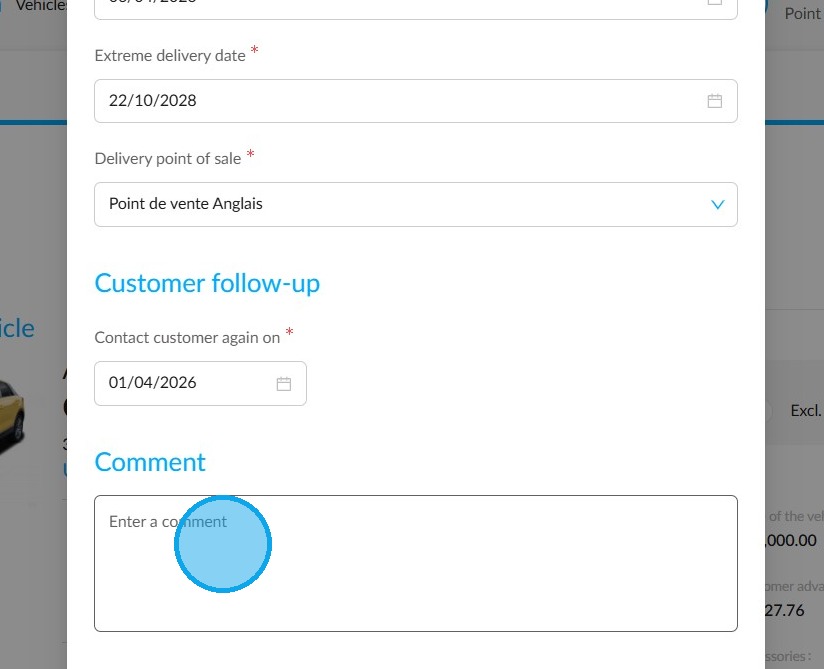
In the "Synthesis" tab, check and enter:
- A date for the planned delivery of the vehicle.
- A latest delivery date.
and - The point of sale where the delivery will take place.
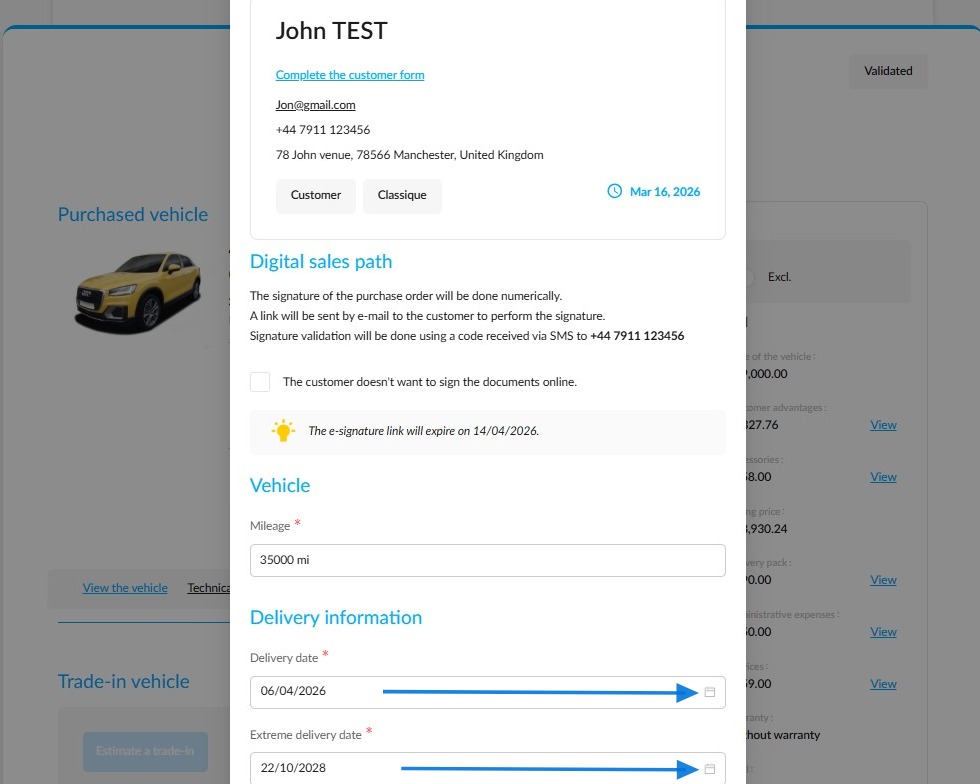
If necessary, a comment may be entered.
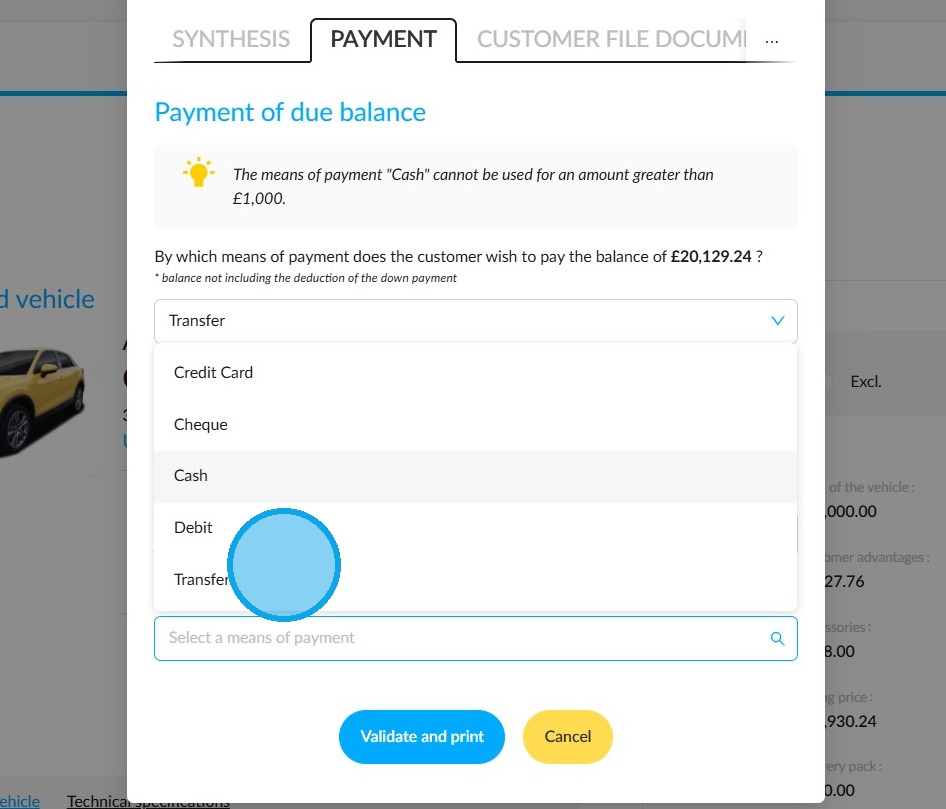
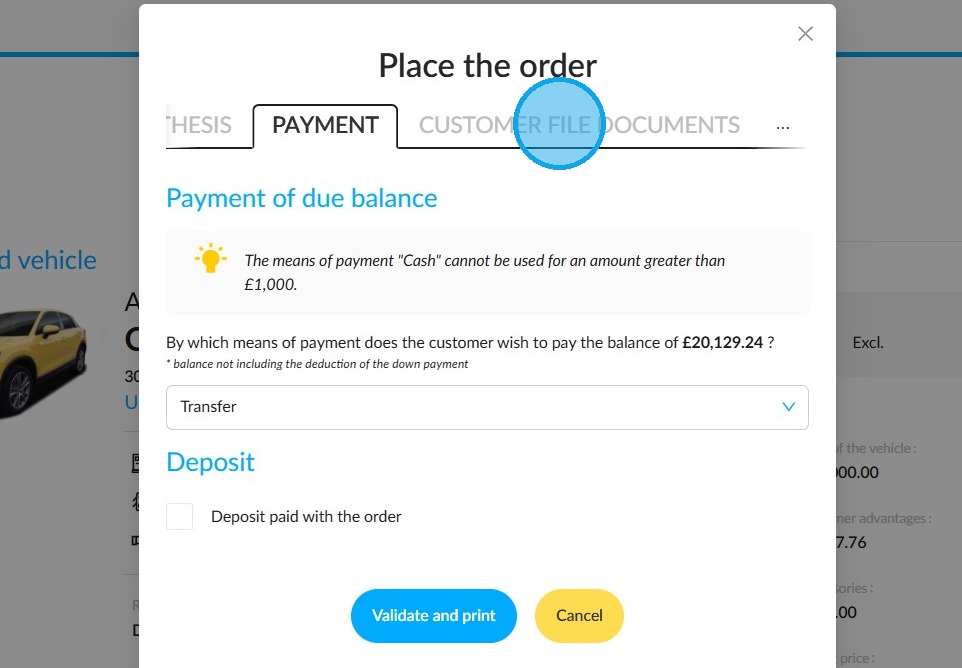
Next, scroll back to the top of the page to select your payment method for the order in the "Payment" tab.
Please specify the chosen payment method and whether the customer intends to pay a deposit.
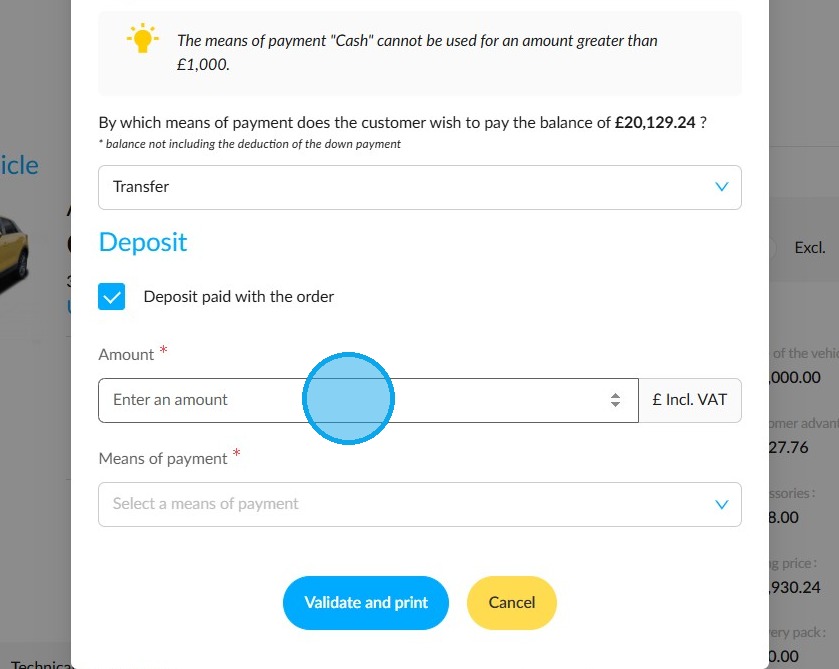
If a deposit is required, enter the relevant amount and the payment method used. This information must be entered in the "Amount" and "Payment method" fields.
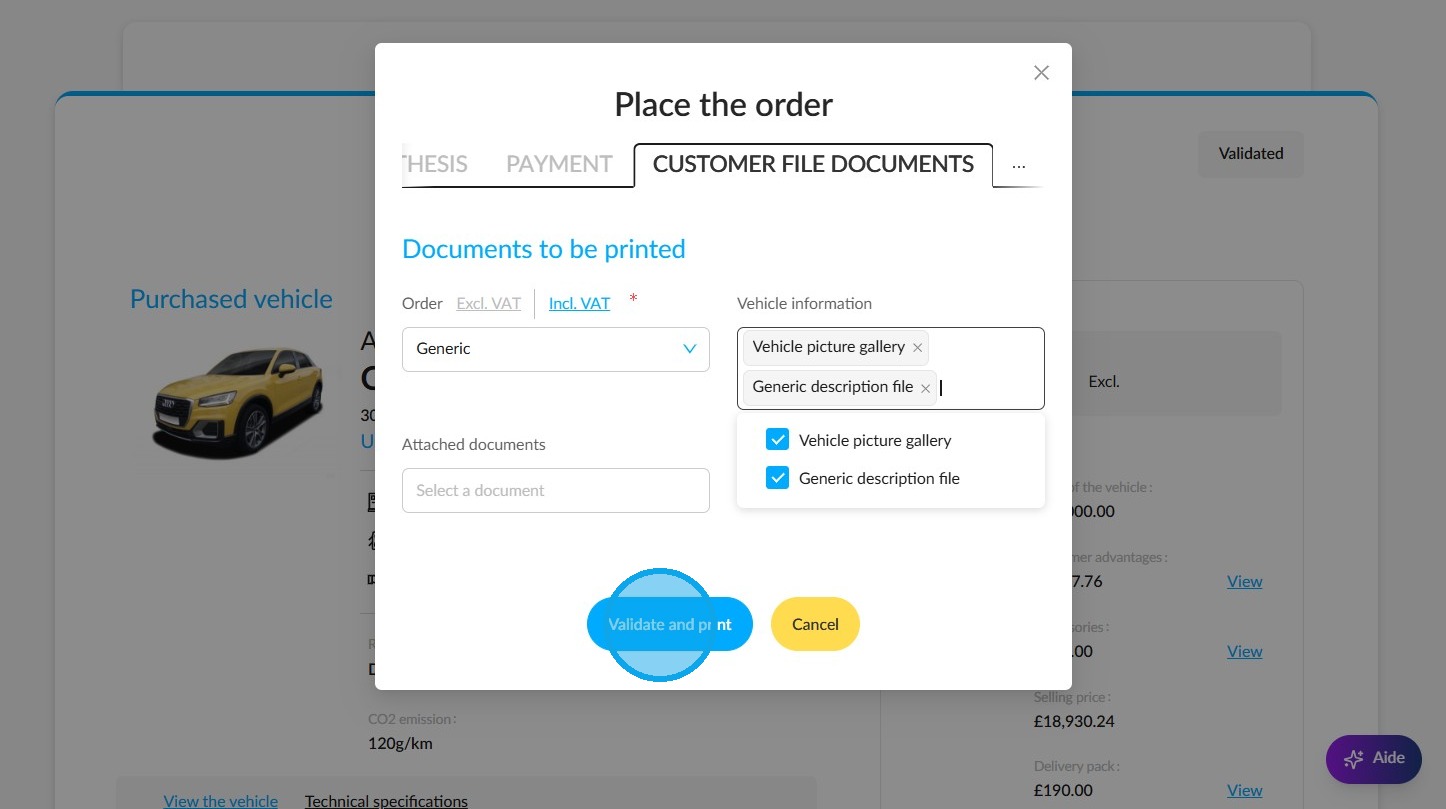
Finally, go to the "Client File Documents" tab to select the sales documents you wish to print.
Make your selection and click "Validate and print" to complete your order.
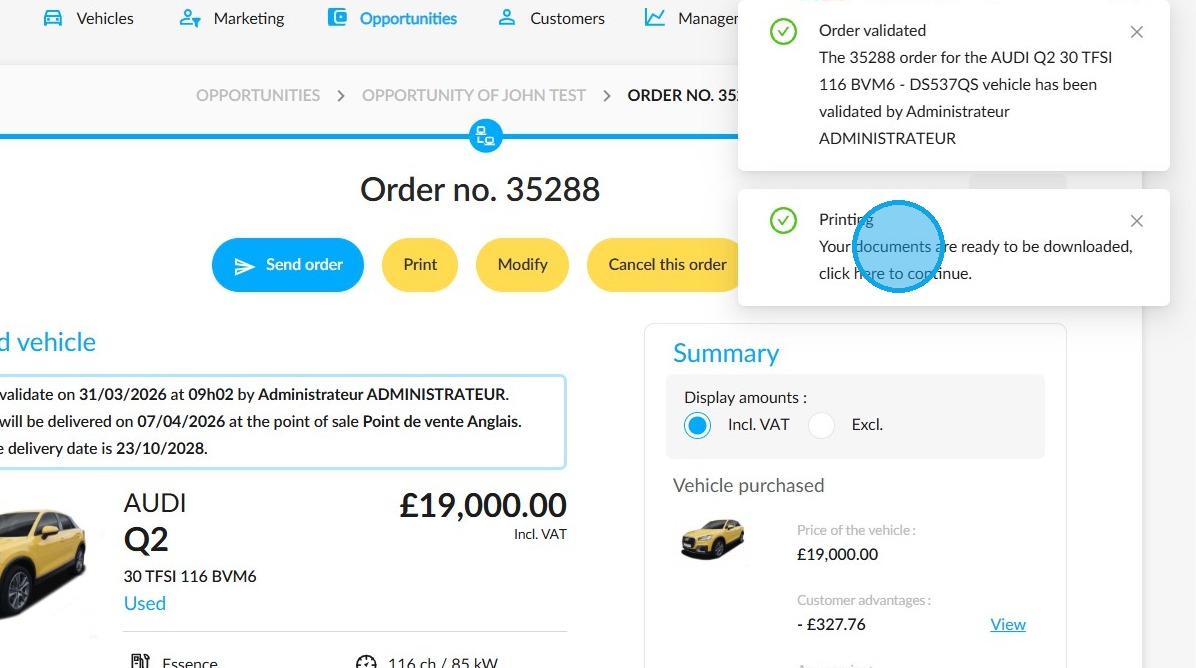
Two pop-up windows will appear. The first will confirm your order, and the second will notify you that your documents are ready to download.
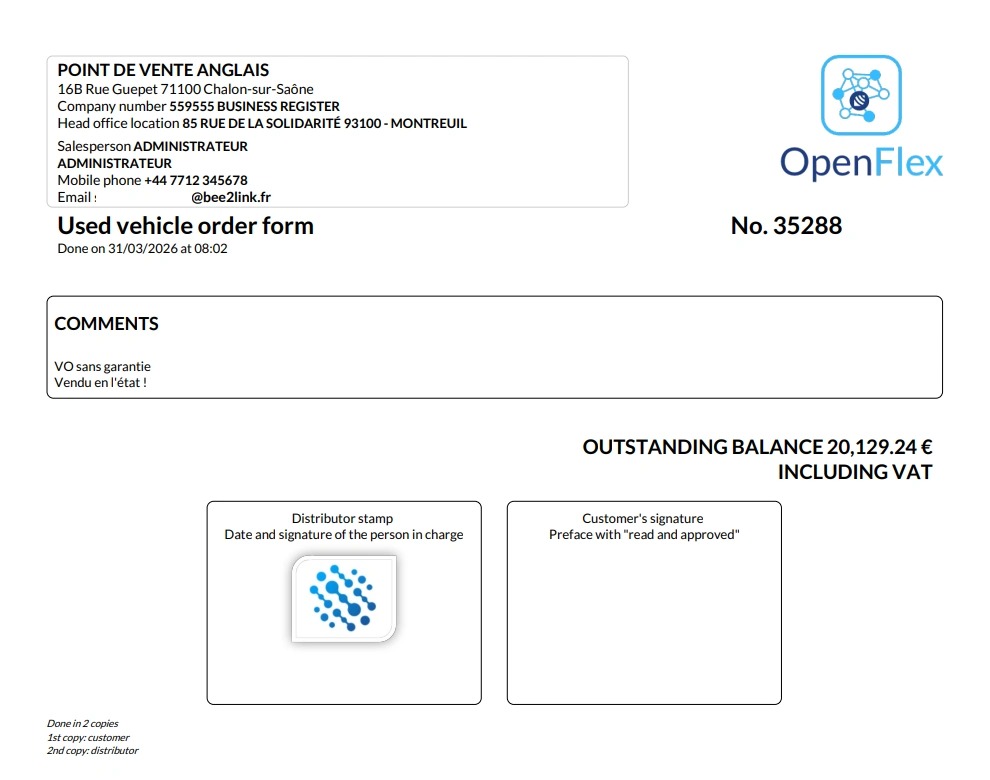
A view of the order form to be signed.
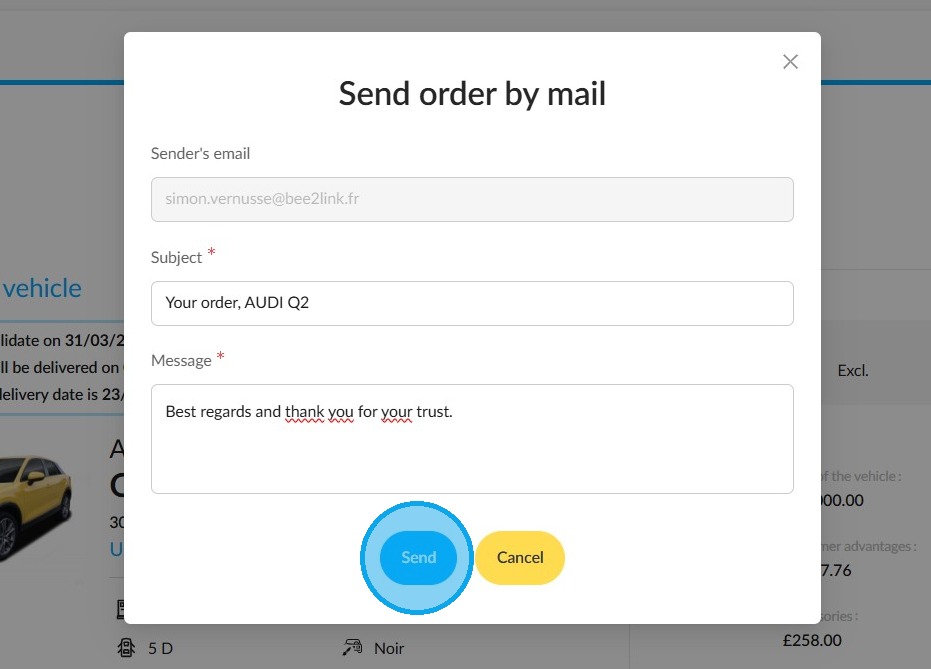
If necessary, send the order form to the customer by email by clicking the ‘Send order’ button.
A customised message for the customer will be included with your email.
Comments
0 comments
Article is closed for comments.