
Find out how to create a trade-in estimate, from setting up a customer to finalising an offer.
Prerequisite: The Sales Manager must have permission to manage trade-in prices.
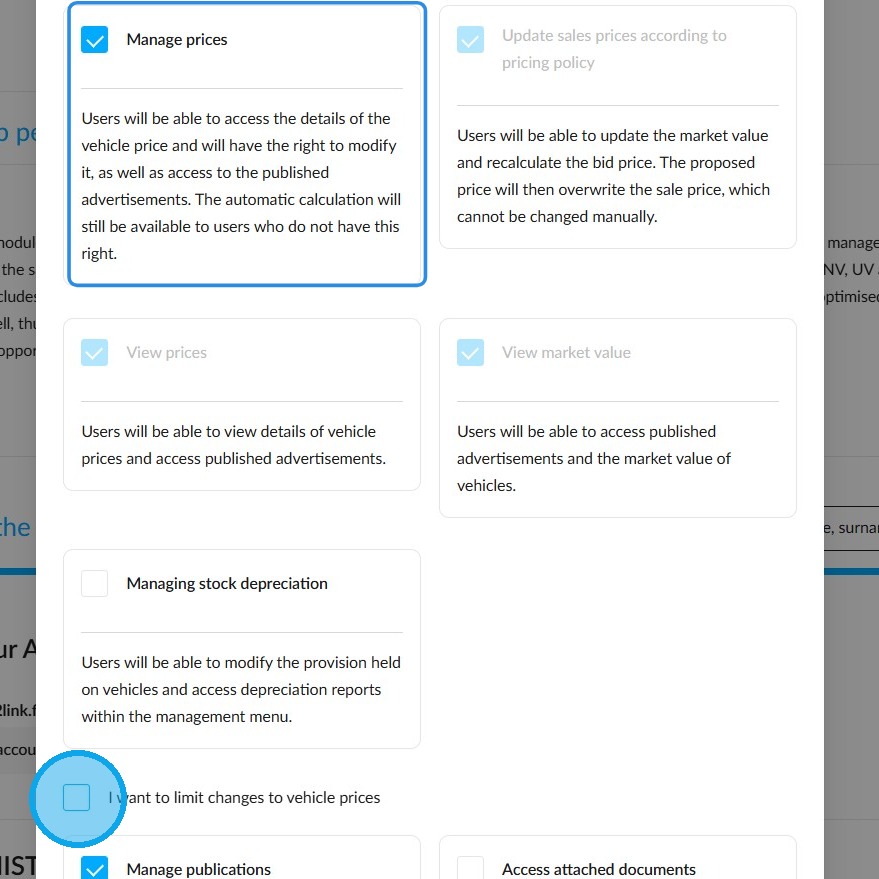
In the rights management section, open the file for the group of your choice, click on the 'Vehicles' module, then go to the 'UV' tab. Ensure that the 'Manage prices' box is ticked.
To limit this right to trade-in prices only, tick the 'I want to limit vehicle price changes' box.
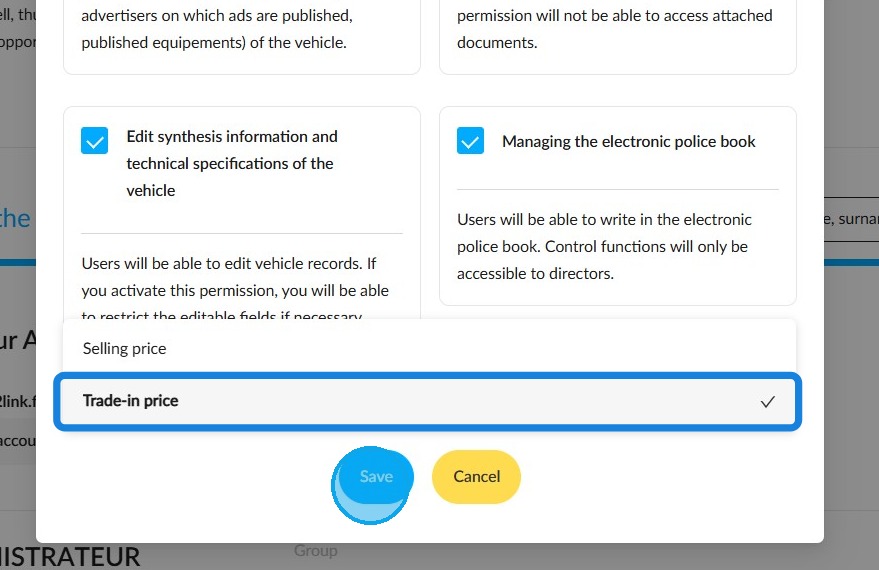
Select the "Trade-in price" option from the drop-down menu, then save by pressing "Save"
Salesperson's trade-in process
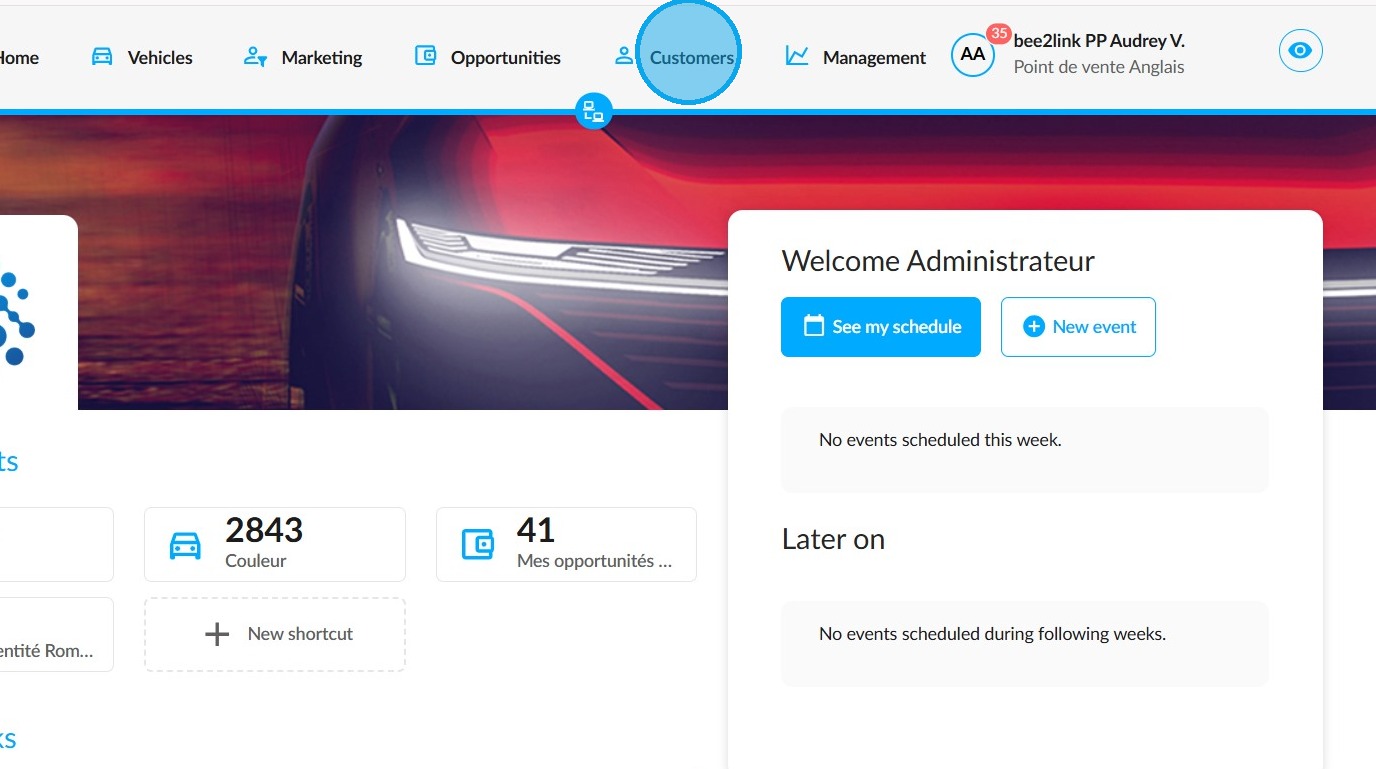
To create a trade-in offer for a new customer, first create their contact details. Click on the 'Customers' module at the top of the page.
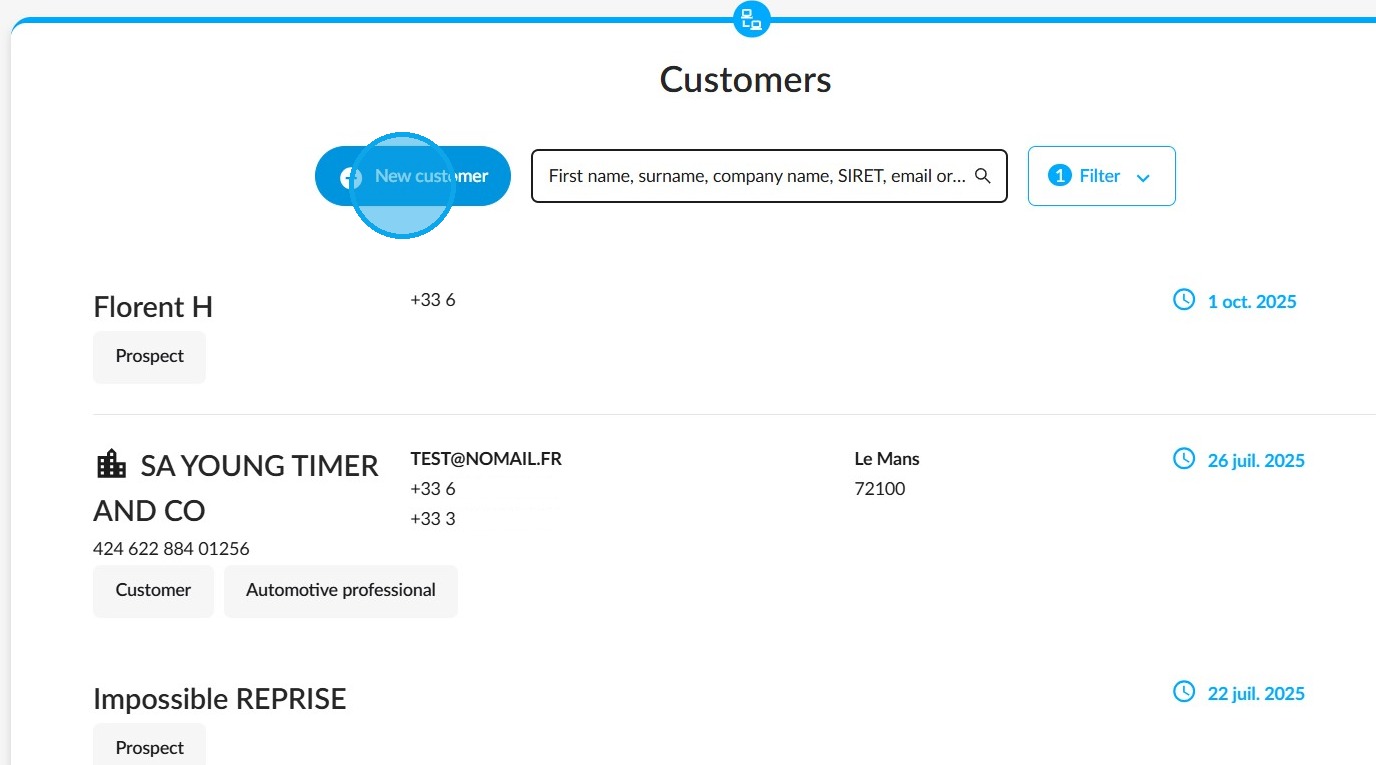
In the "Customers" module, click on the "New customer" button at the top of the page to add the customer record.
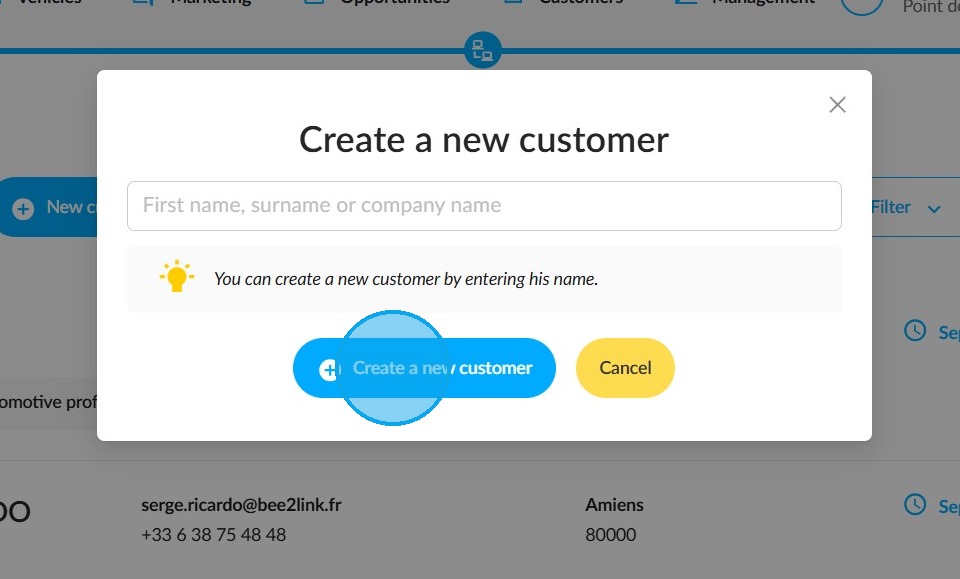
Enter the customer's first and last name and click on the "Create a new customer" button at the bottom of the window.
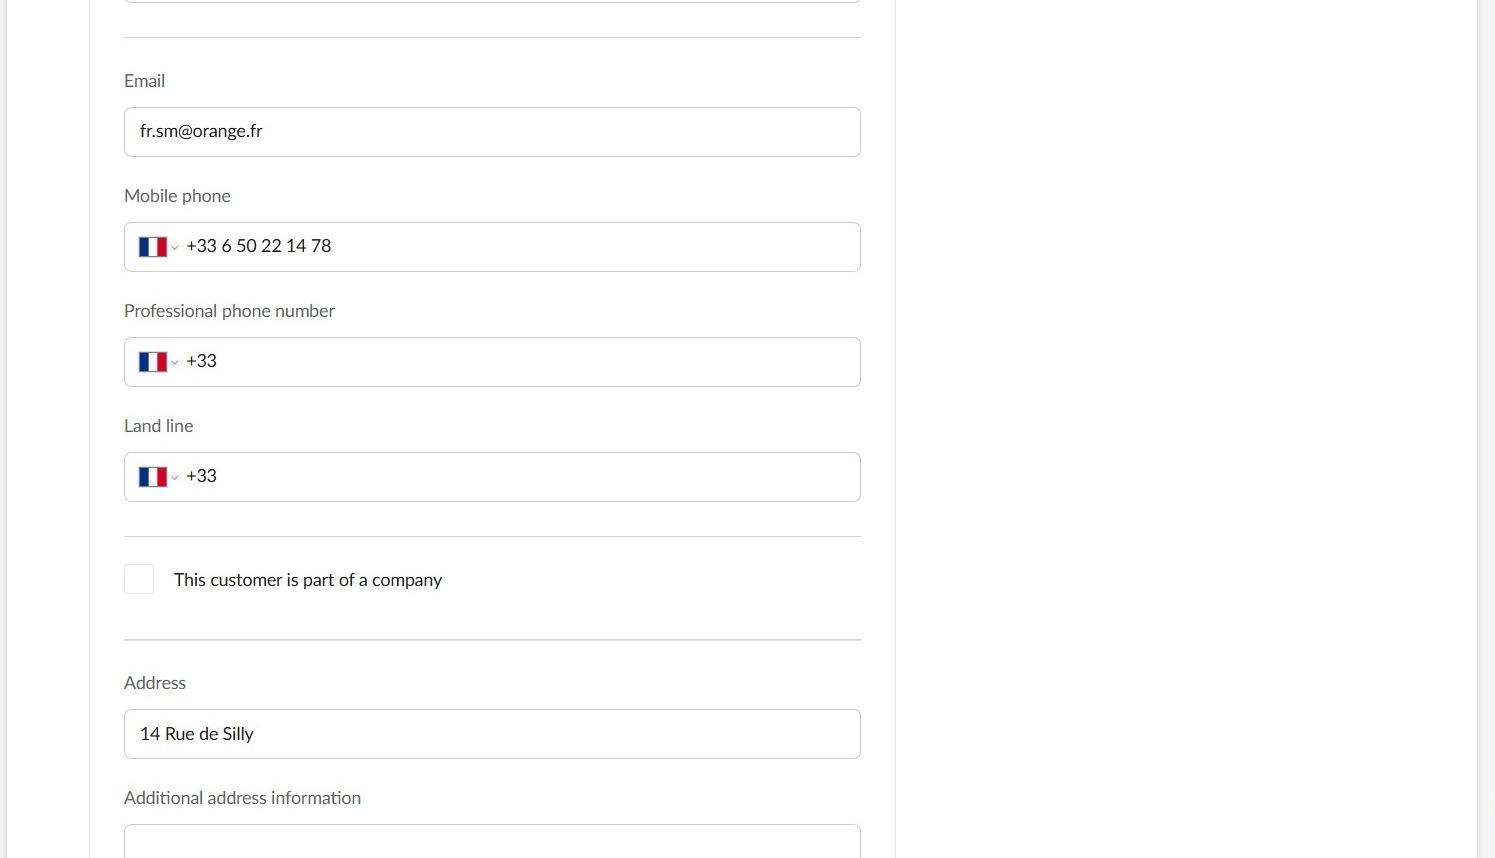
Fill in the customer's details: title, surname, first name, email address, telephone number, address, country of residence, driving details, ID details.
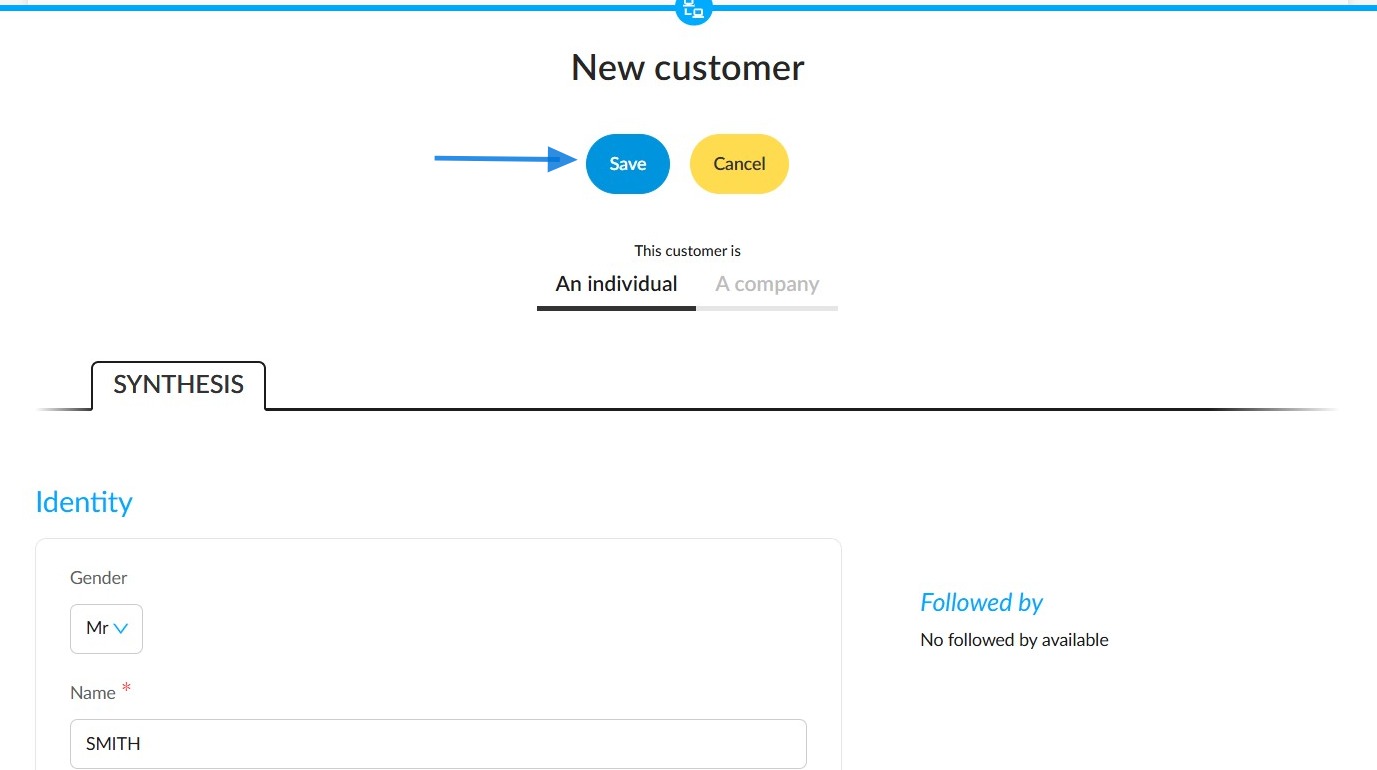
Then click the 'Save' button at the top of the screen.
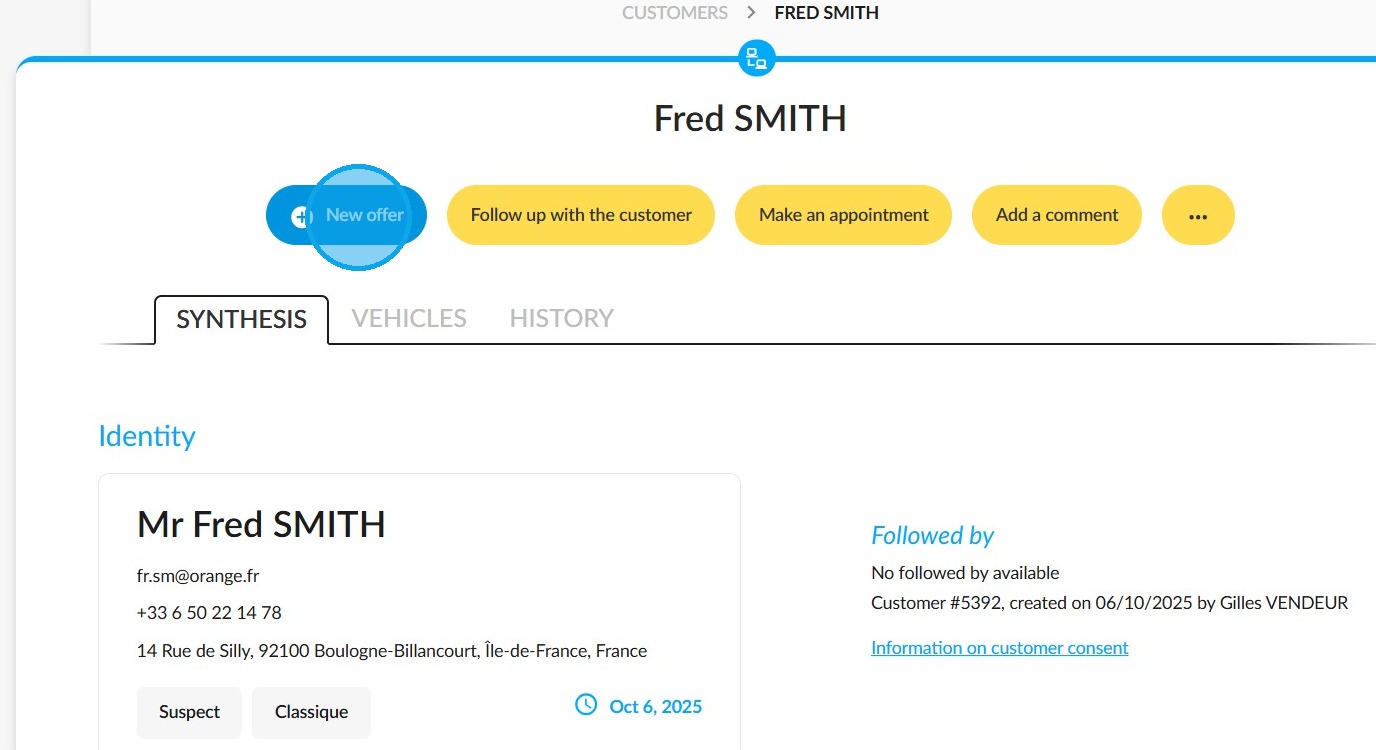
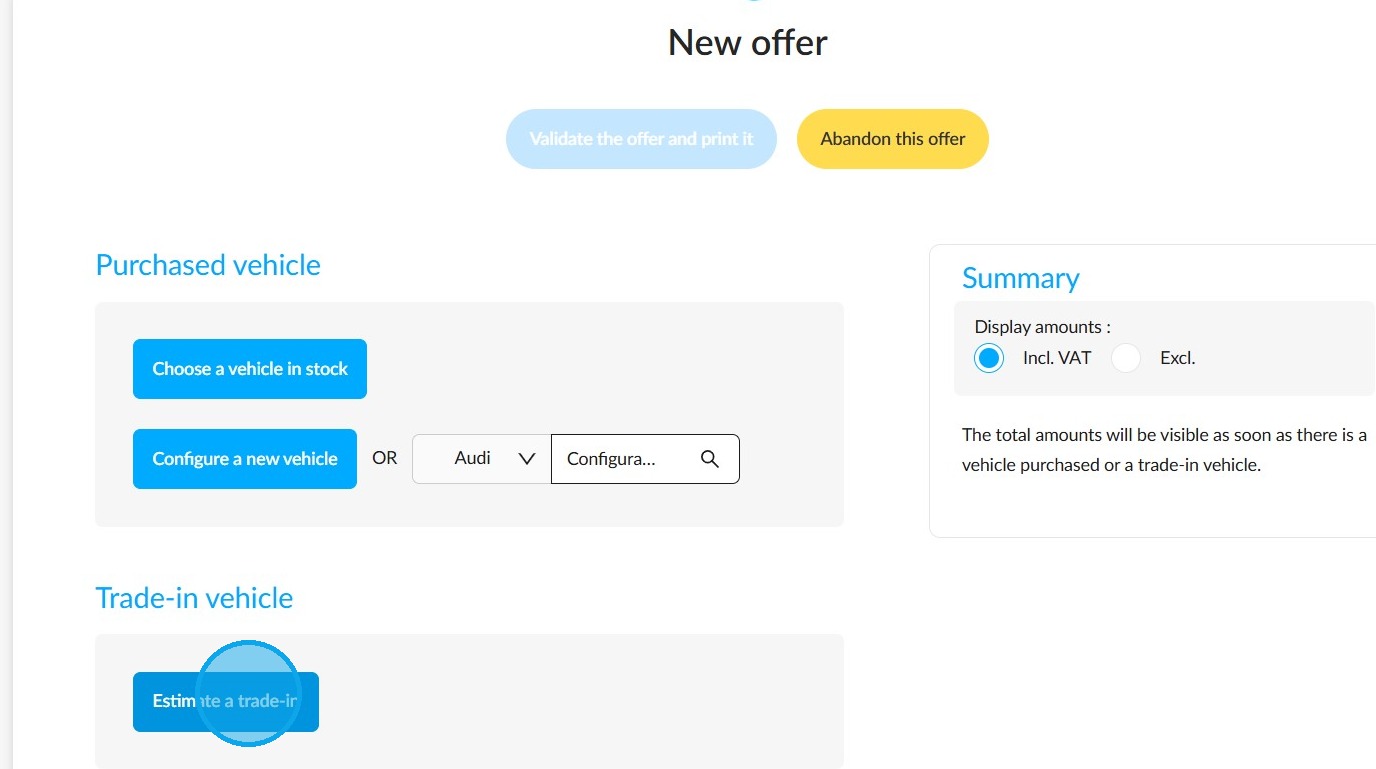
Then, click on the ‘New offer’ button located at the top left of the customer's file:
Start by assessing the condition of the vehicle you wish to trade-in by clicking on the "Estimate a trade-in" button:
Search for the car by registration number to find it directly. Or enter all the vehicle details manually.
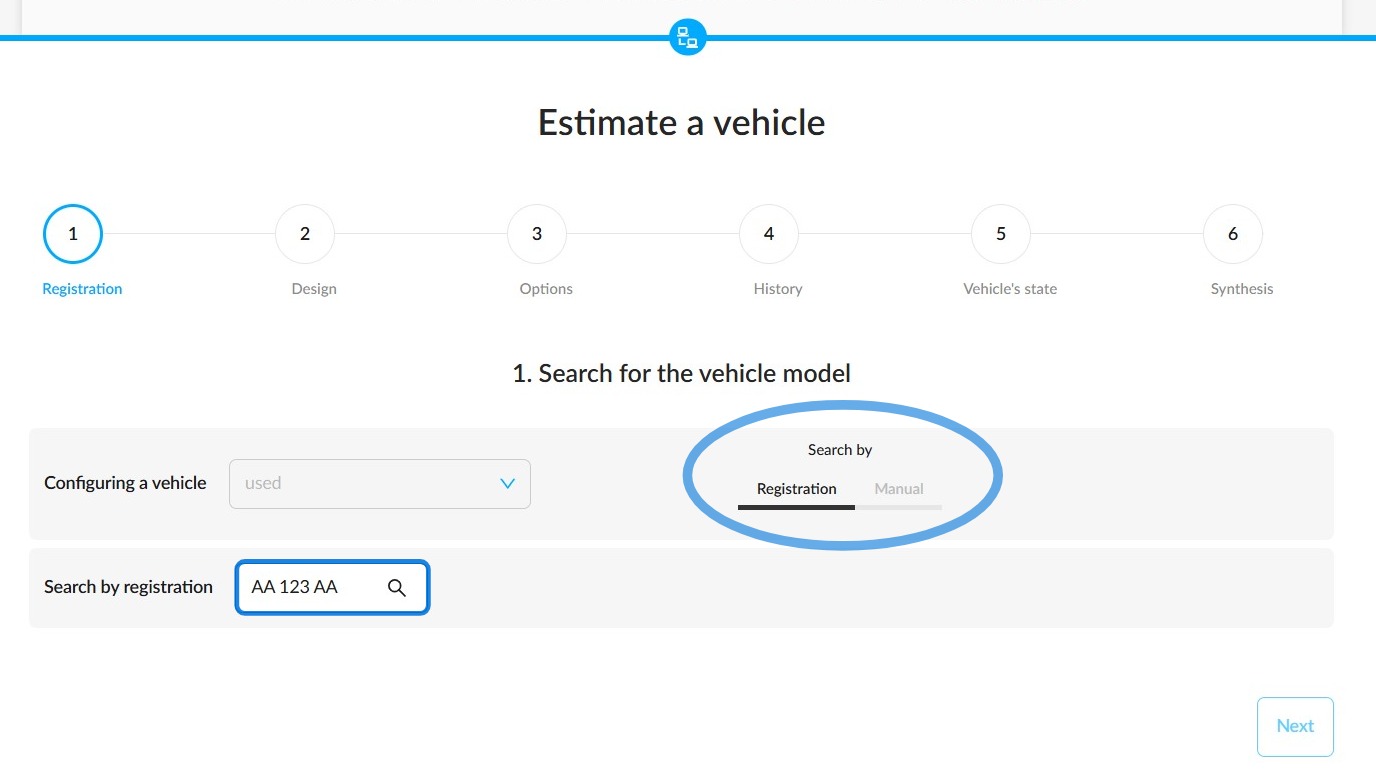
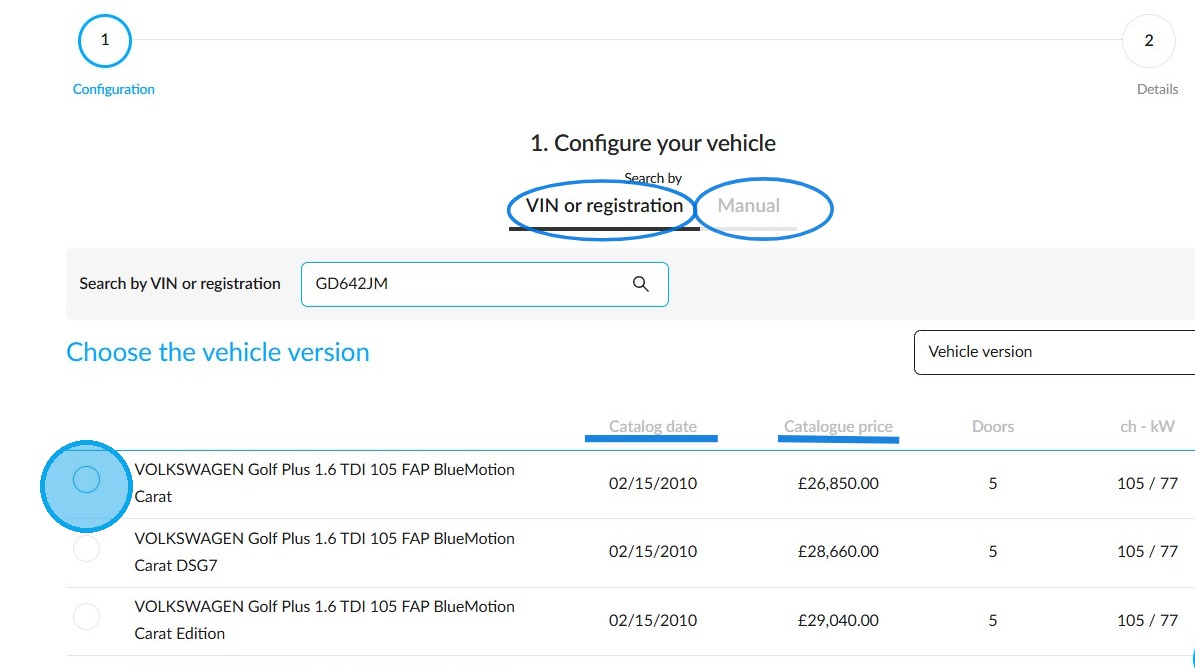
When searching for a vehicle by number plate, the catalogue date and price will help you to select the correct model directly.
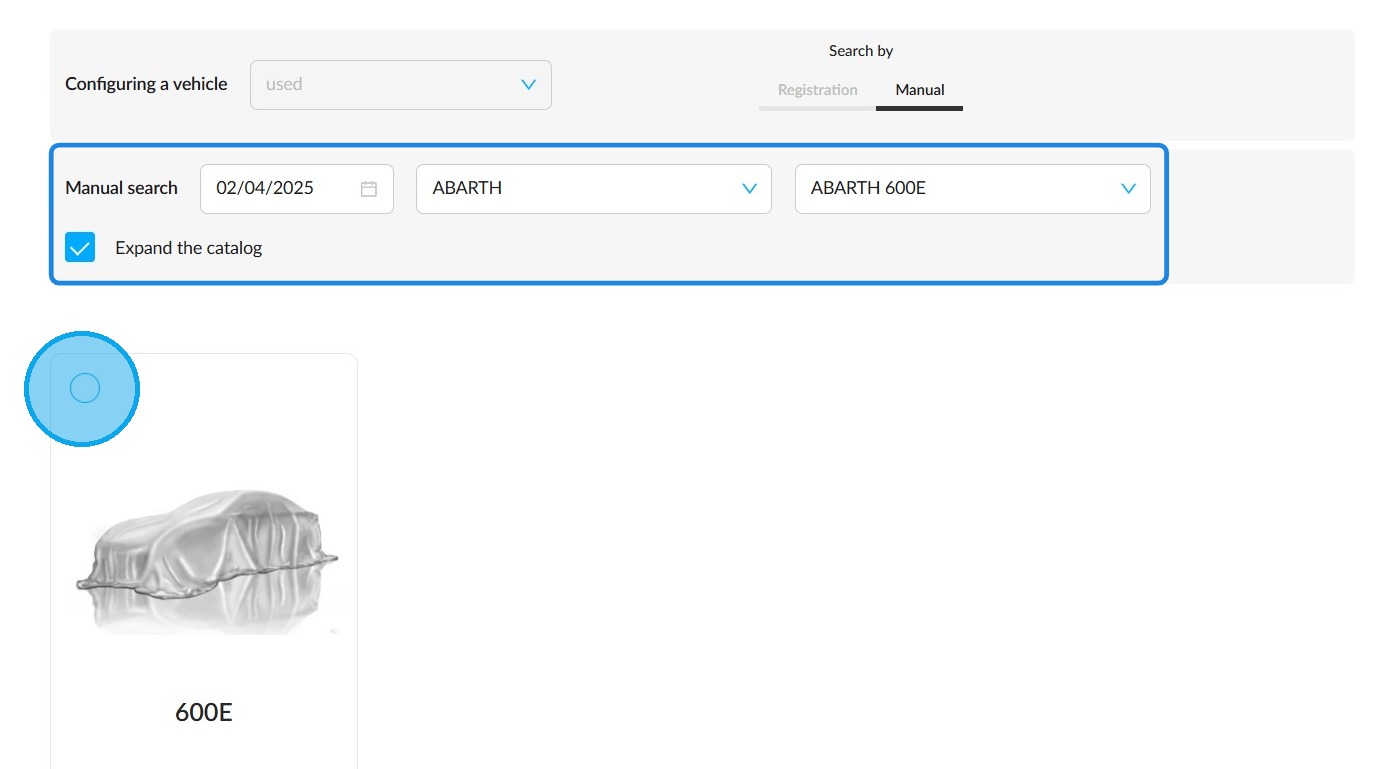
When you choose manual configuration, fill in these fields with the vehicle's date, make and model. Tick the "Expand catalogue” box for more choices and to find older versions. Select the correct model by clicking on the small circle in the top-left corner of the displayed card.
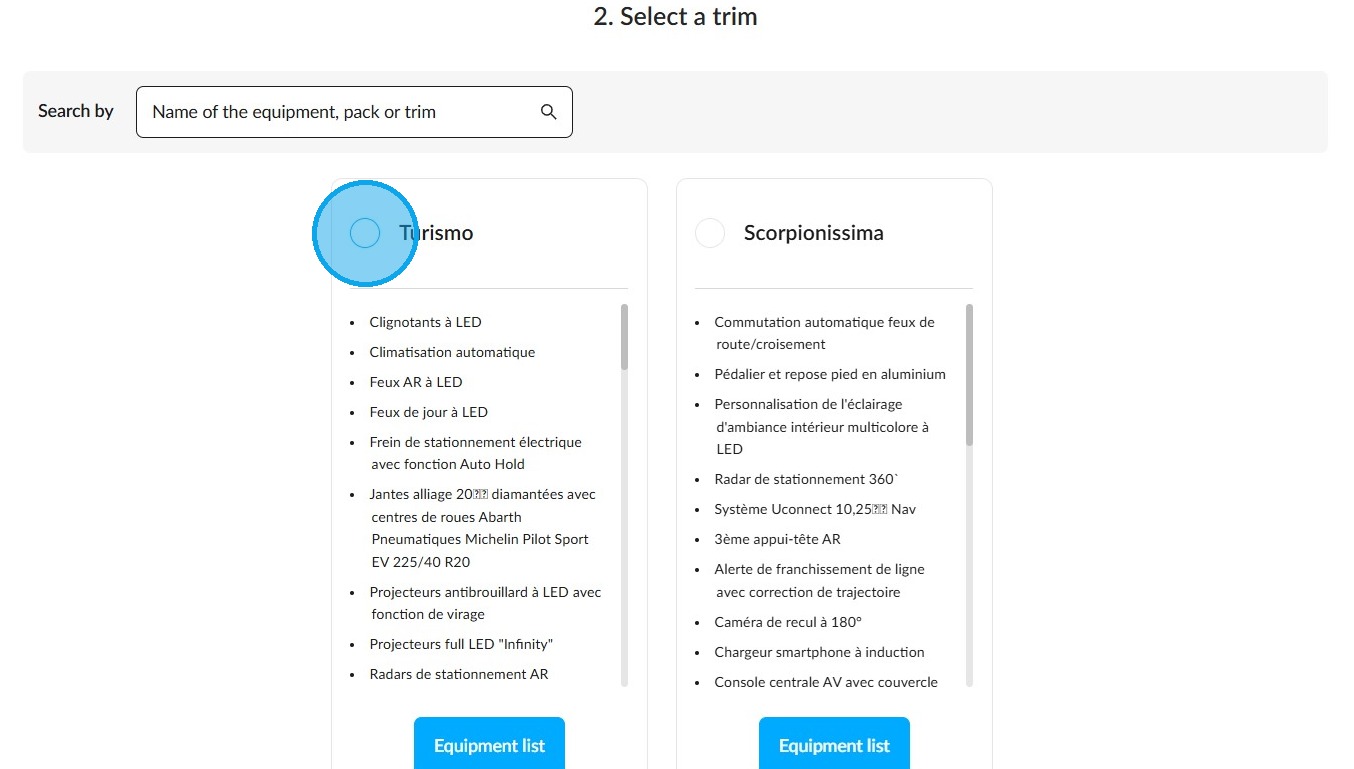
Select the trim in the same way.
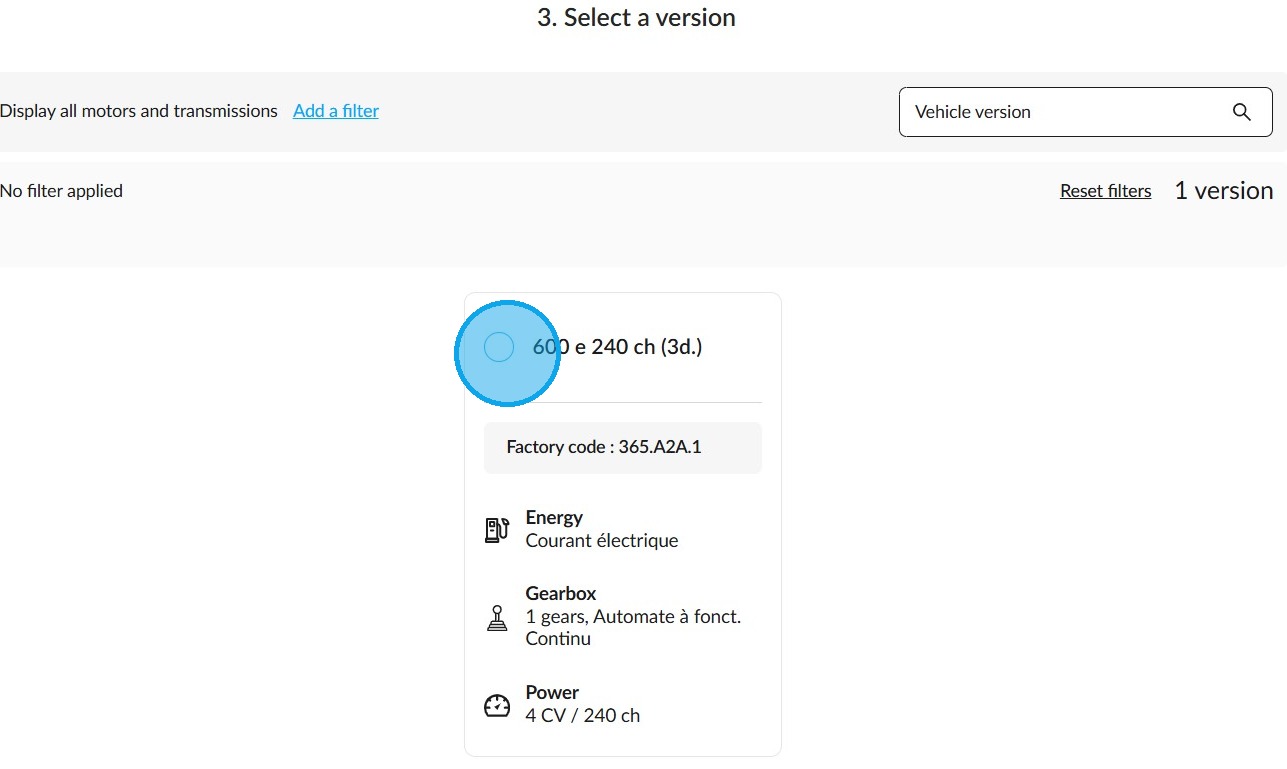
Do the same for the engine power.
Indicate the colour of the vehicle and the type of upholstery in the 'Design' step. You can also specify whether the paintwork or upholstery is customised, if required.

If the vehicle has any options, accessories or packages, specify them by pressing the "Add equipment" button or by selecting the desired equipment from the list.
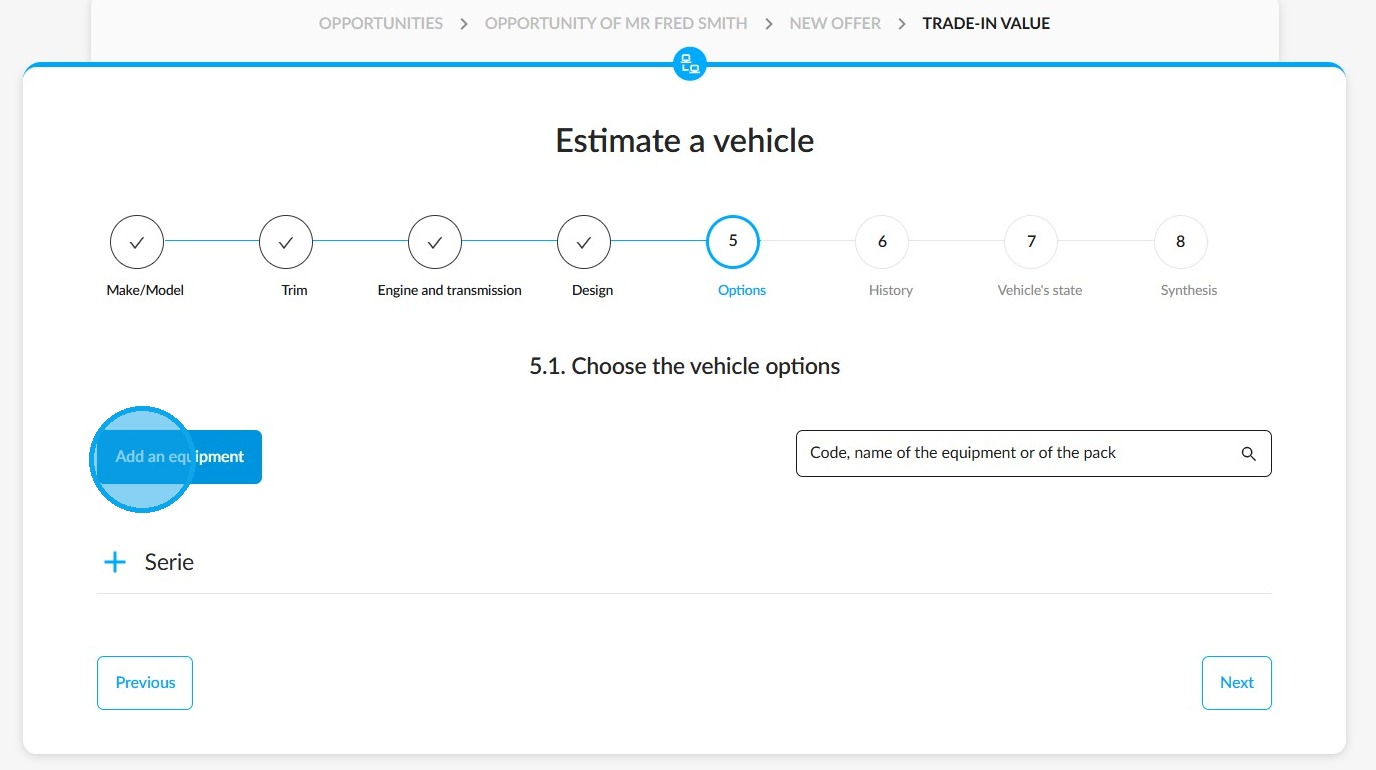
If you are adding equipment, please enter the type and value of the item in question.

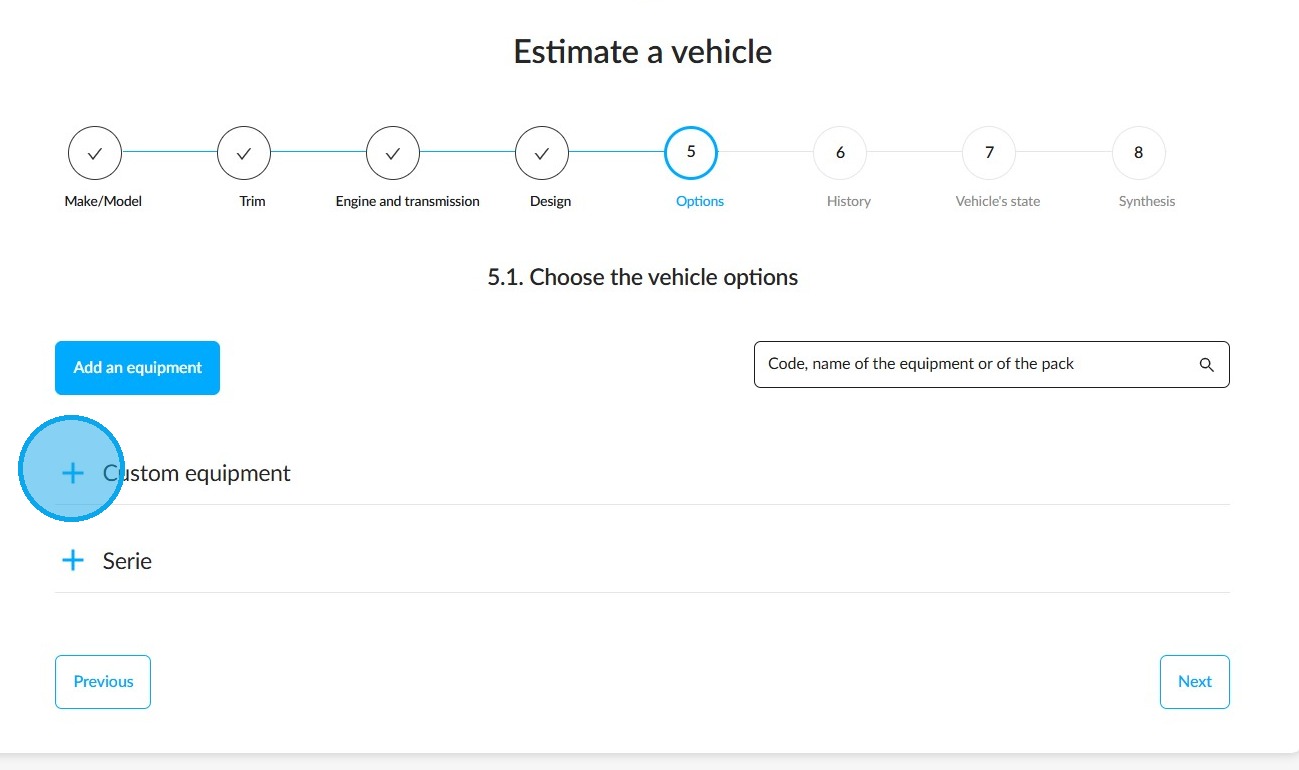
To see all the manually configured options and accessories, click on "Custom equipment" :
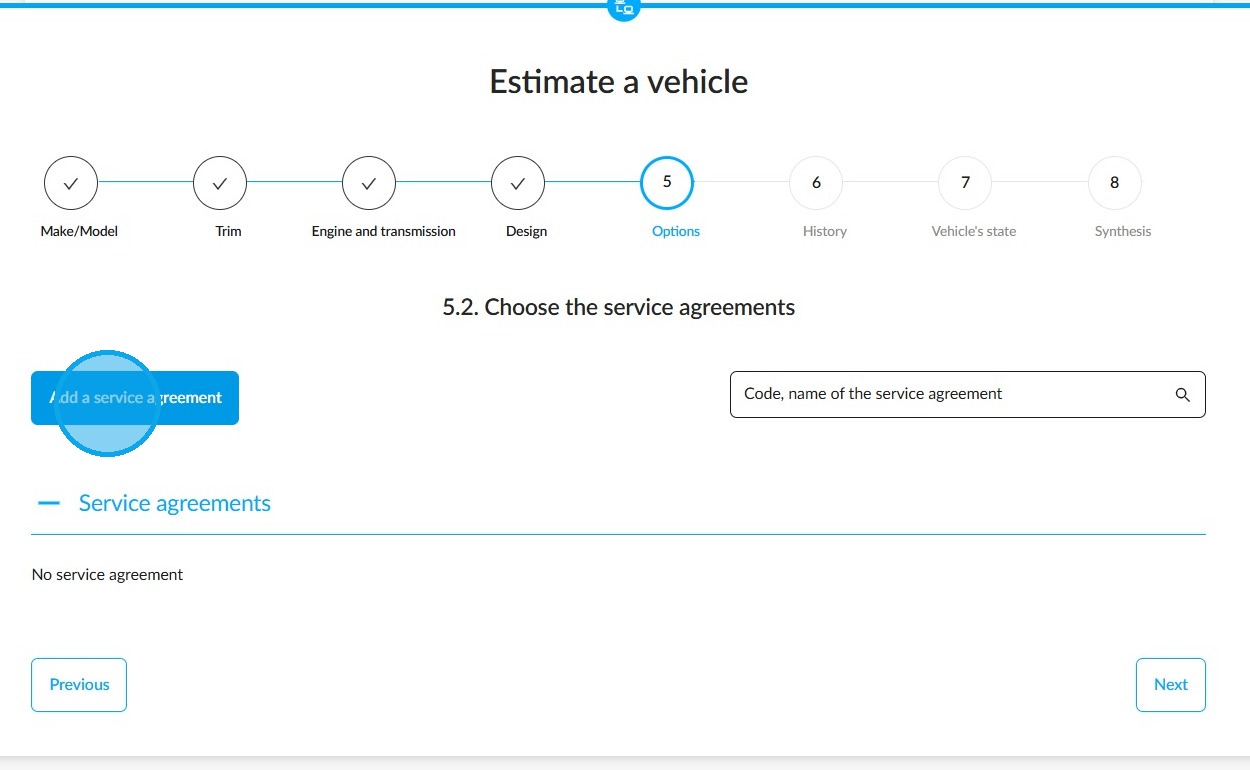
Click on "Add a service agreement" if the vehicle has one.
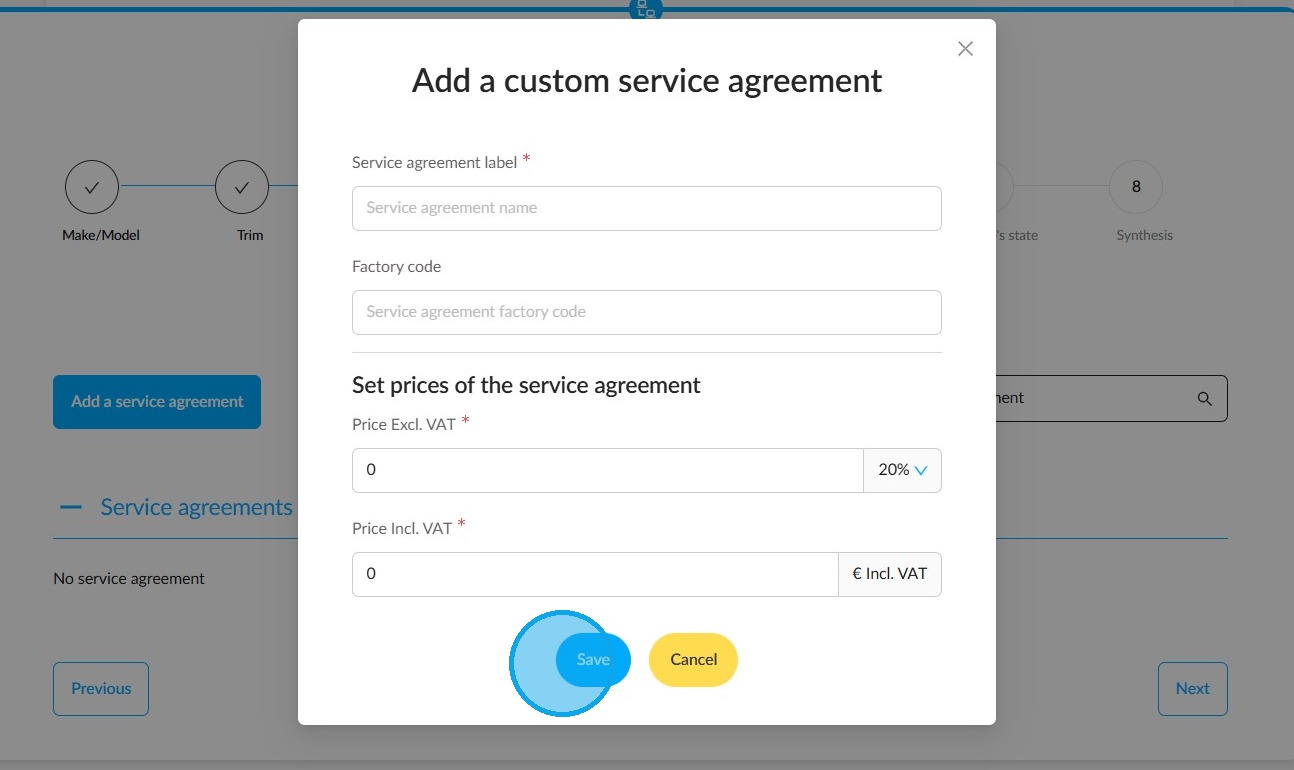
Window for specifying the service contract references. Once you have completed this operation, please click on the “Save” button.
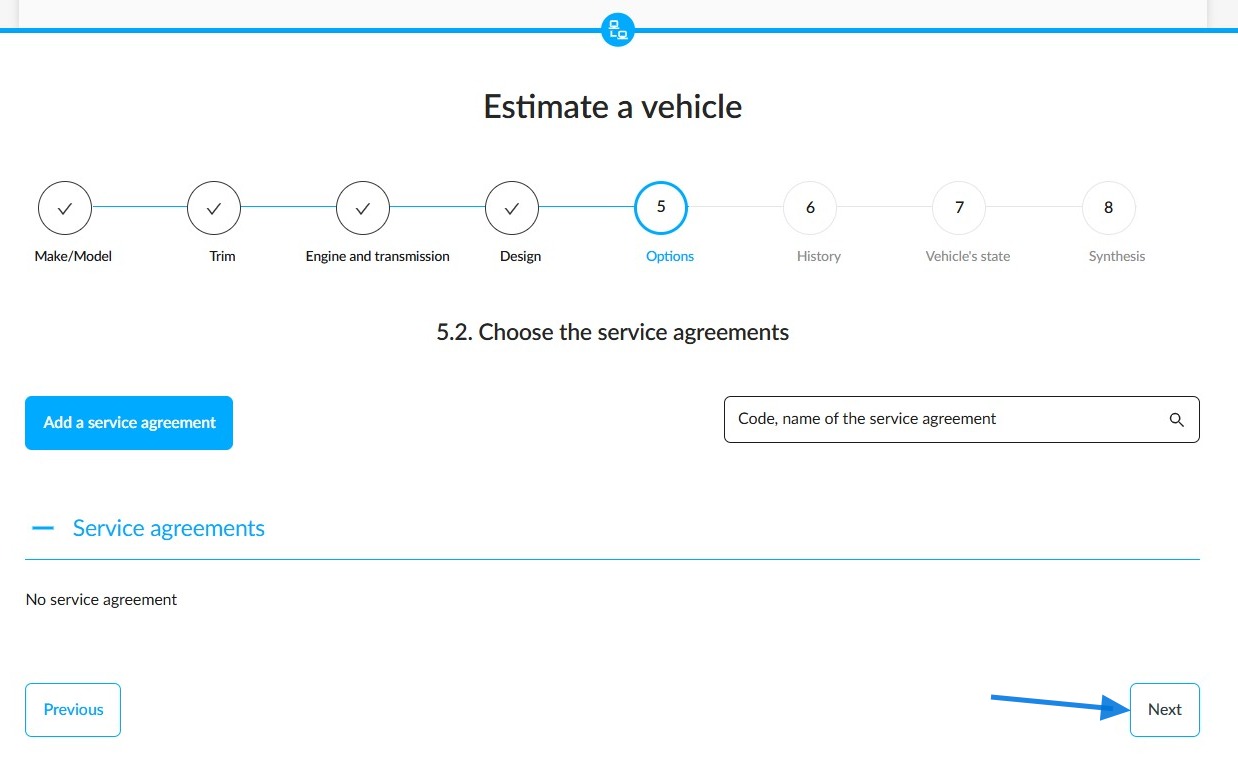
Continue the estimation process by clicking on "Next" to move on to the "History" stage.
You will need to provide a lot of important information to determine the value of the vehicle, such as mileage, number of owners and VAT status.
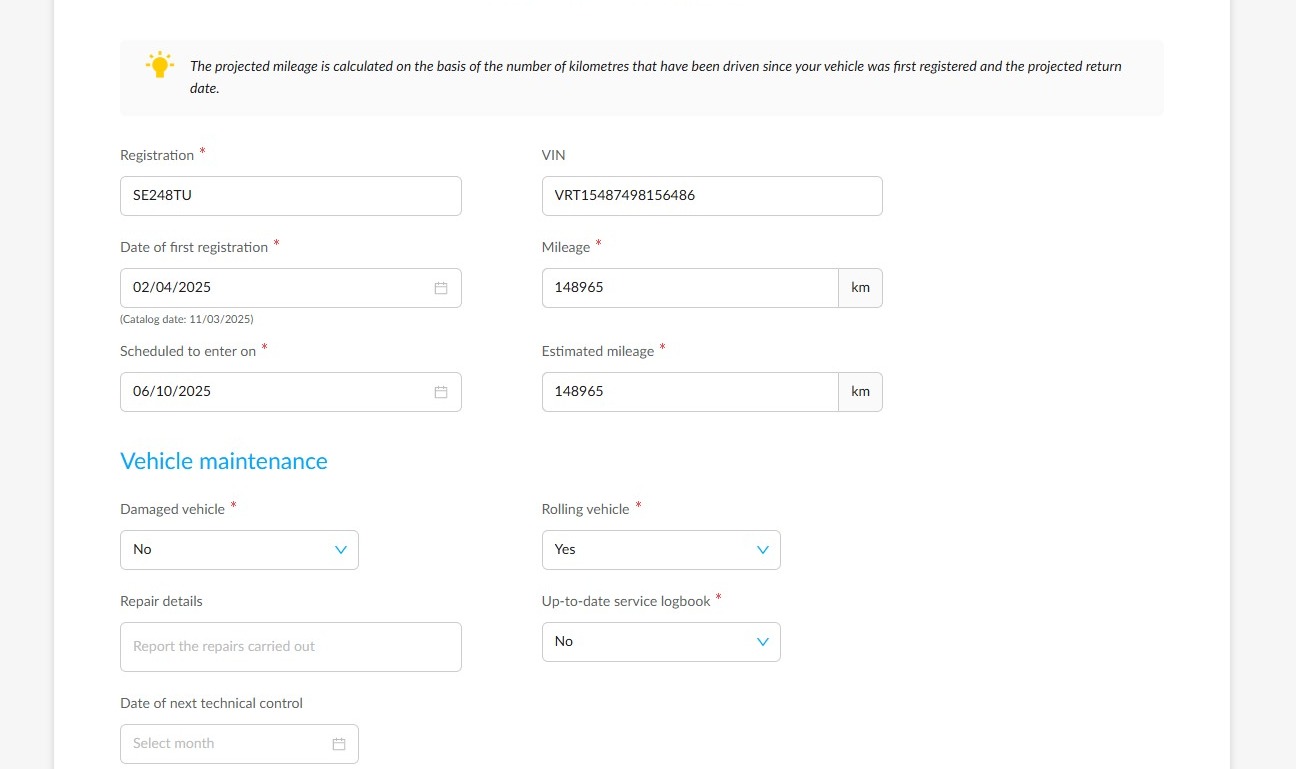
In addition, you can indicate whether any repairs have been carried out recently in the "Repair details" field.
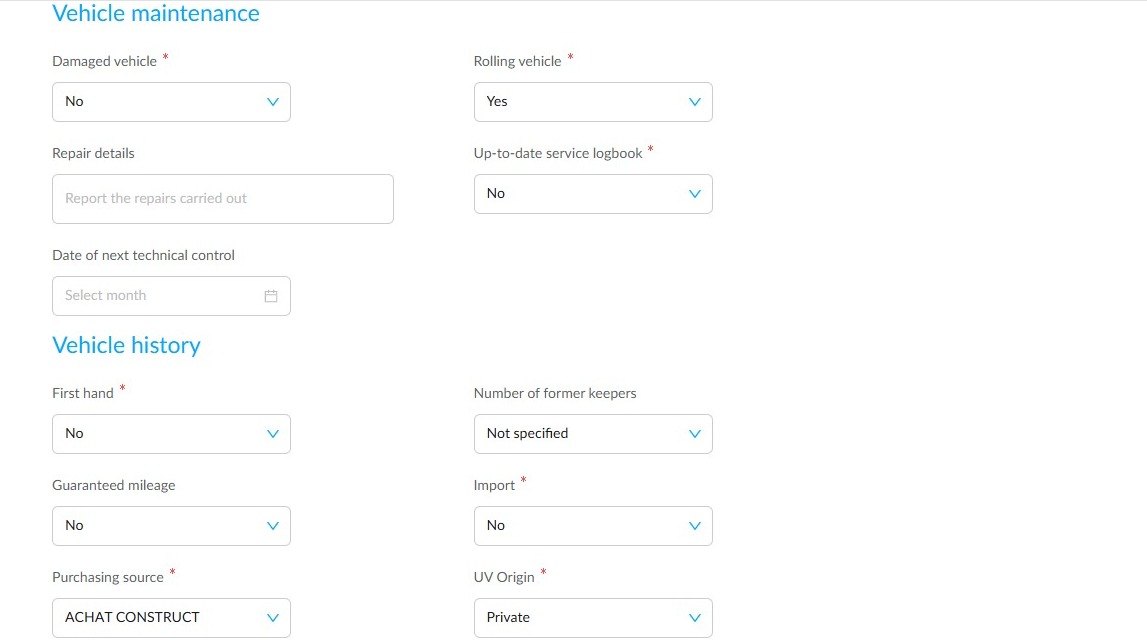
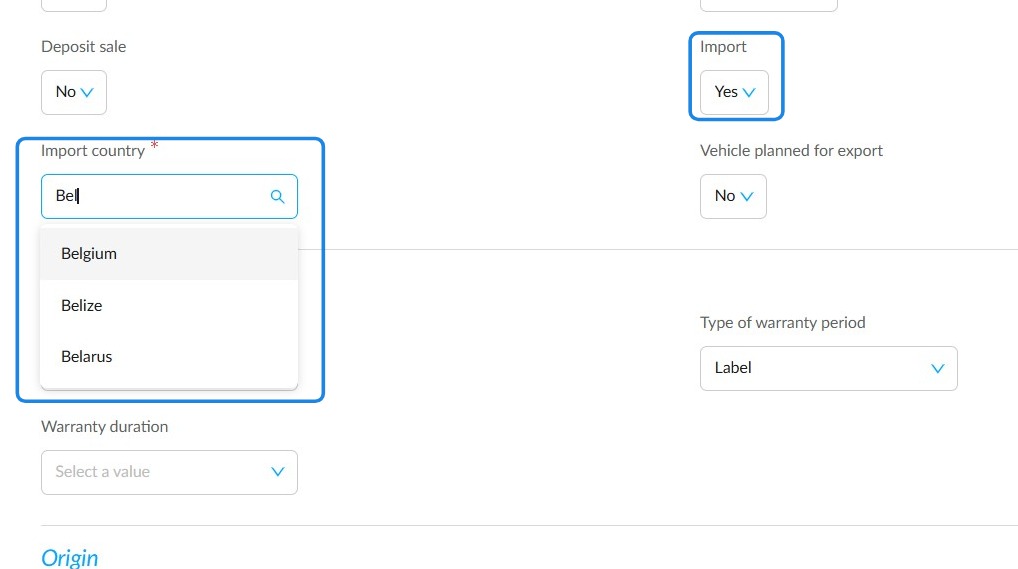
If the vehicle is imported, you must specify its country of origin.
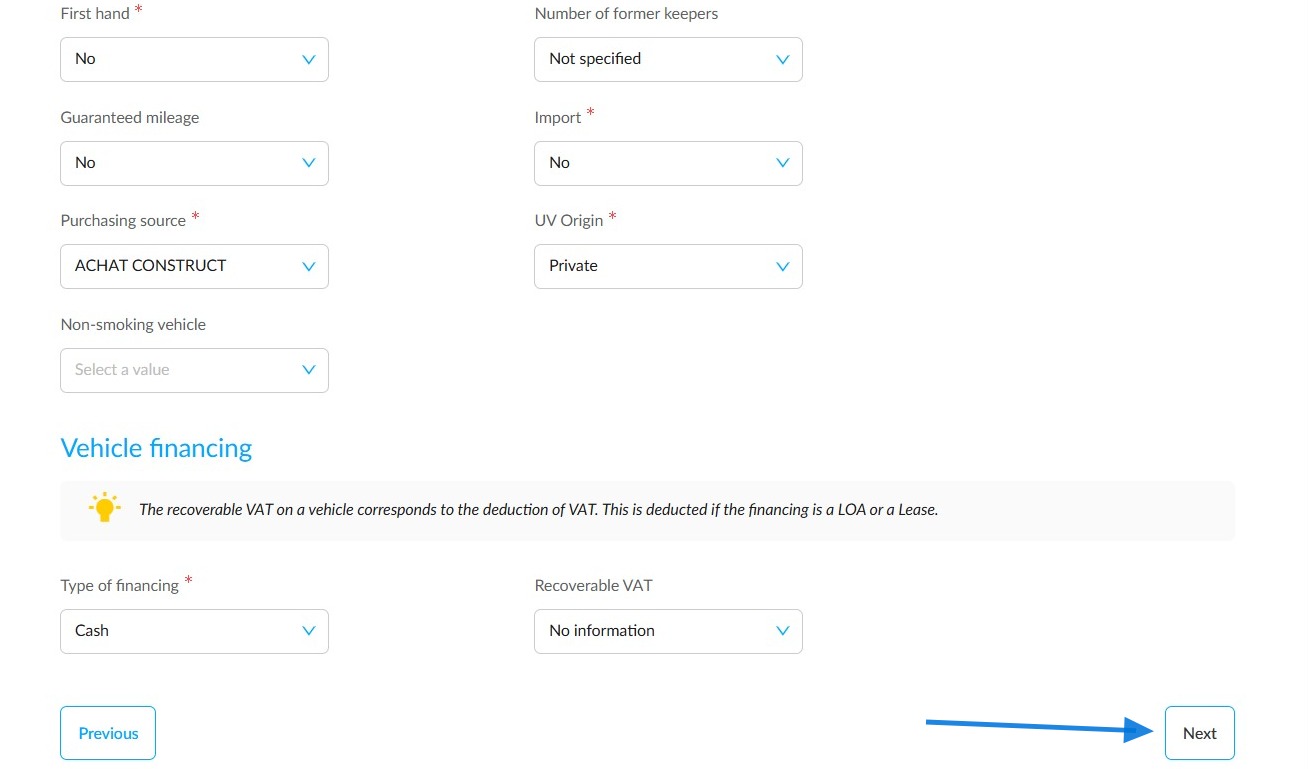
Then, click "Next" to proceed to the ‘Vehicle's state’ step.
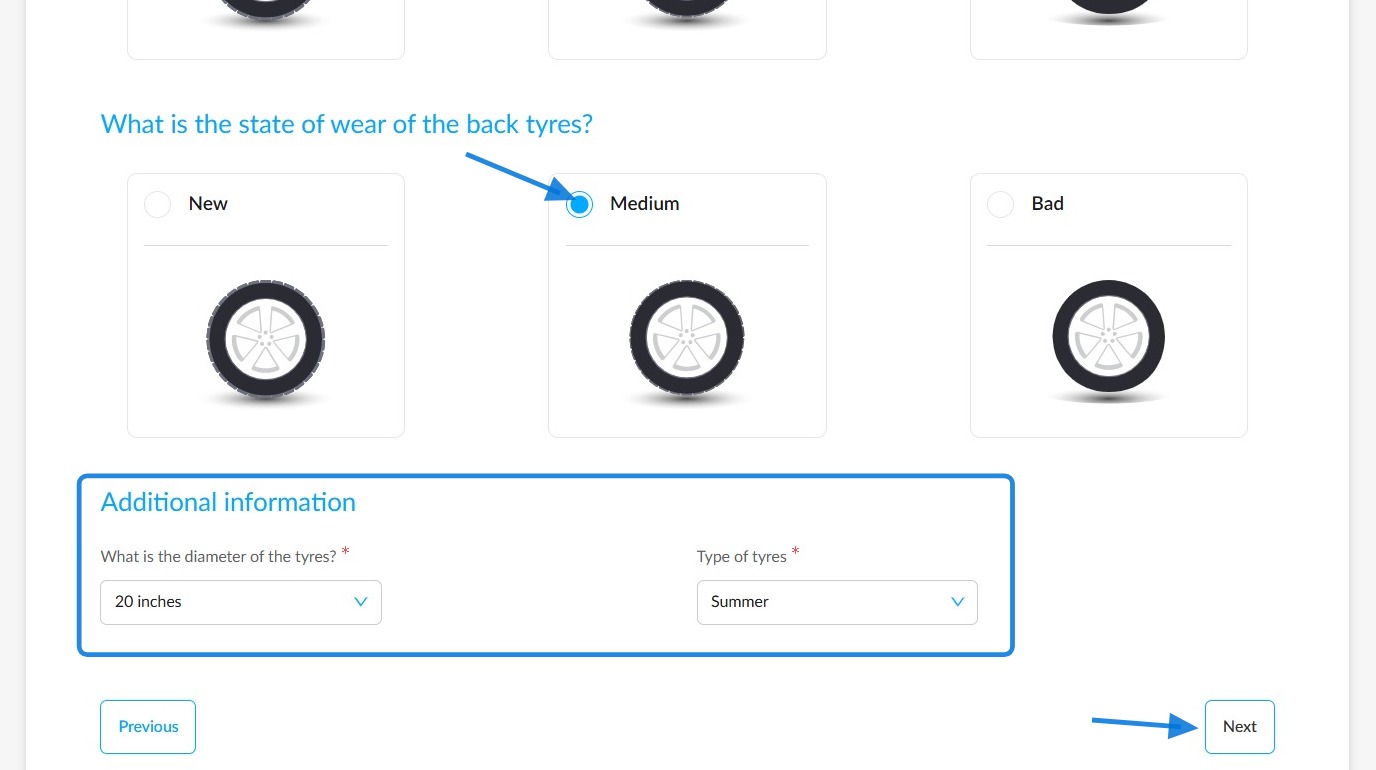
Indicate the condition of the front and rear tyres and their dimensions. Click on "Next".
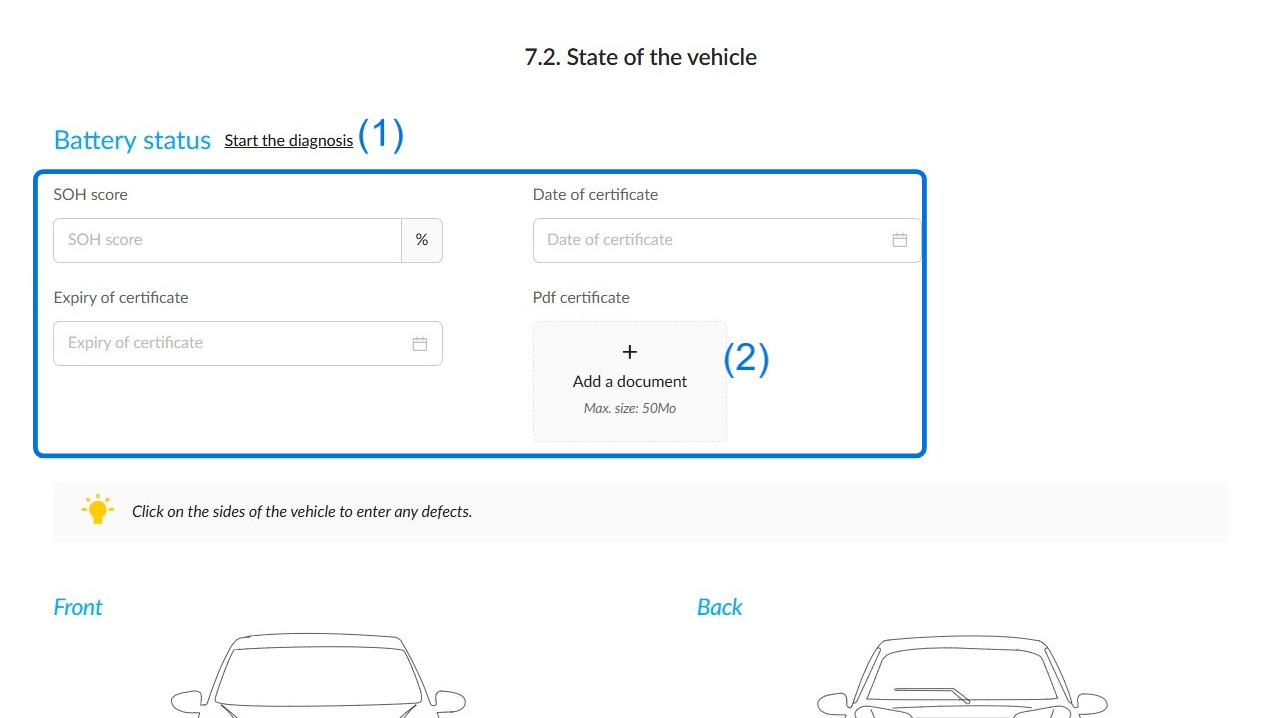
For electric vehicles:
If SOH diagnosis is optional, you can always link one (1) from an external partner to OpenFlex or enter the information yourself. Add the certificate from your computer using the "Add a document" box (2).
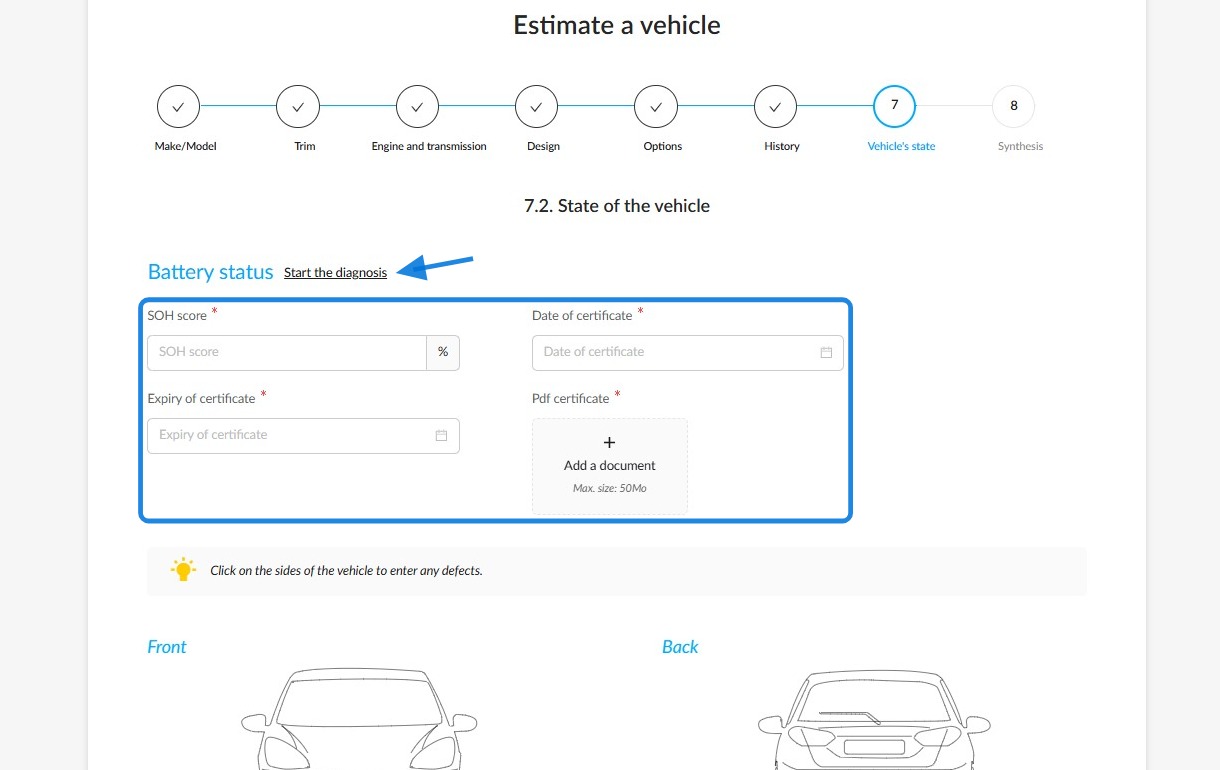
At the 'Vehicle's state' stage, if a diagnosis has been made compulsory beforehand, you will need to enter the battery information. You can link to an external diagnosis provider by clicking on the 'Start the diagnosis' button.
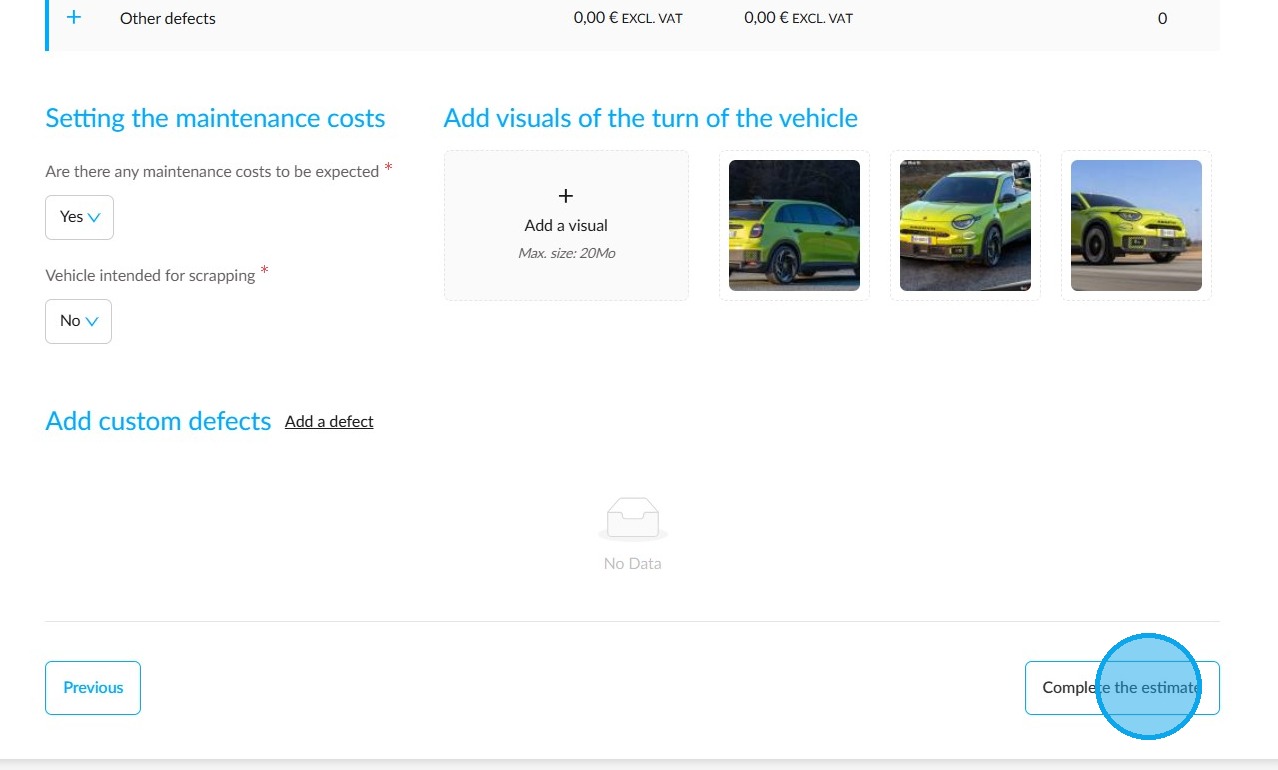
Following on from the condition of the tyres, specify whether any maintenance costs (overhaul) are to be expected.
Images of the trade-in can be added from your computer to illustrate its general condition. This field takes into account the number of compulsory images that the manager has set in the parameters.
Add as many custom defects as necessary.
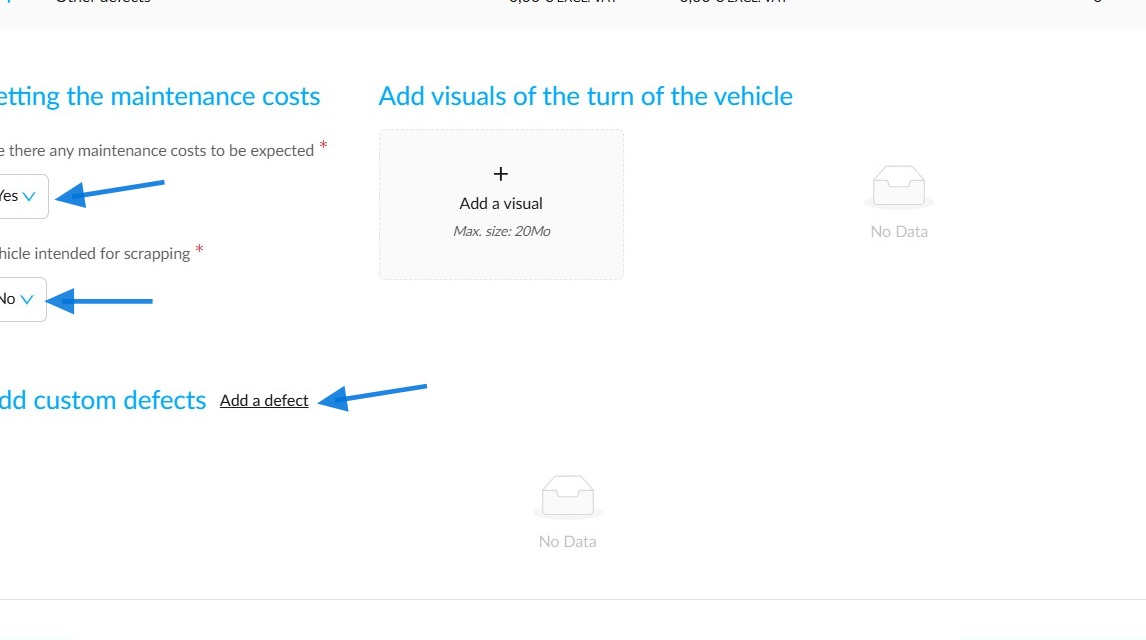
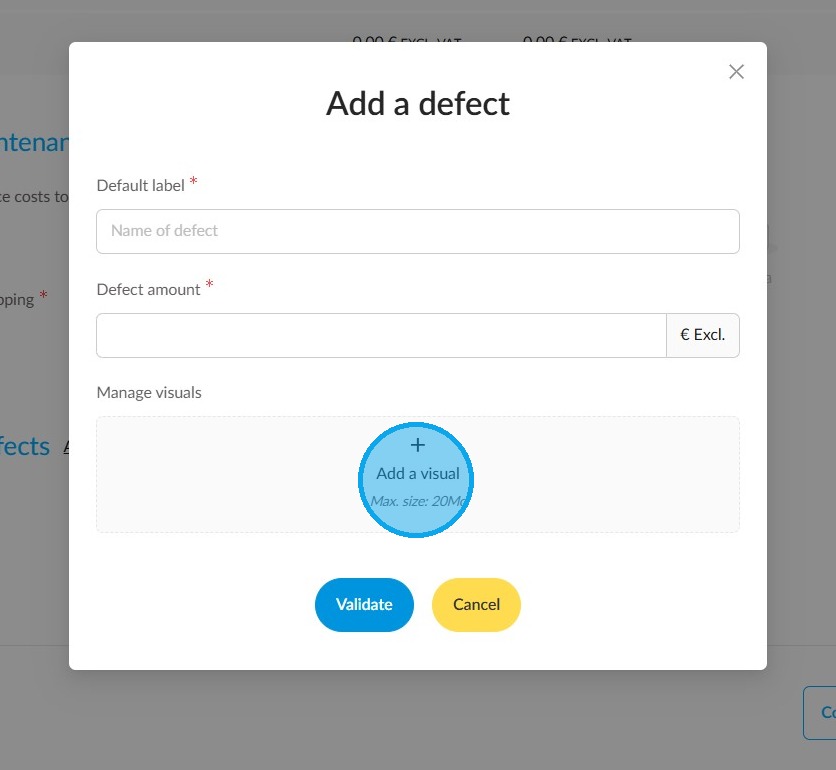
In OpenFlex, if you notice any other repairs that need to be carried out when you check the vehicle, you can use the "Add custom defects" section to list them as you wish by clicking on the "Add a defect" button.
Enter the name of the type of expense or work to be carried out. Enter the amount excluding tax. If you wish, add a photo to illustrate it. Then confirm.
Once you have finished assessing the condition of the vehicle, click on "Complete the estimate".
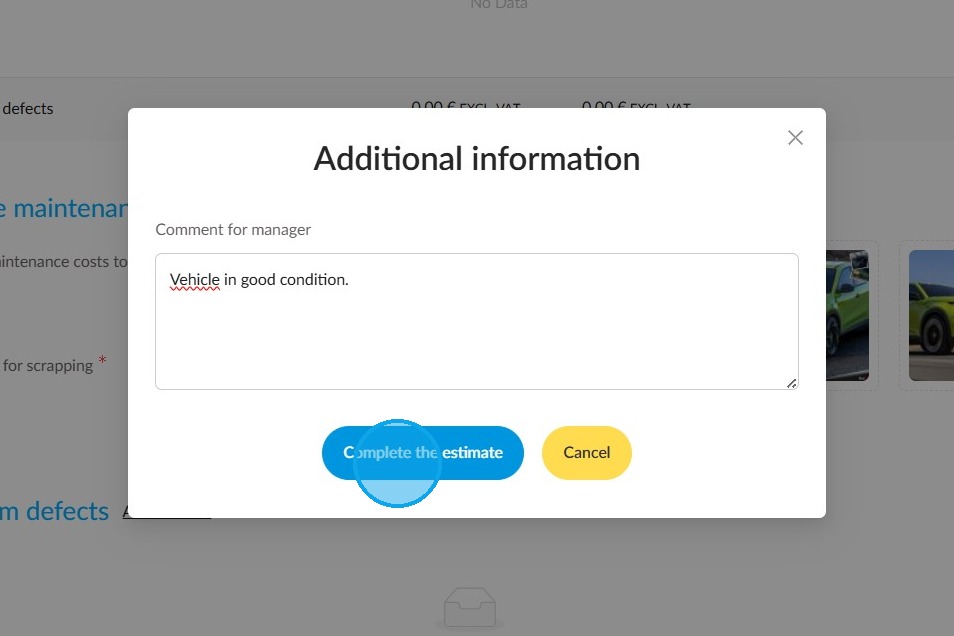
You can then leave a comment for the sales manager, who will then give you a trade-in price. Finally, click on ‘Complete the estimate’.
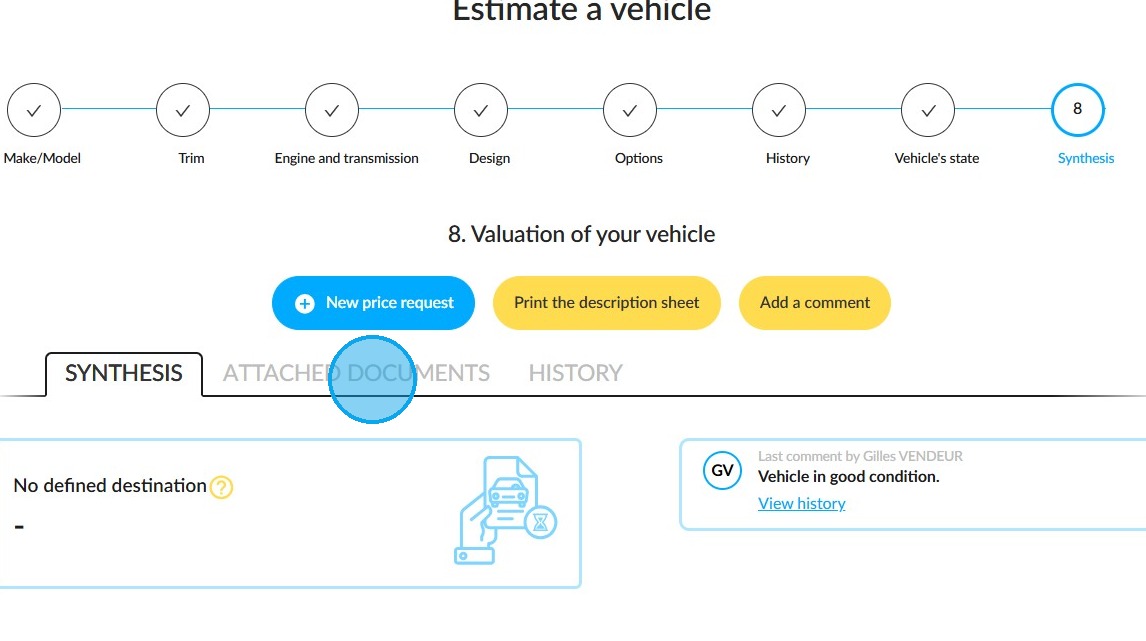
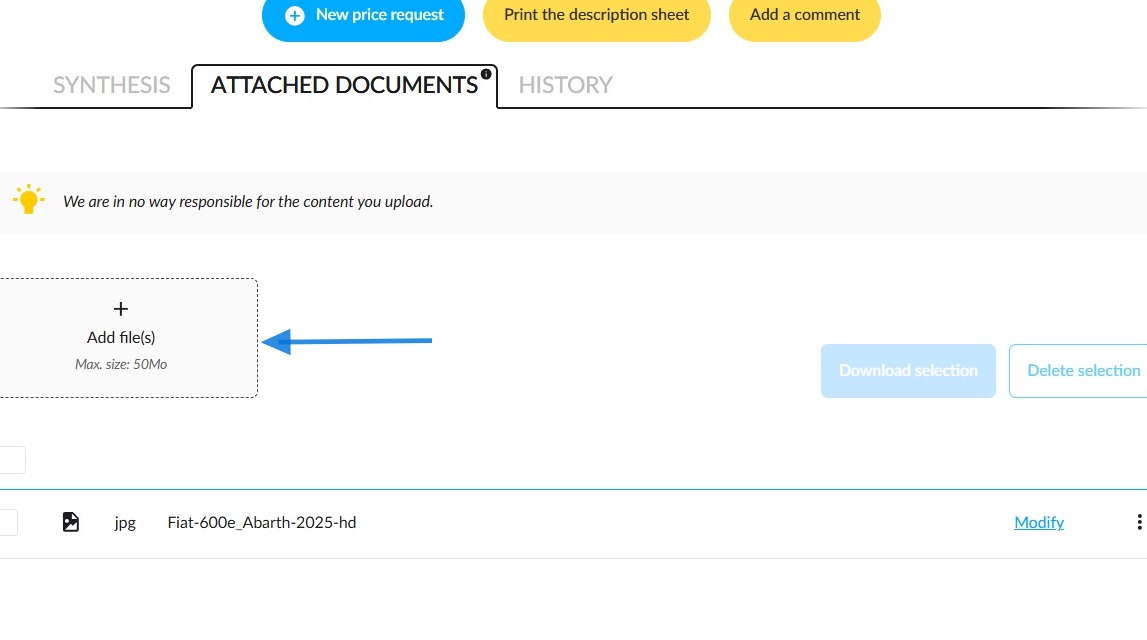
You can store invoices, roadworthiness certificates and maintenance documents in the vehicle file by clicking on the 'ATTACHED DOCUMENTS' tab at the top of the page.
Click on the 'Add file(s)' box to upload the images and/or PDFs of the supporting documents.
Trade-in management by the administrator
(Manager view) As soon as you have completed the trade-in estimate, your manager will be alerted by email and via notifications on the platform and the OpenFlex mobile application.
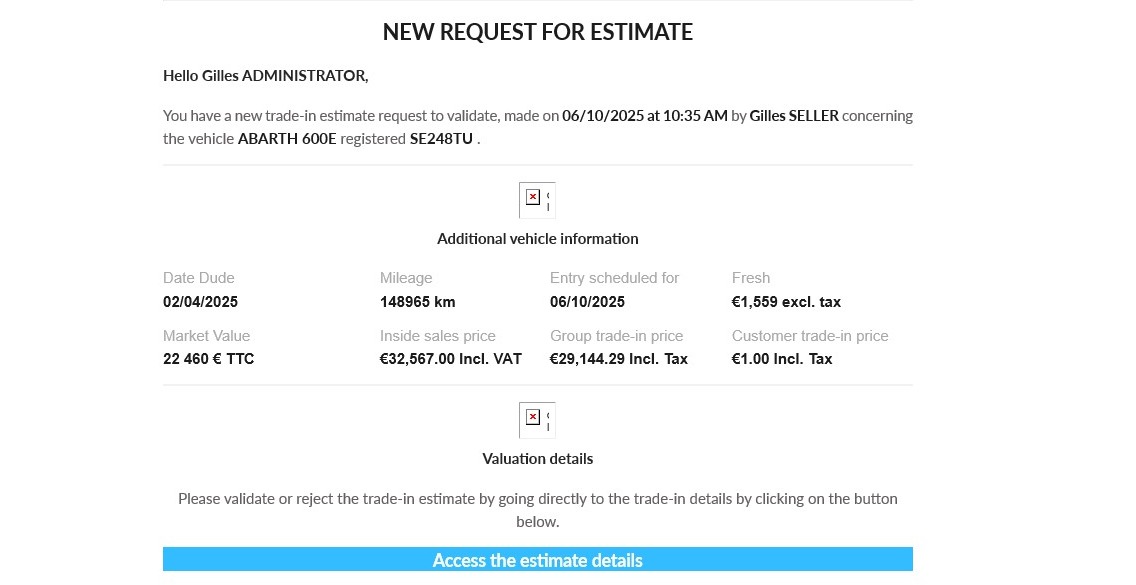
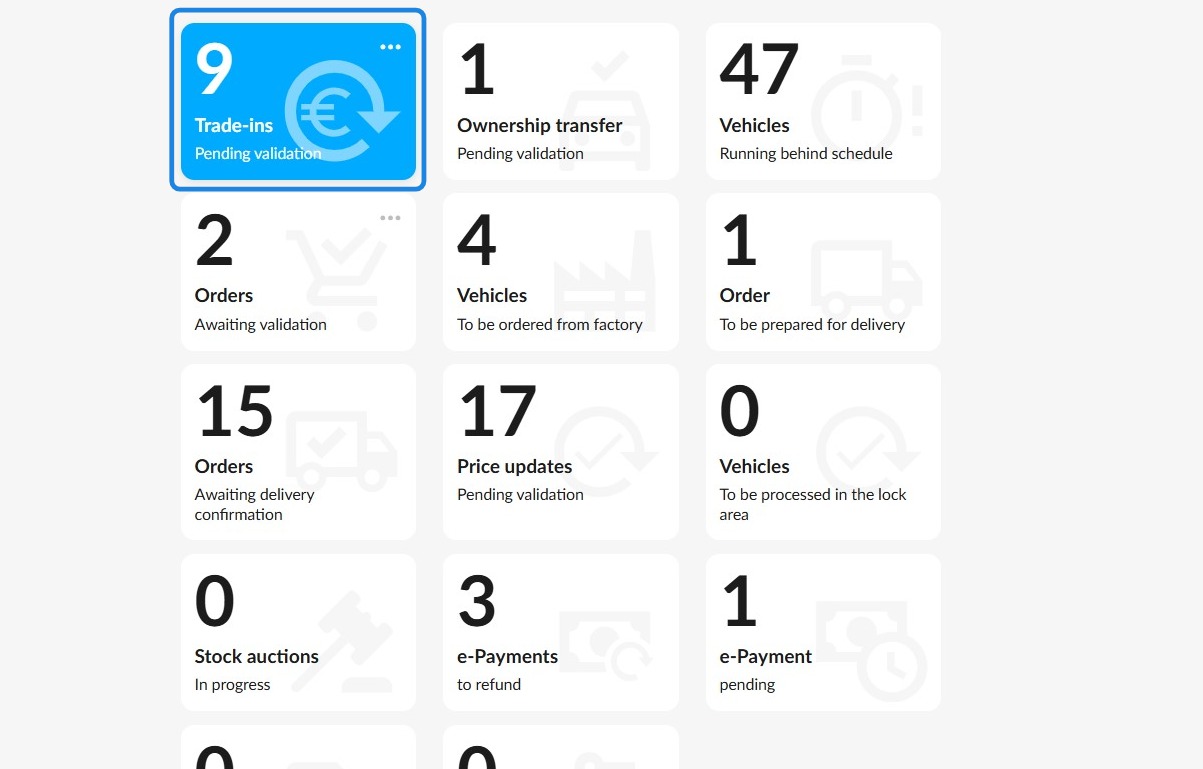
(Manager View) The platform administrator can access the opportunity approval request via the link contained in the email or from the ‘Trade-ins Pending validation’ tile on the home page.
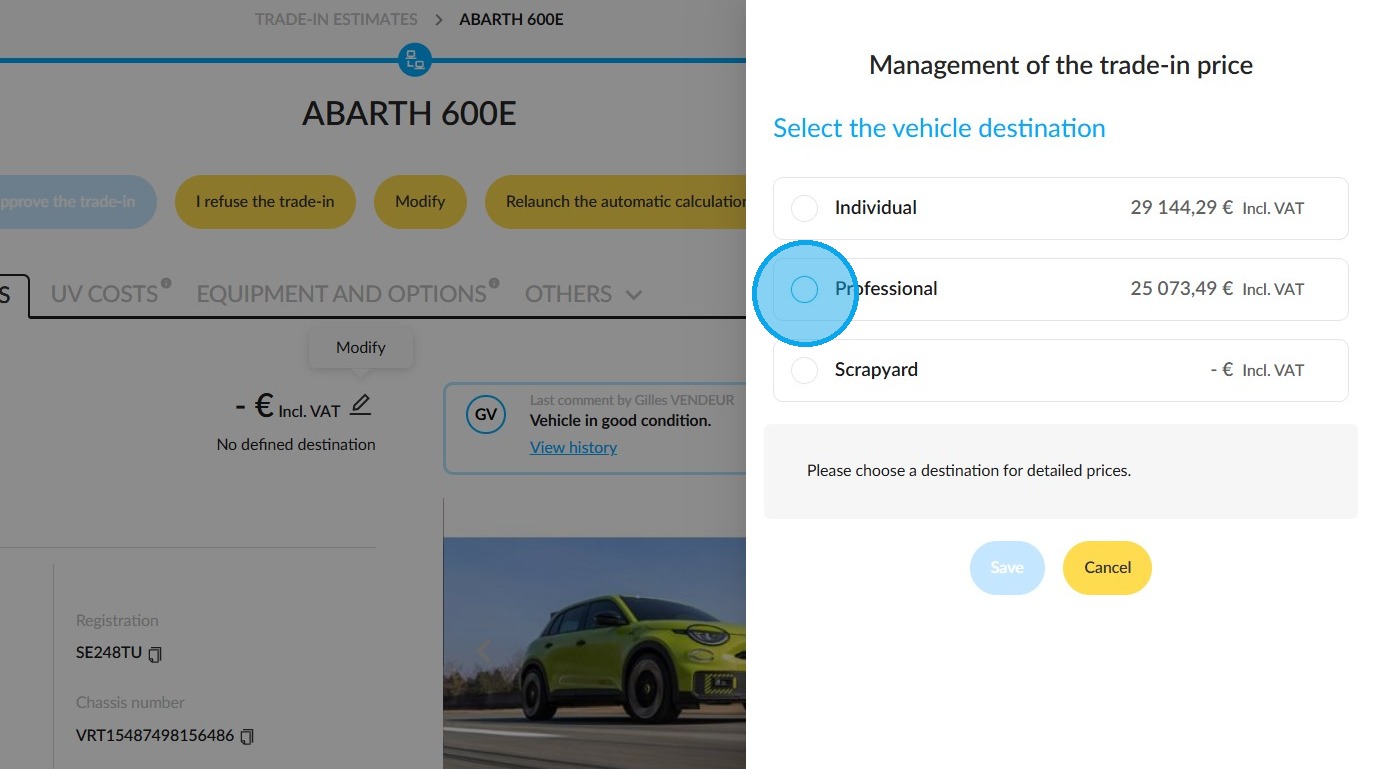
(Manager view) The vehicle's destination can be set based on its age and mileage. The manager can always change it. The sales manager can then consult all the information recorded in the previous steps in order to define the destination and price of the UV to be traded in.

(Manager view) When the manager changes the destination of the trade-in, the system provides them with all the relevant information concerning market value, turnover times, resale value and repurchase so that they can make their decision.
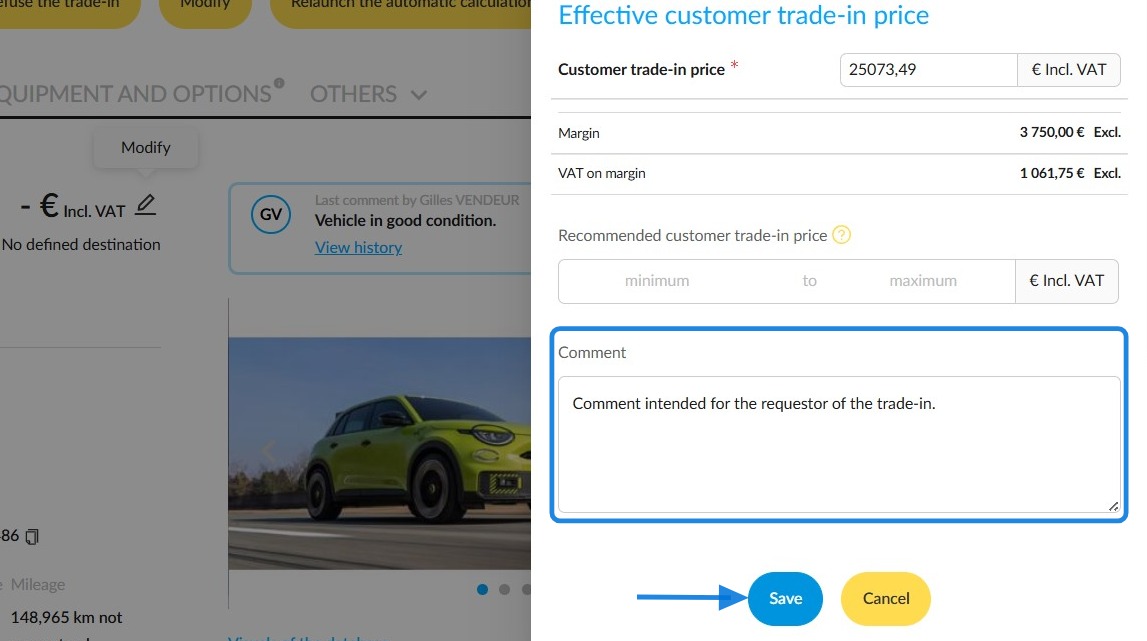
(Manager view) Once the analysis is complete, they can enter a trade-in price in the ‘Customer trade-in price’ section, with a margin for negotiation in the ‘Recommended customer trade-in price’ field.
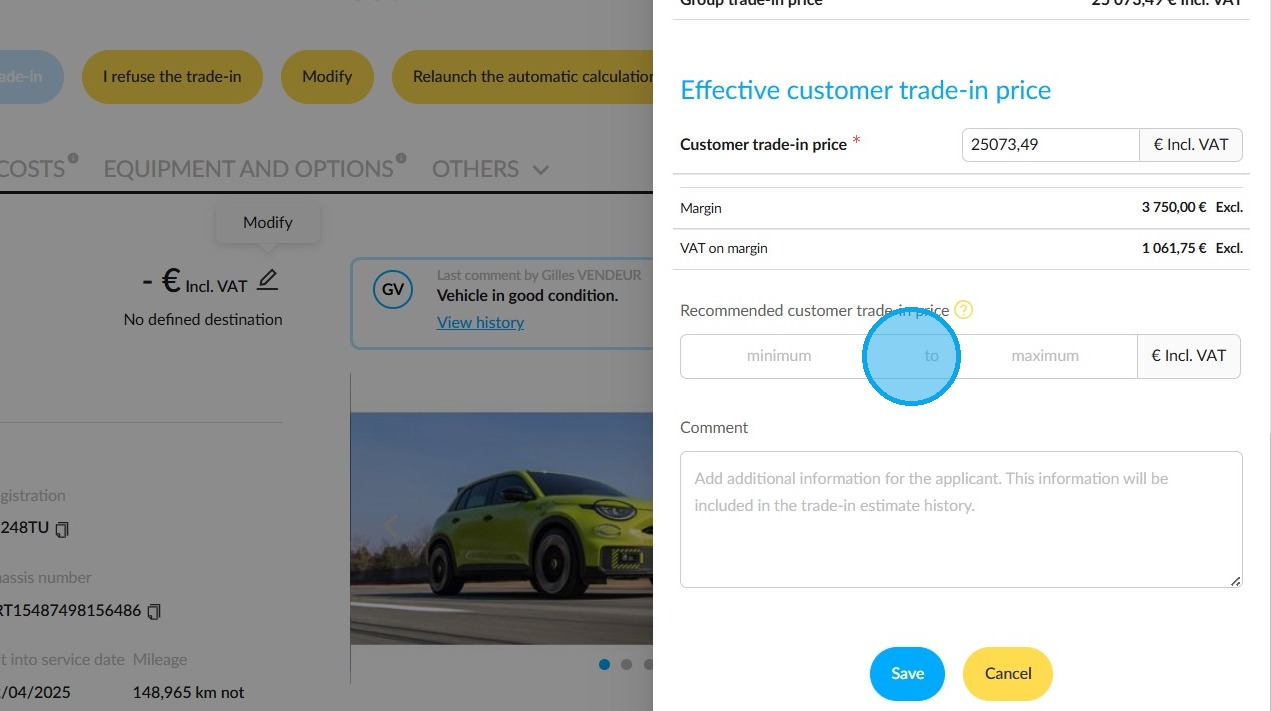
The negotiation margin may take the form of a minimum or maximum price; this will be displayed on the seller’s screen.
(Manager view) They can also add a comment for you before clicking "Save".
Finalisation of the trade-in by the seller
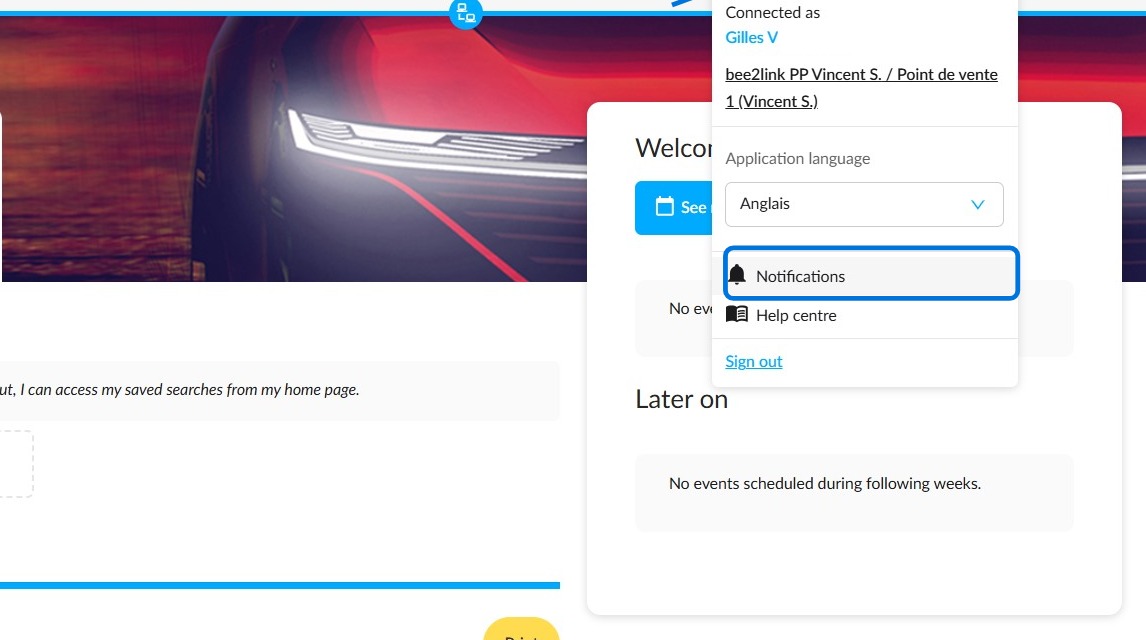
To access all opportunities that have been validated by your manager, click on "Notifications". Alternatively, you can access them via the opportunities.
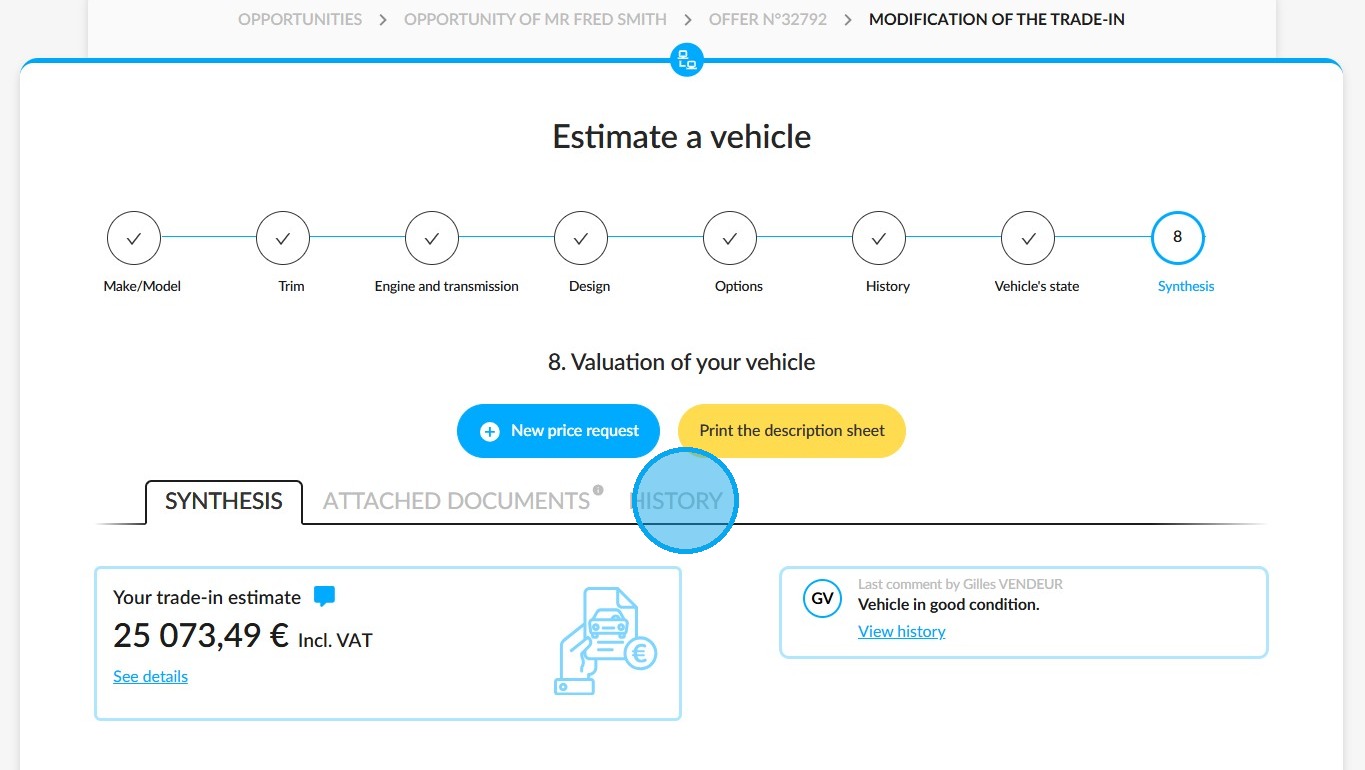
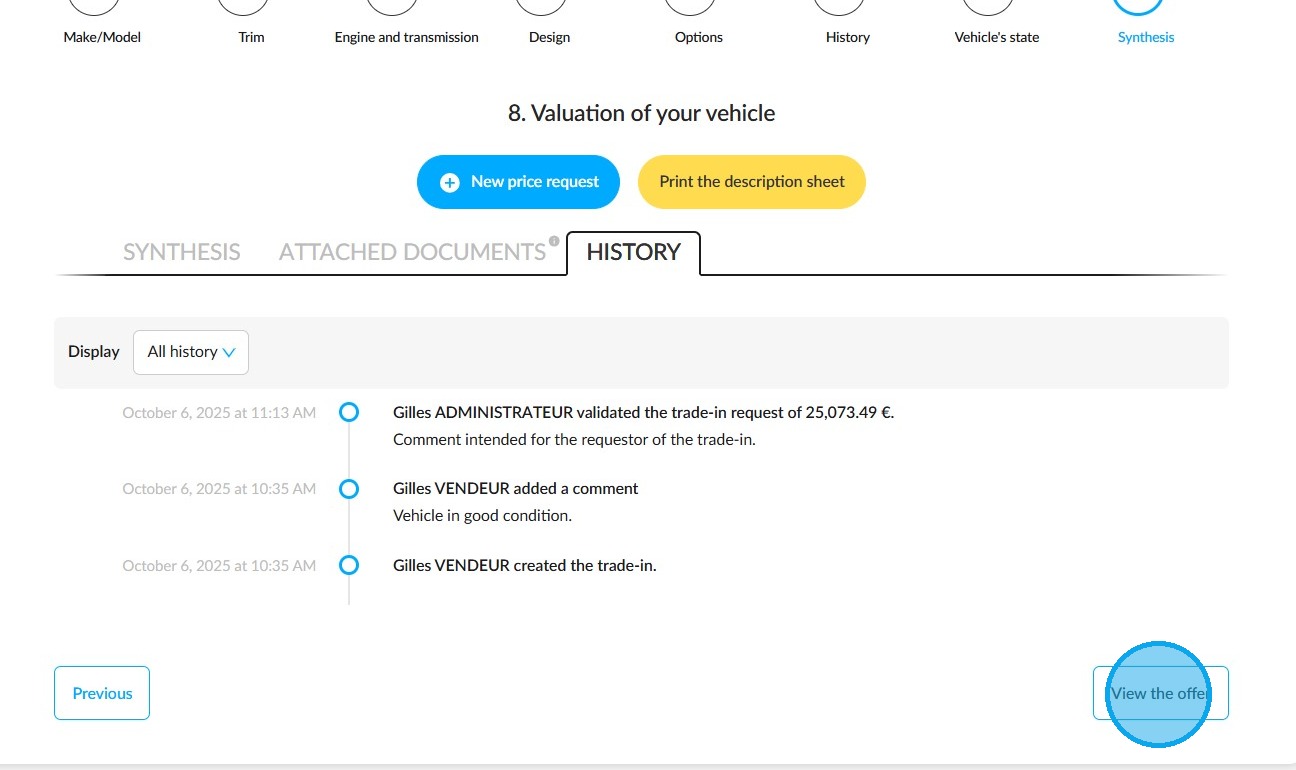
The comment that the sales manager will have sent you when approving the price will be visible in the "History" tab, located next to the attached documents.
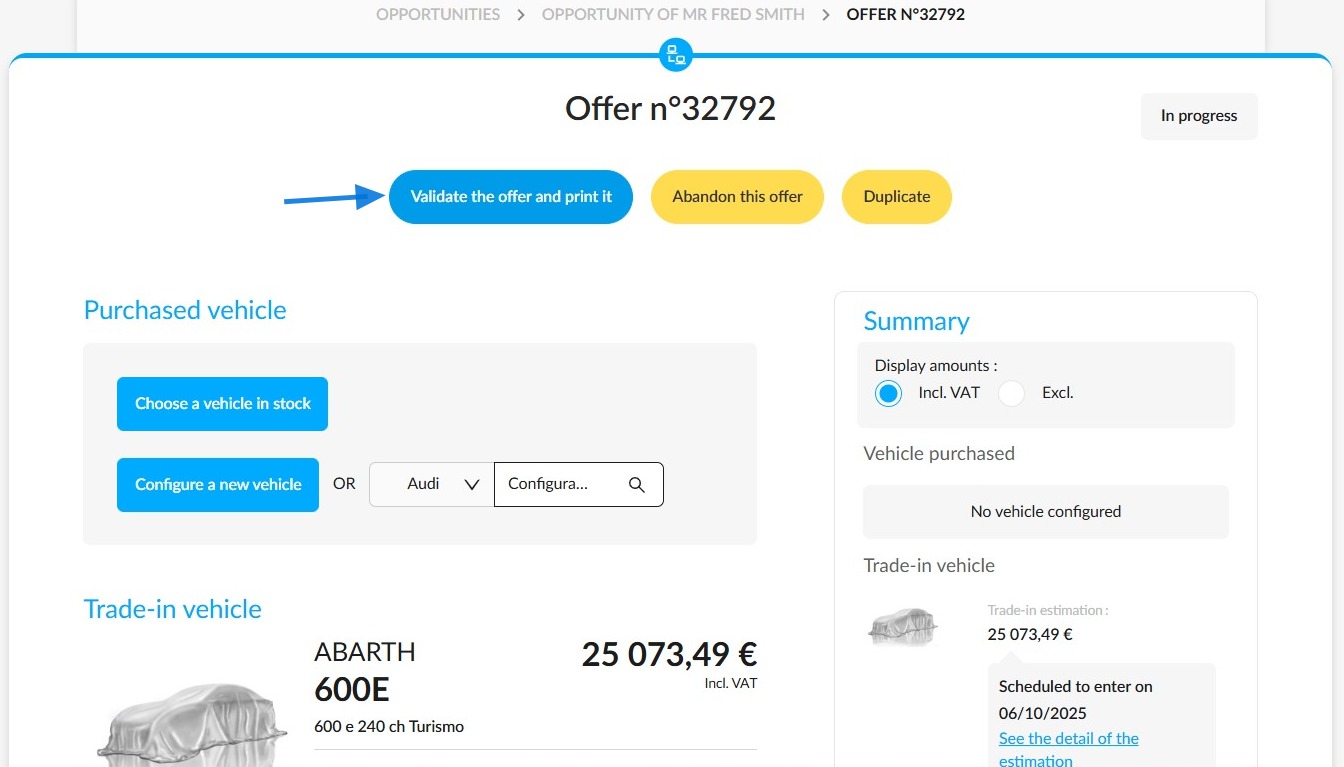
From the history, click on the "View the offer" button at the bottom right to validate and edit it.
You can click on "Validate the offer and print it" at the top of the offer page.
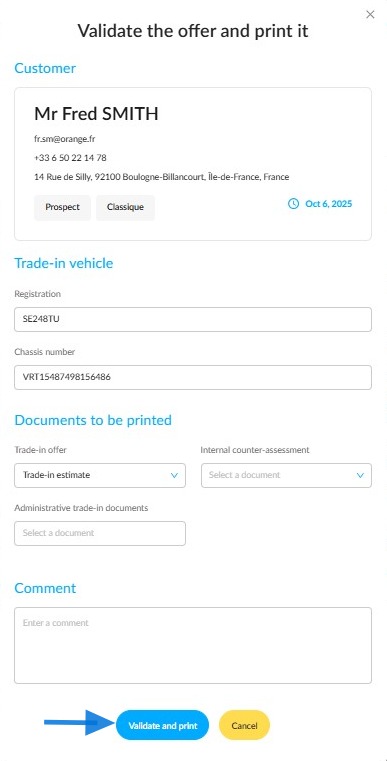
You will then be asked to select the documents you want to print before clicking on "Validate and print".
All defects and associated costs will be indicated on commercial and legal documents, such as offers and internal UV counter-assessments.
Comments
0 comments
Article is closed for comments.