
Find out how to configure your stock list in the "Vehicles" module.
Accessing stock & adding filters:
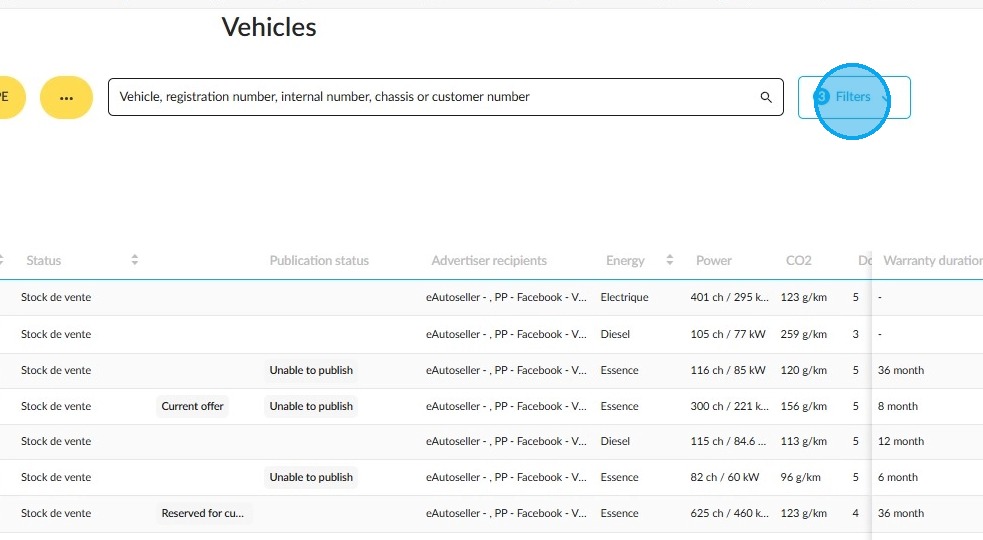
From the OpenFlex homepage, navigate to the 'Vehicles' module.

Next, click on ‘Filters’ to the right of the search bar to set up the various filters that will help you display relevant results.
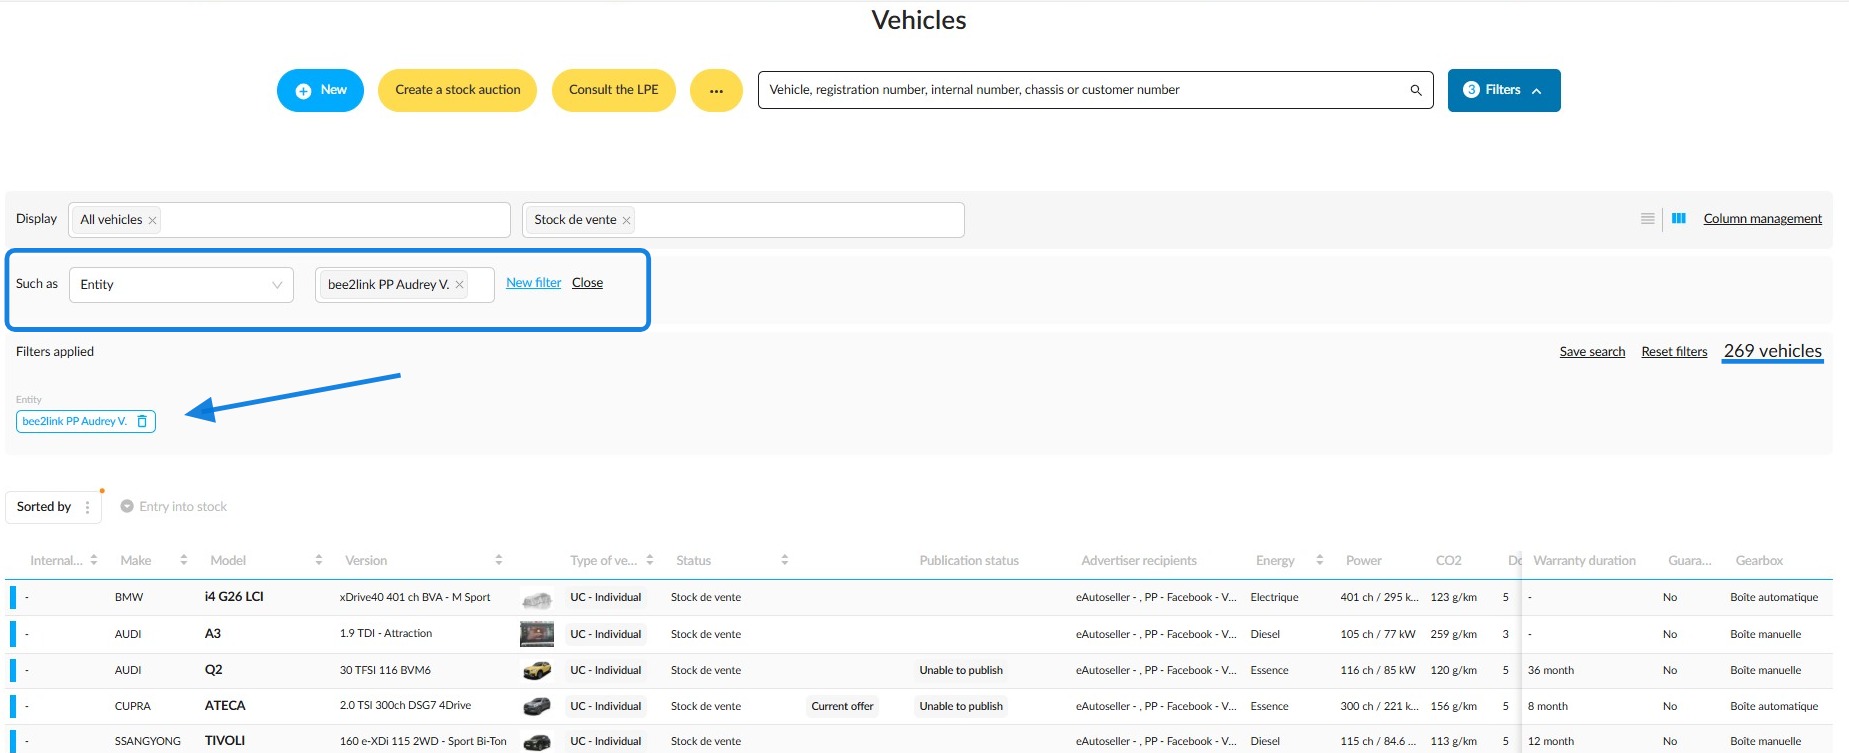
Example: selecting UVs available for sale on a given entity in order to refine the results.
Organisation of the columns:
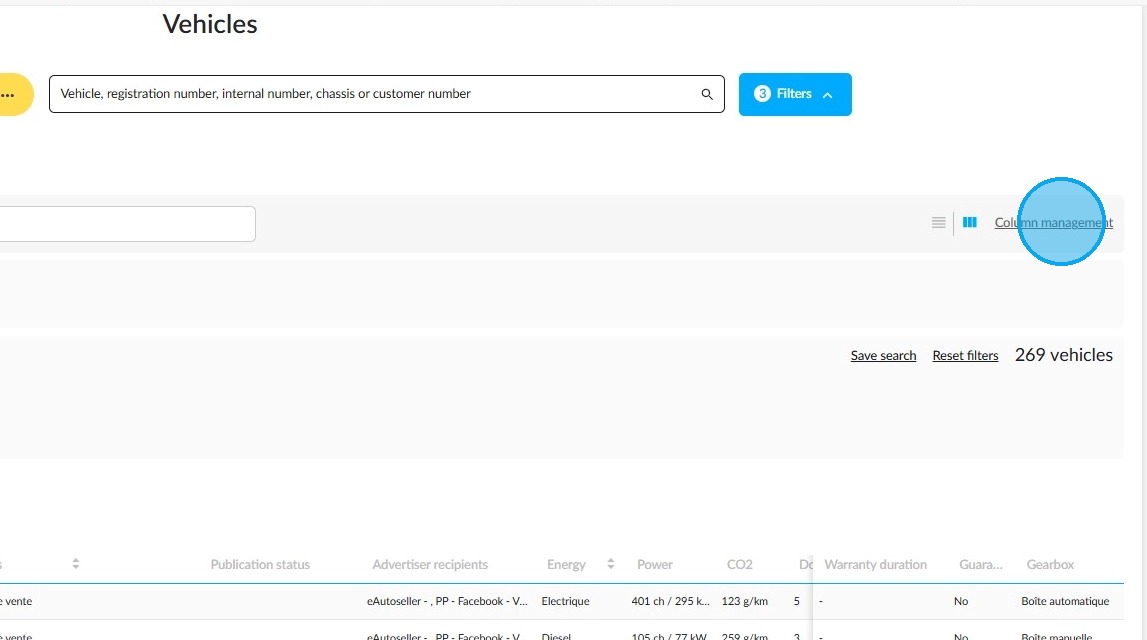
Next, configure the columns that will be make up the stock table by clicking on the "Column management" button.
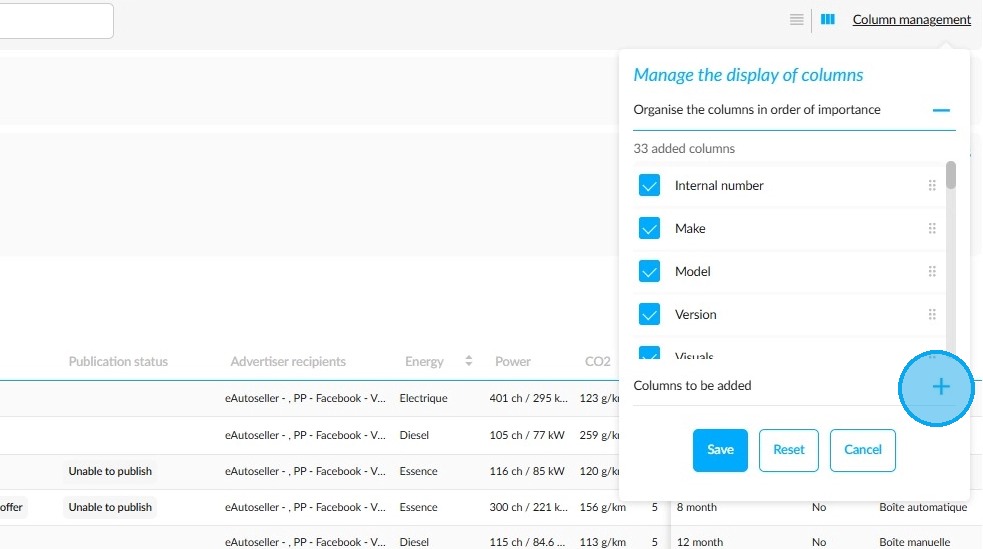
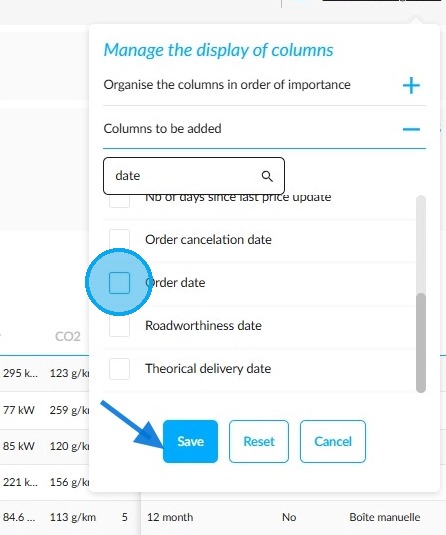
The ‘Manage the display of columns’ window will show the list and number of columns already available.
At the bottom of this list, a ‘+’ button will allow you to add others to suit your requirements.
To make it easier to find a column, enter a keyword in the provided field under the"Columns to be added" heading.
Once you have found the relevant columns, tick the boxes next to their names.
Then click the "Save" button to add them to the table.
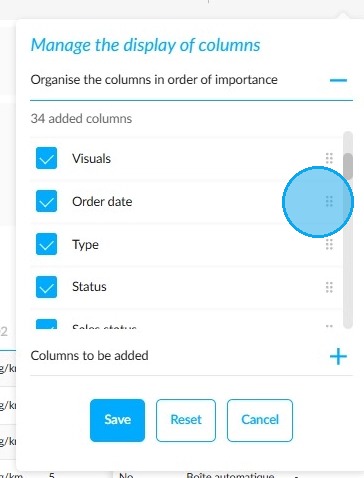
Each new column configured will appear at the end of the table.
To change their order, click on the dots to the right of a column label and drag it to the desired position in the table.
Example using the ‘Order date’ column, which has been moved among the columns at the top of the table.
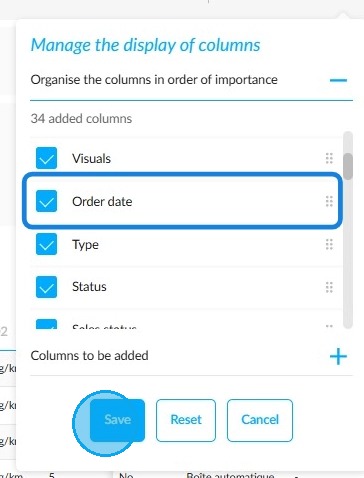
To confirm its location and display it in the table, click on the "Save" button.
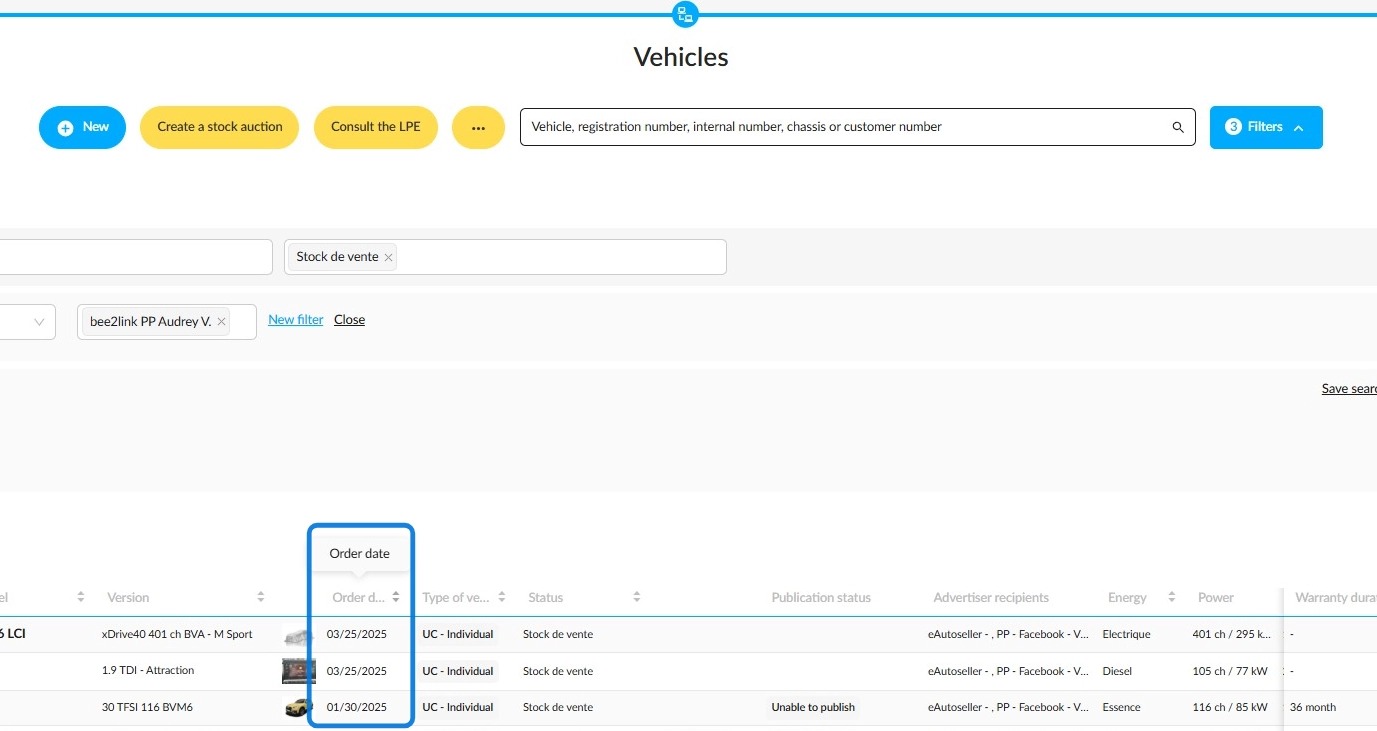
View of the column in the table.
Views:
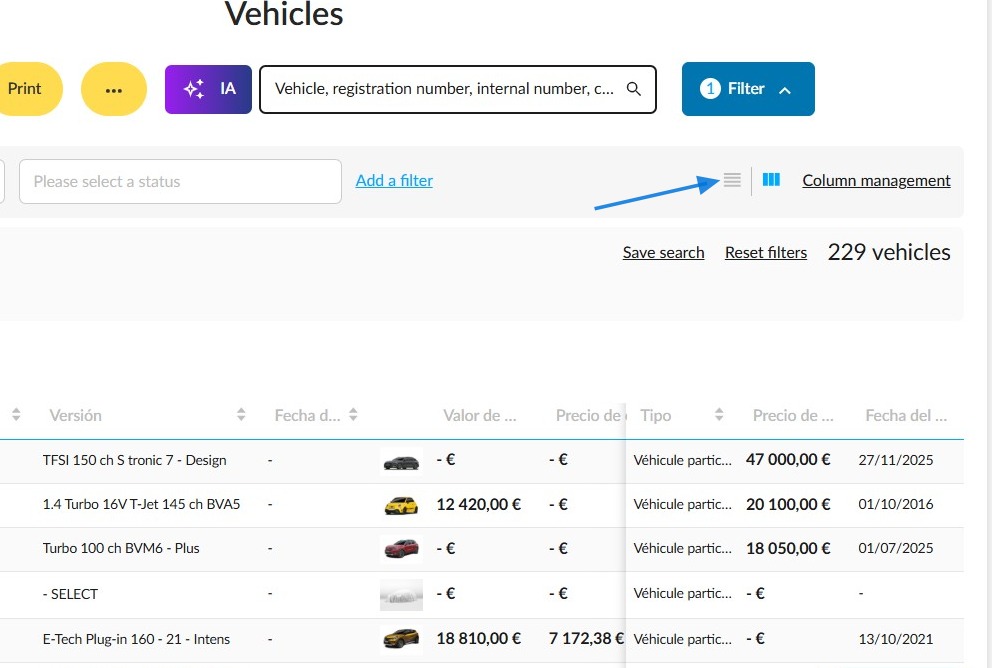
This picture shows the stock list in table view. To change this, click on the greyed-out display icon next to the column management tool on the right-hand side of the filters.
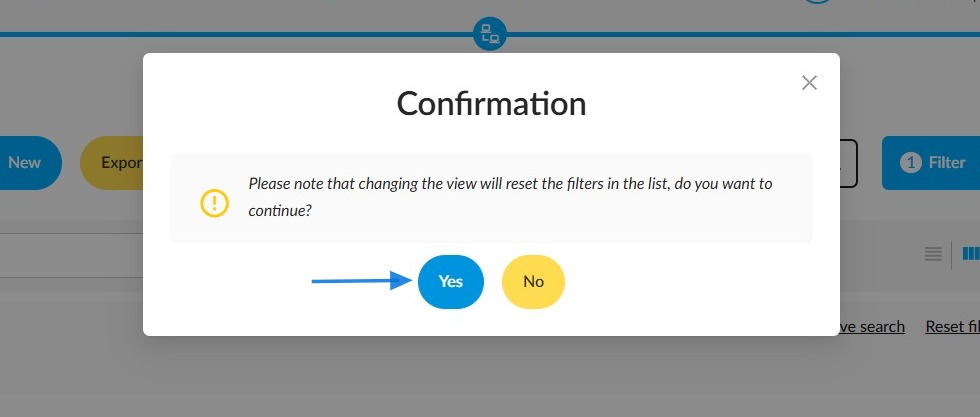
In the confirmation pop-up for changing the view, answer 'Yes' to the question.
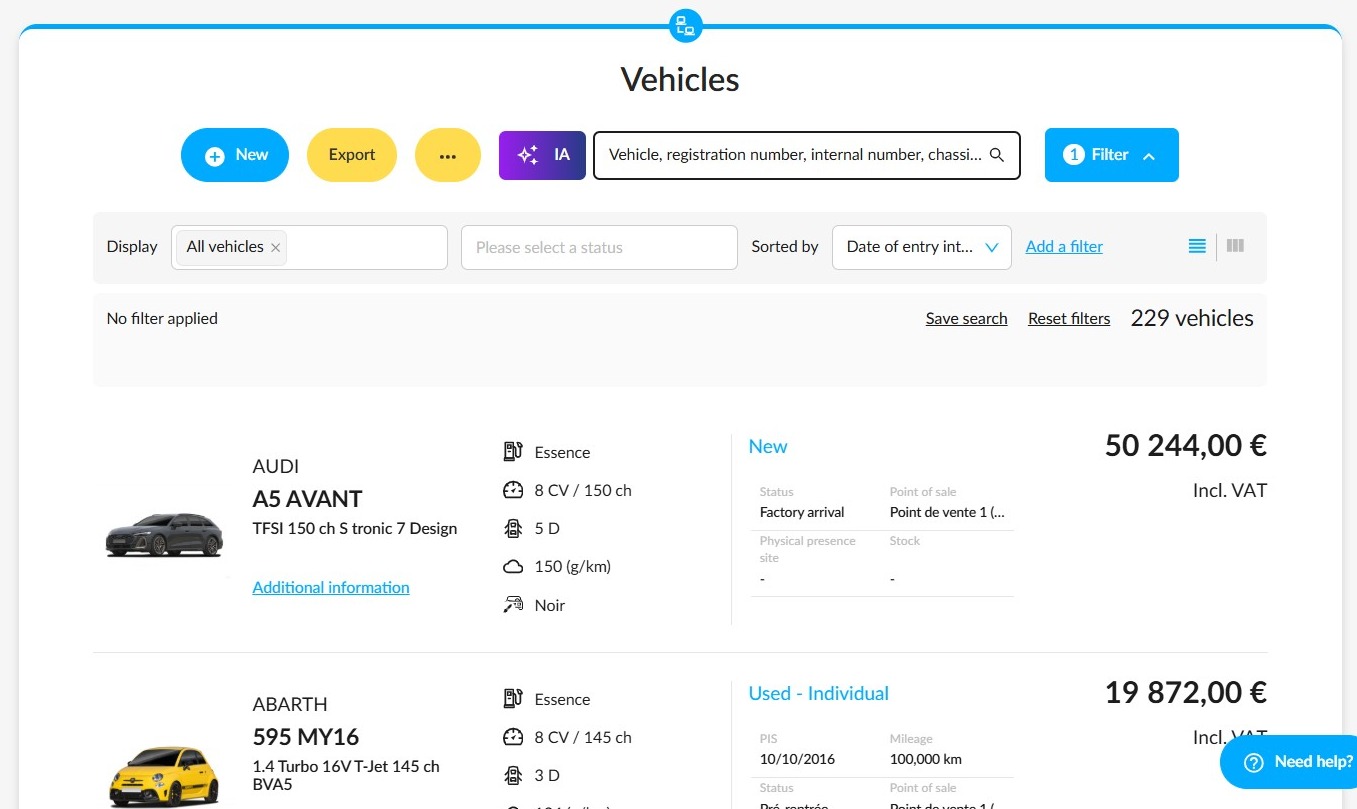
The vehicles will be displayed as a list. Each item will be a link that can be opened in a new tab for added convenience.
Vehicle sorting:
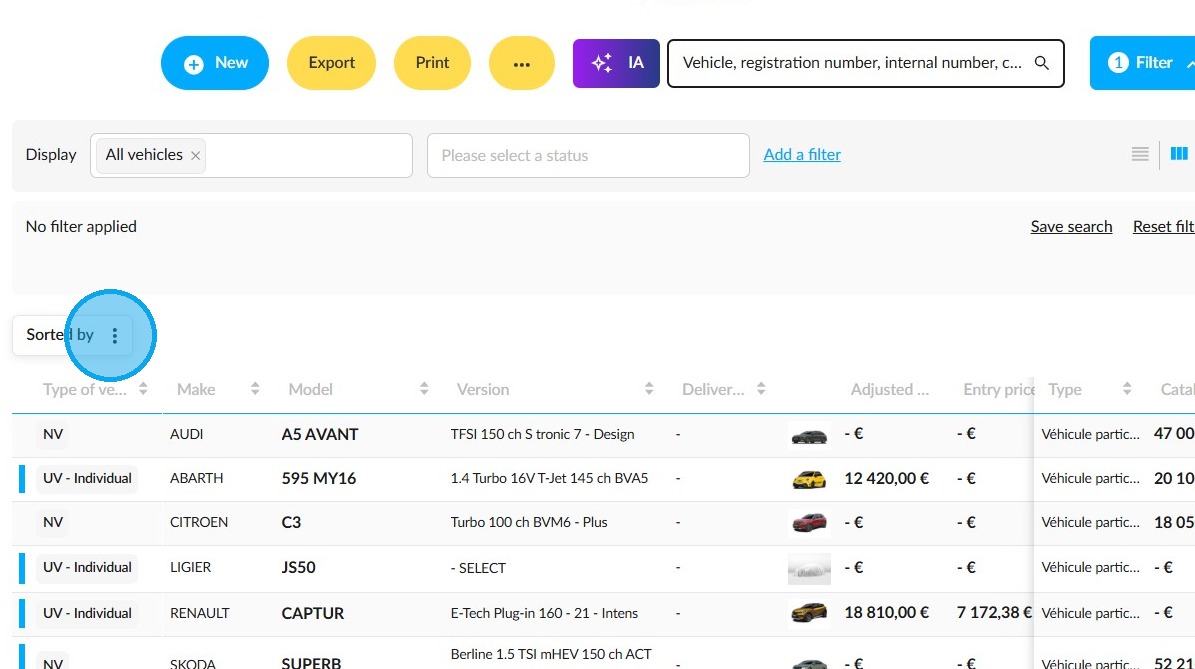
To sort vehicles, you need to display them in table view.
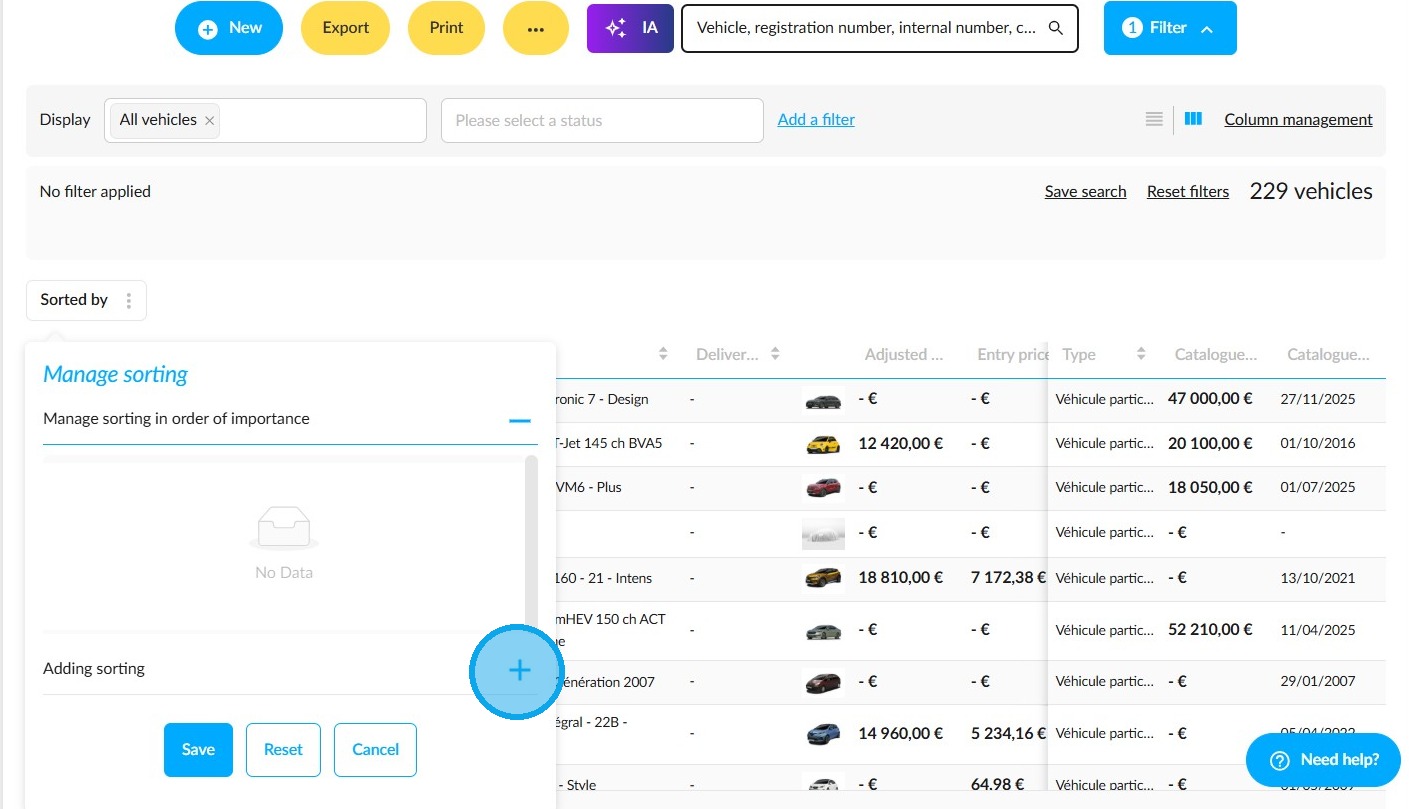
You can sort the vehicles according to certain criteria. To do this, click on 'Sorted by' above and to the left of the stock list.
Click the “+” button in the “Manage sorting” box to add a new sort.
Select the organisational criteria that suit you by ticking the corresponding boxes.
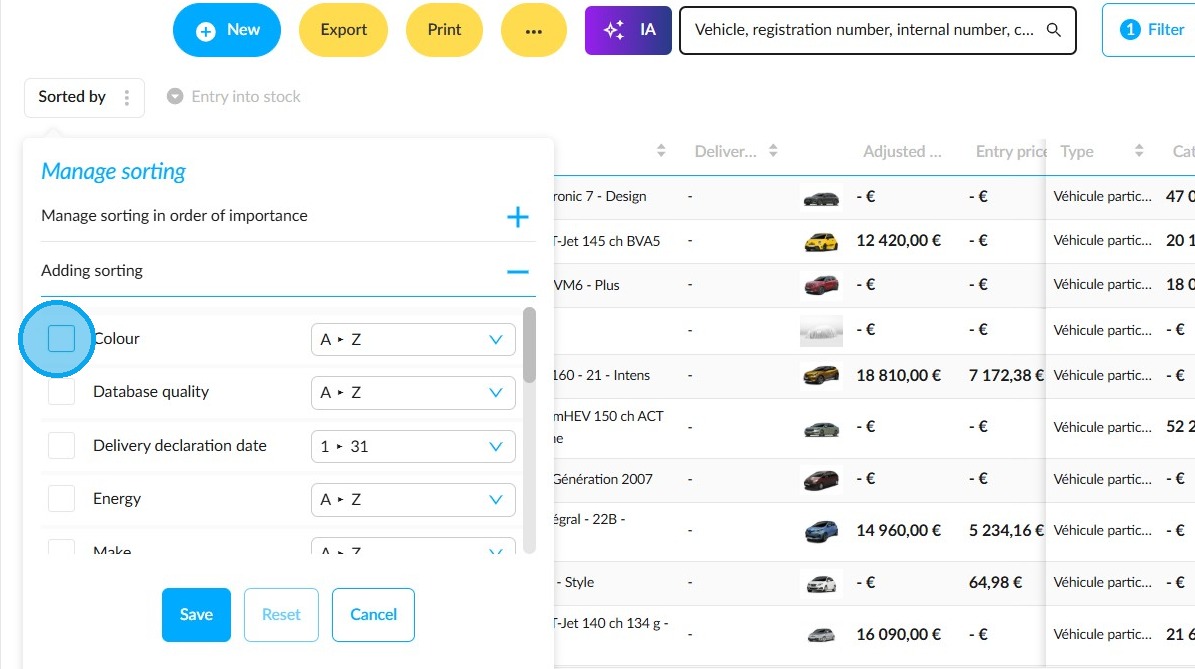
-You will be offered ascending or descending sorts, as well as others depending on the criteria.
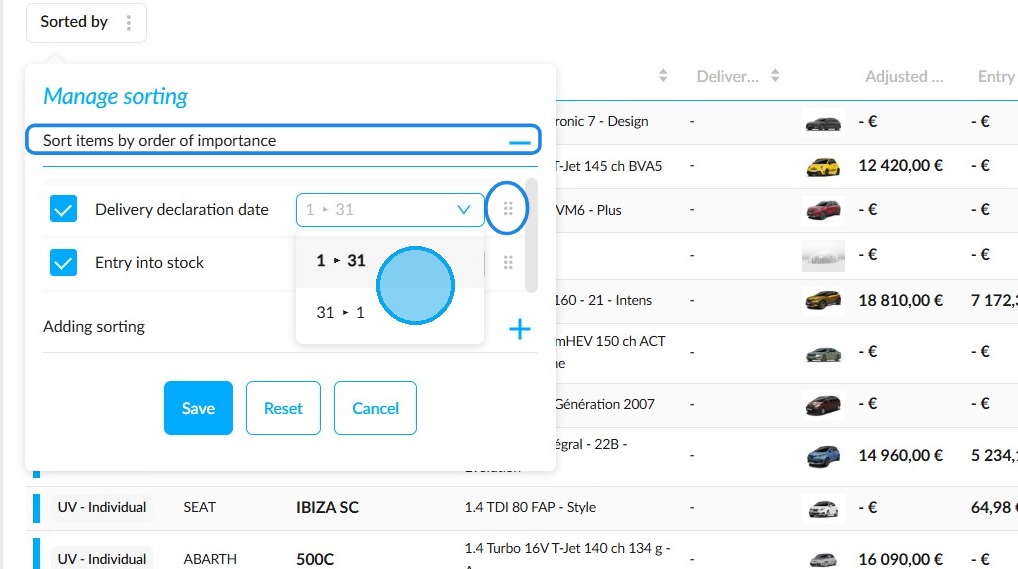
-As soon as you select a sort, it is transferred to the “Sort items by order of importance” section.
-Change their display order by first clicking on the dotted line next to the relevant sort, then dragging it to where you want it in the window.
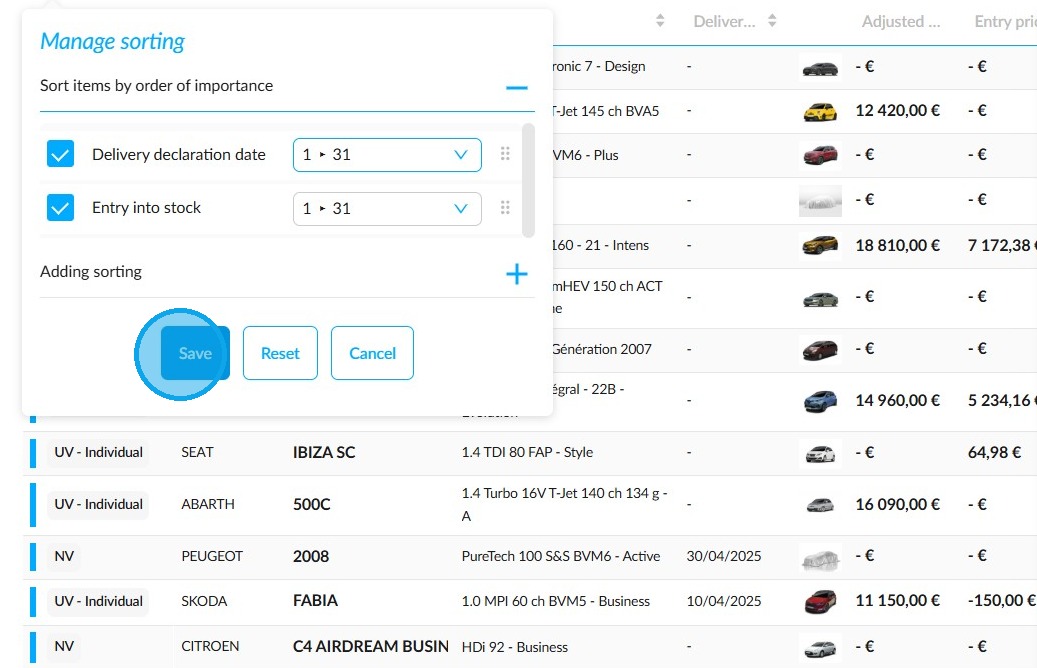
After setting up the desired sorting options, click on "Save". You can also reset the sorts to start again from scratch.
Comments
0 comments
Article is closed for comments.